 |
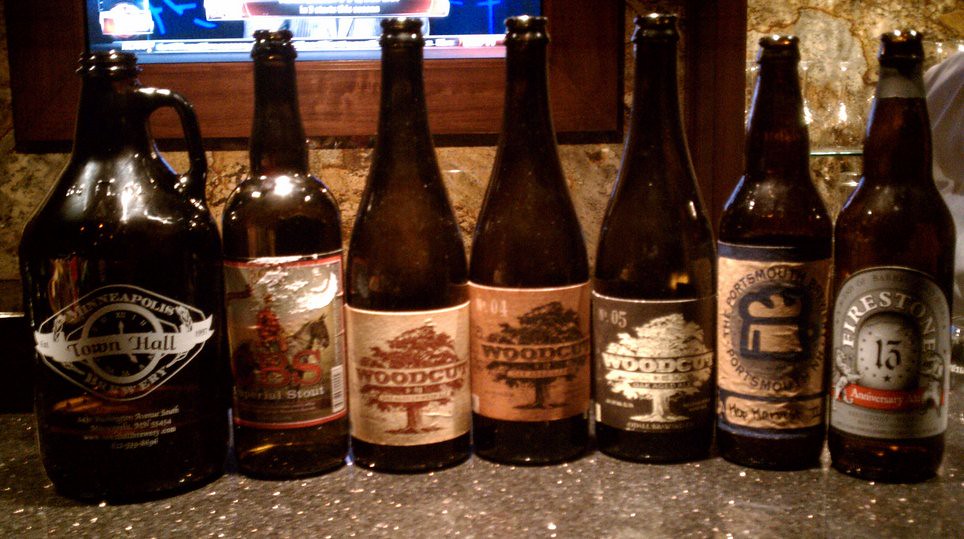
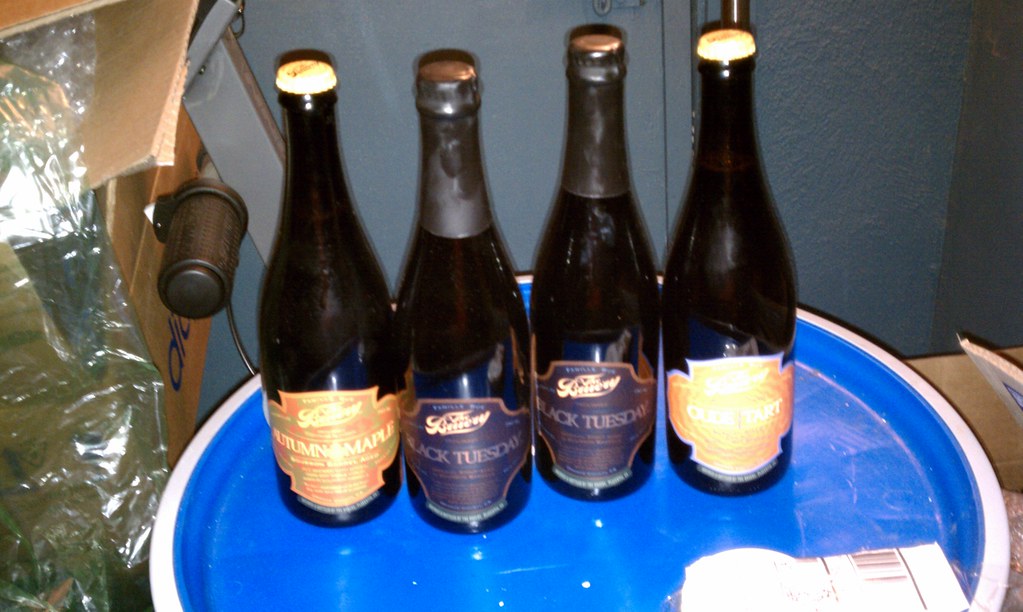
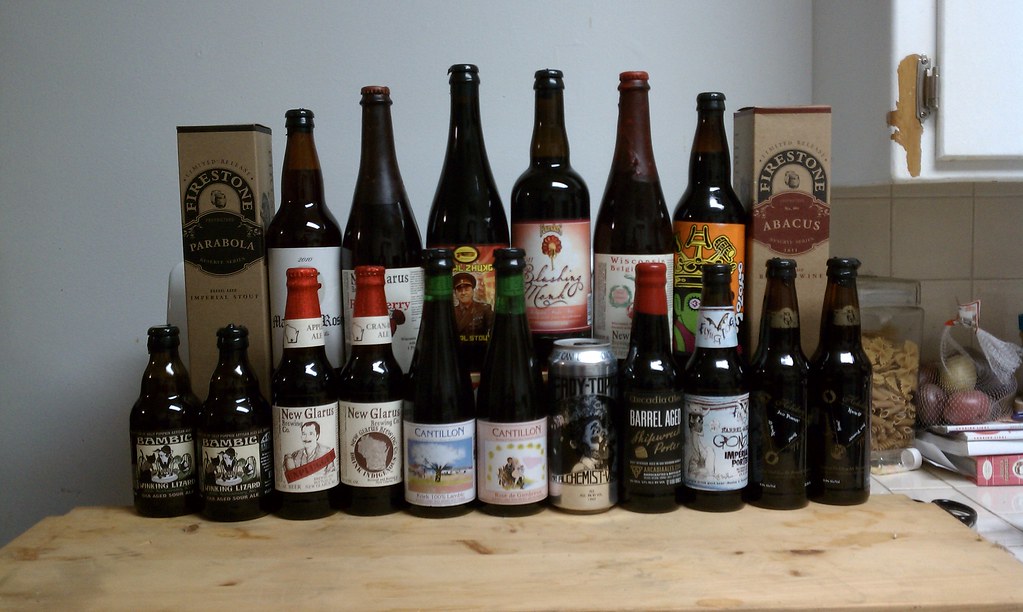
| The evening's line up |
The busier I get on the weekend the more I
seem to appropriate the random midweek tastings I manage to be a part of,
either as a host or as a guest. They are not completely stress free or
without their challenges. Generally I prefer to help my wife out with our
daughter before I leave which can make for a late start. I also generally
have work the next day so staying alter and well hydrated during the tasting is
an absolute priority. The last and most important challenge to a
mid-week tasting specifically if it's remote is monitoring my alcohol intake so
that I can safety drive home. With my daughter asleep my regular pick up
system is disabled which would leave me with walking or taking a cab if I was
unable to drive.
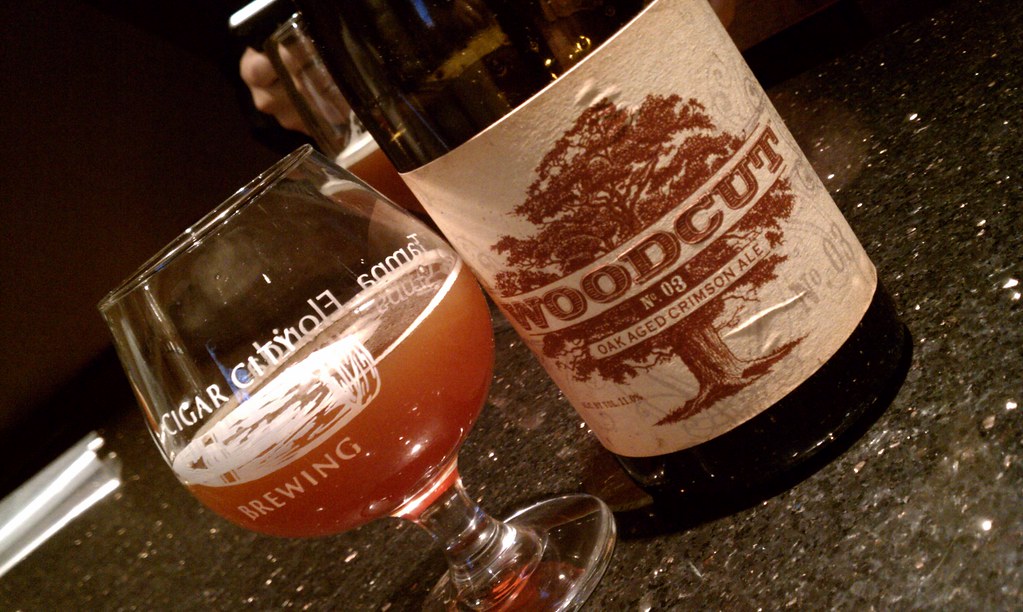 |
| Woodcut No 3 |
One week's midweek tasting started via a
text from my buddy Scott. He had just received a growler of Masala Mama from
KeefD, a guy I’d traded with before, as part of a Darkness/Black Tuesday
trade. Having enjoyed this beer before I
knew I needed to get over there and by there I mean the insanely awesome
showroom. Also at the tasting were Ryan,
Steve and Kerry another guy from their office.
I looked at this as a great opportunity to open one of my bottles of
CBS. Being fellow BAs I knew they would appreciate
the awesomeness that is Canadian Breakfast Stout, but more on that later.
 |
| Woodcut No 4 |
After a quick dinner we headed to the
showroom for some awesome beers. Kerry
had just picked up a Woodcut No 5 from Odell’s so Ryan decided to bring out his
Woodcut No 3 and 4 to have a mini vertical.
Scott brought the Masala Mama, Steve shared an awesome Firestone 13 and
I bought the CBS as well as a Hop Harvest II from Postsmouth.
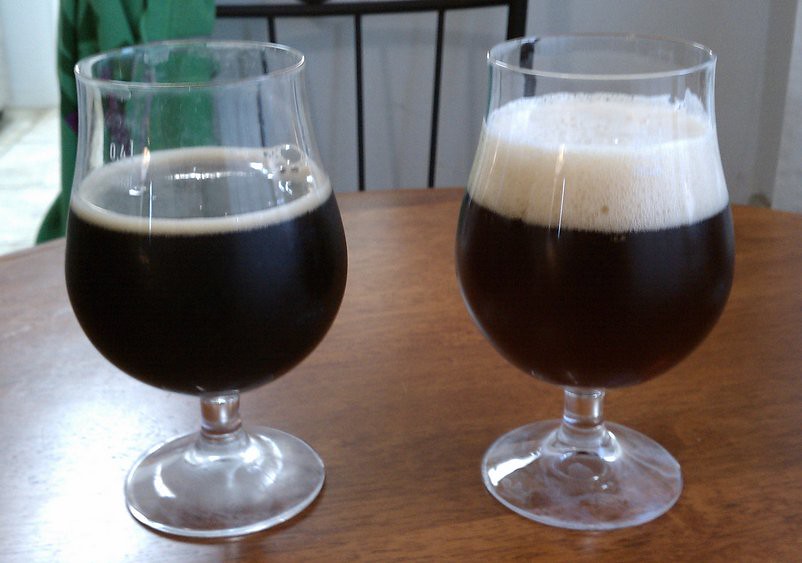
Deciding to start with the Woodcuts first we
cracked open the Woodcut No 3 an 11% Oak Aged American Strong Ale. This was probably my favorite of the
three. The oak really came through and
was not overpowering. You can tell on
all the Woodcut series that they are using regular virgin barrels with a medium
toast to age it and not spirit barrels.
With all the big bourbon/whiskey/rum aged beers out there it’s nice to
see a regular oaked version. It’s really held up nicely over the last couple of
years.
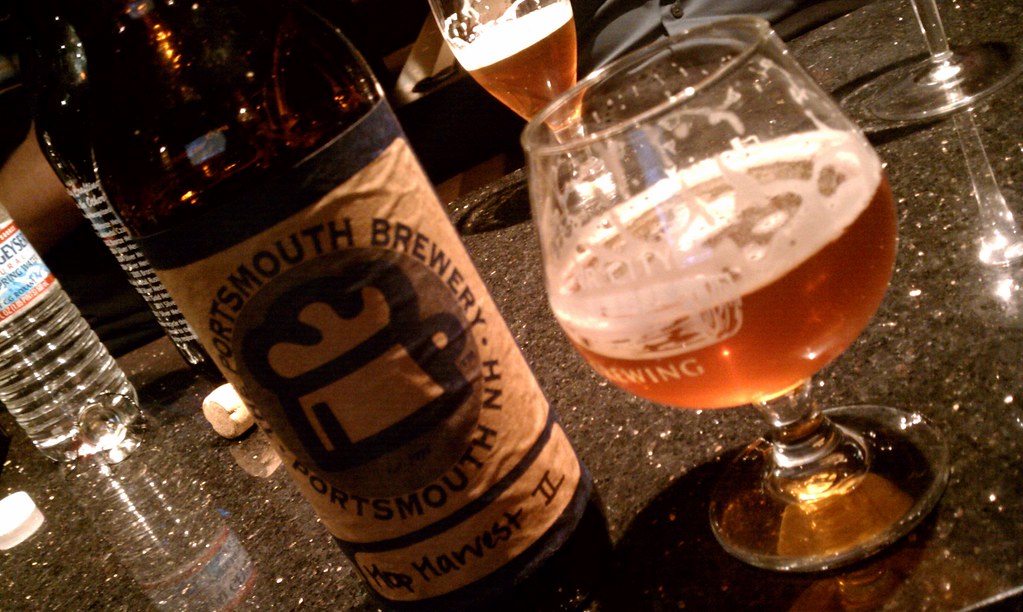 |
| Portsmouth Brewery Hop Harvest II |
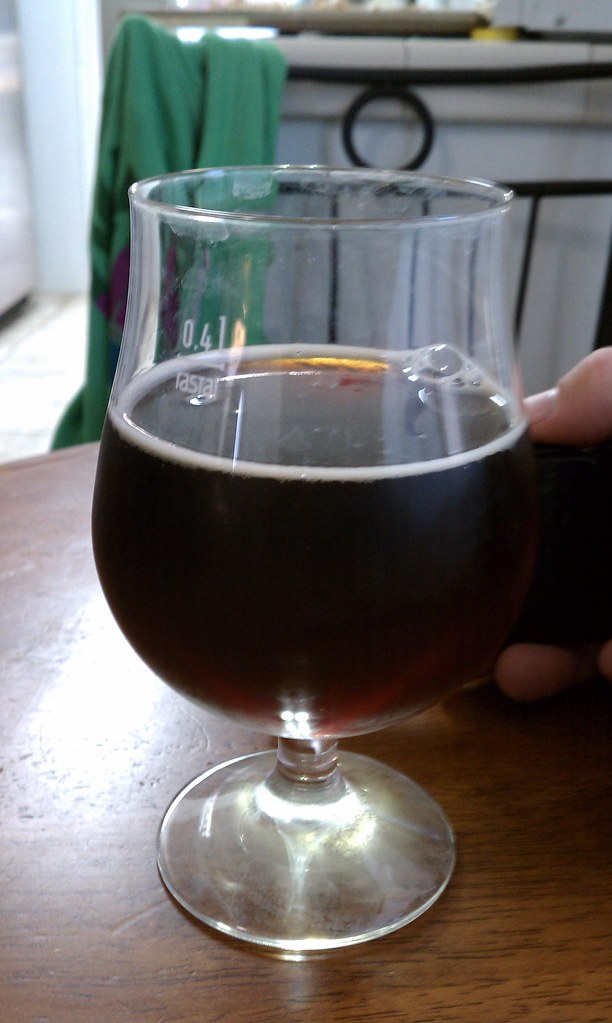
Next came the Woodcut No 4 which is described
as an Oak Aged Double Märzen – Style Lager at 11%. I have to say I am not a fan of the tread of “doubling”
certain styles of beers, like märzens, and then aging them in barrels. I personally didn’t think that the treatment
worked. The malt and the oak came
through as somewhat combative in both the aroma and the taste.
We ended the Woodcut run with the most recent
offering in the series Woodcut No 5. The
base beer for No 5 is an 11.3% Belgian style Quad (Quadrupel). This beer/bottle
might have been infected. It was near
still on the carbonation front and gave off an off aroma similar to buttered
popcorn (DMS). There is nothing more frustrating that paying big money for a
beer (above $20) and having it be off.
We recommended that Kerry keep additional bottles at room temperature to
see if that could help increase the level of carbonation.
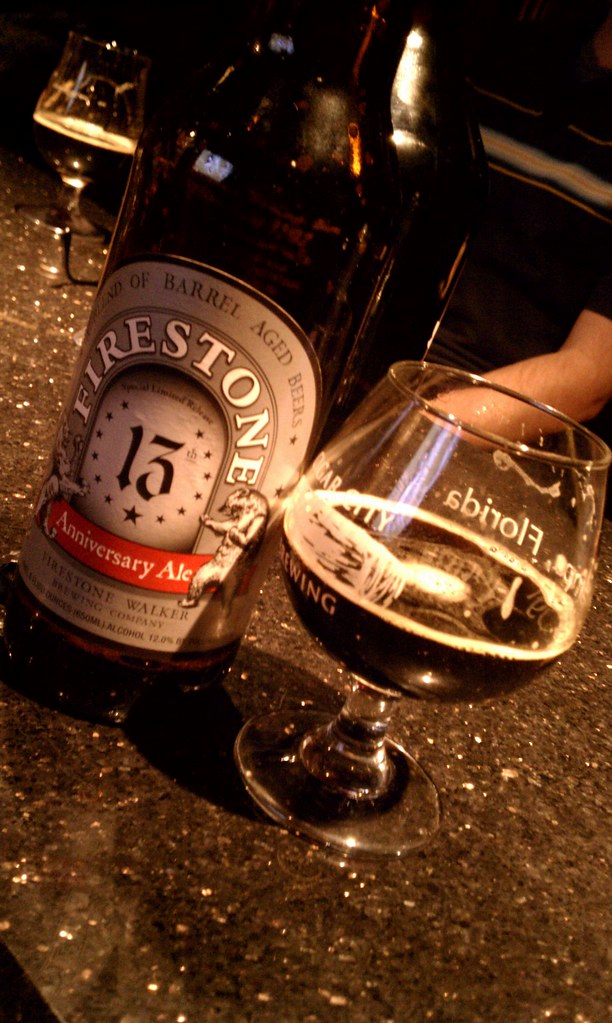 |
| Firestone 13! |
Next it was on to IPAs. I’d brought the Hop Harvest II to break up
what I was sure going to mostly be big stouts and malt bombs. I’d recently split an Octoberfest from
Portsmouth that was such a DMS bomb we ended up drain pouring it so going in my
expectations were high. It ended up
being a pretty good beer. It wasn’t overly/harshly bitter and it ended up
refreshing my palate.
After that we cracked the lid on the growler
of Masala Mama. While a very solid beer
it wasn’t and pleasing as the last time I had it. I’d ended up reviewing it last time and noted
“Yup this is a solid IPA, not overly bitter and well balanced. Bonnie says that
is "ooh smooth" and for the most part I agree. It reminds me a lot of
Furious in taste and appearance which is not a bad thing.” I don’t know if I
would quite agree with that for this round but it was still a very solid IPA
that I was glad to get another glass of.
 |
| CBS Bitches! |
Up next was Firestone Walkers 13th
Anniversary Ale. Having never had the opportunity to try it myself I was pretty
jazzed that Steve had decided to open his Firestone 13. Not only is it hard to come by these days but
it happened to be one of his favorite beers. The beer pour a nice ink black
color with a nice level of carbonation and head for a 2 year old beer. Too many breweries are jumping on the barrel
aging bandwagon and have no idea how to truly put together a wonderous barrel
aged beer. Blending is truly an art that Firestone has mastered. Nice, rich and complex just a beautiful
barrel aged beer. I’ve already picked
out the prefect beer to share with him the next time we get together.
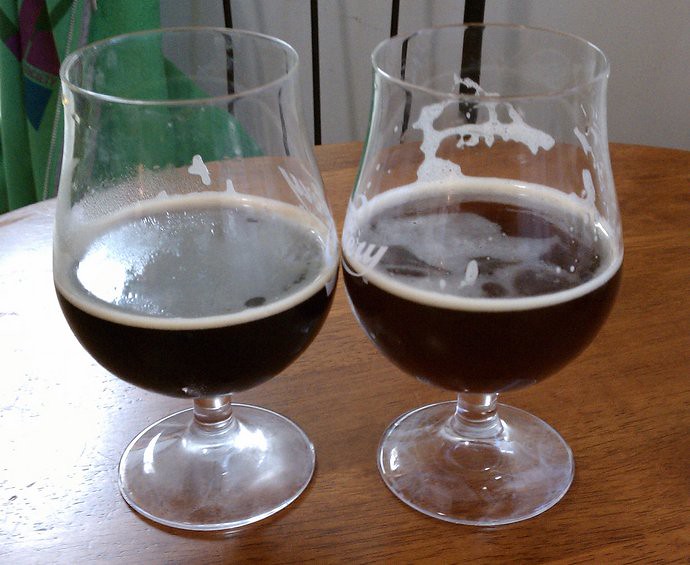
For the final beer of the night I opened up a
bottle of Founders Canadian Breakfast Stout or CBS. I’d wanted to try this beer since falling in
love with Founders Breakfast Stout on a business trip. The main obstacle at the time had been it was
draft only and only once a year, that all changed this year when they decided
to release it for the first time in bottles as part of their Backstage Series. Thanks to my regular trading partner Meagan
and a couple of other quick trades I was able to secure a couple bottles. It too pours a nice black color with a tan
head. The aroma is a wonderful mixture
of maple, coffee and whiskey. The taste
is also an incredible mix of maple, vanilla, bourbon, oak and roast. It is perfectly balanced. I was a little concerned that Steve and Scott
might not dig it due to the coffee component but they also loved it. It was a great finish to another great night
of midweek tasting.
Cheers
-SNB


