 |
| Ready for wax |
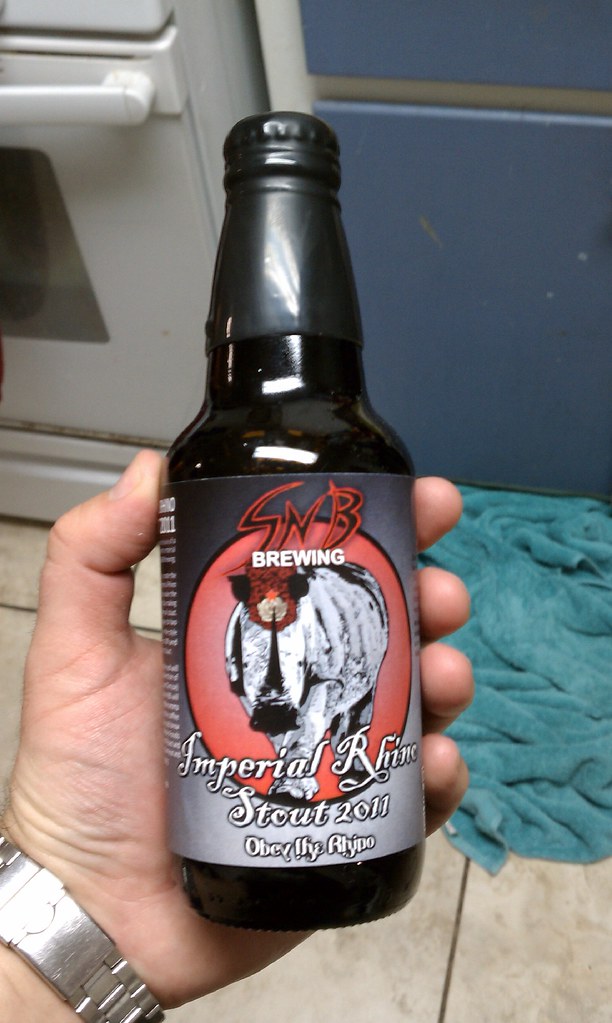
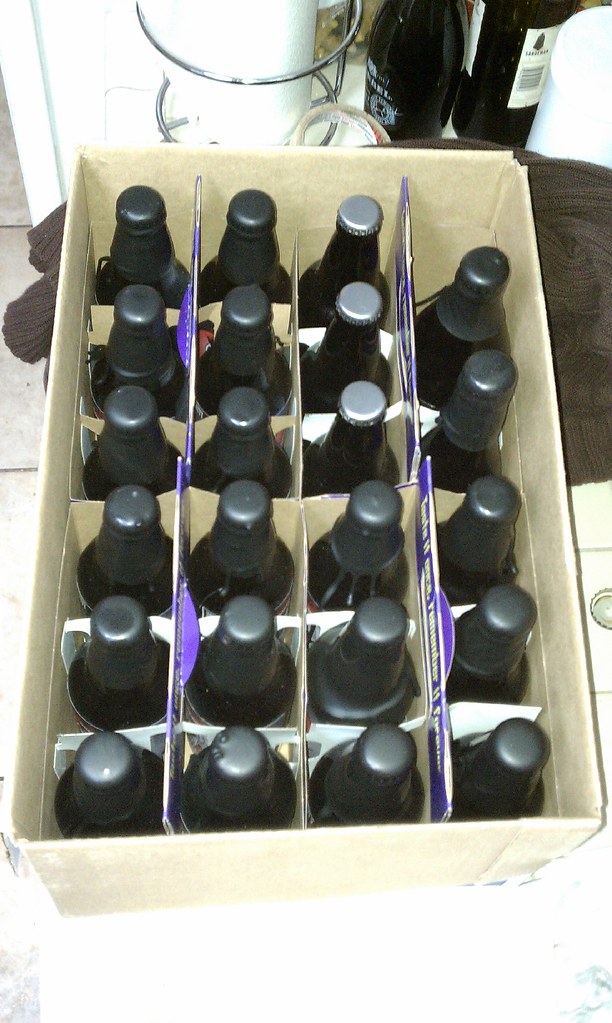
So on my last
post I talked about using a Blichmann BeerGun to bottle
Imperial Rhino Stout 2011. Since then I spent some time
labeling the
bottles then waxing the top to complete the look.
For the most part I've labeled pretty much every bottle I've filled
(minus competition bottles) but I've only waxed a couple of beers.
In my opinion there is nothing classier of a finishing touch to a killer homebrew then labeling and waxing the bottle. Especially if you are going to be giving them out to friends.
There is a lot of discussion on the real usefulness of waxing beyond
decorative reasons. With the advent of modern bottle crown technology the need for wax to prevent oxidation has been greatly reduced. Modern crowns are manufactured with ability to seal airtight. Oxygen aborbing caps are also fairly common and can be picked up in any
LHBS.
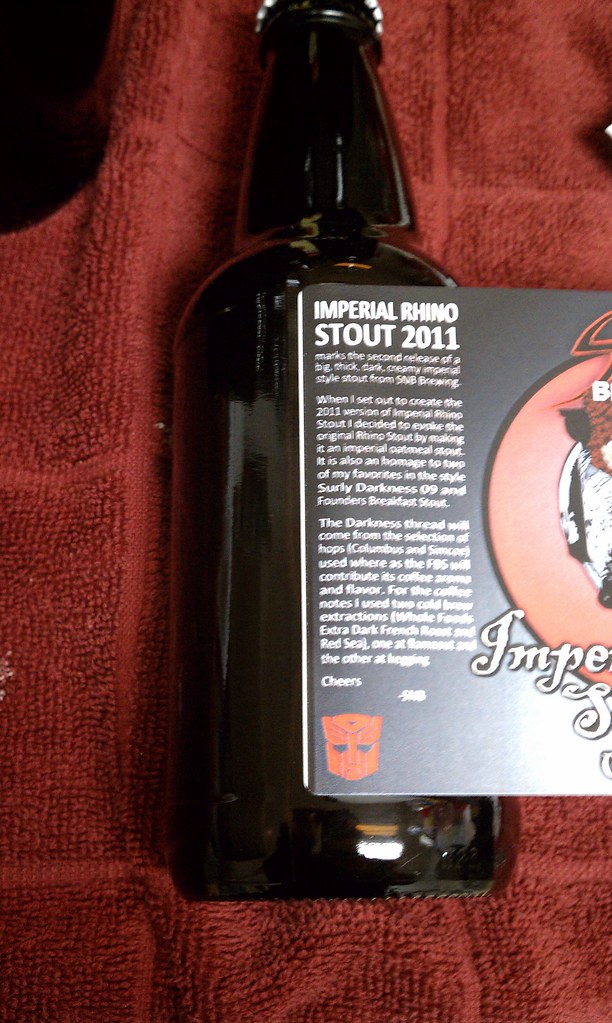
I have a few tricks to labeling bottles that I never discussed when I did my
post on creating them. When it comes to labeling I primary use two kinds of
Avery labels;
5168 (3.5 x 5 inch) for the big labels and
5164 (3.33 x 4 inch) for small labels. I generally buy them off of Amazon in boxes of 100 sheets, this yields 400 5168s and 600 5164s. I've used full sheets to custom cut labels and clear which I've not liked the results of. I seen other label products that are removable but more expensive and the Avery labels come off pretty well with a good PBW soaking. One of the hardest parts of labeling is getting the label to print perfectly on the sheets. In the past I've thrown away a lot of not 100% perfect labels. These days I print and hope for the best.
 |
| Waxed |
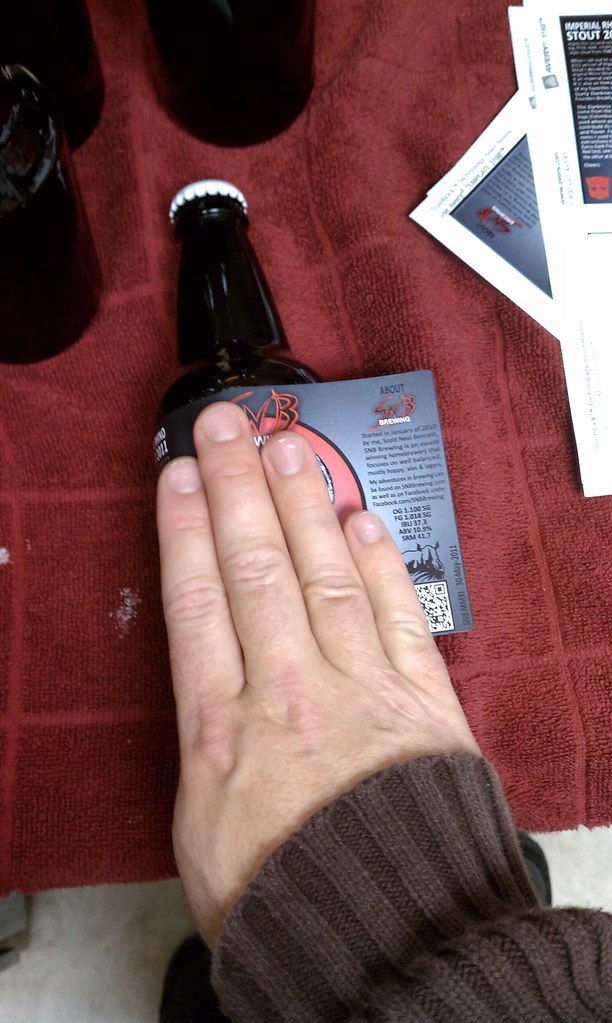
When it comes to applying labels it's best to apply to a clean, dry and room temp surface. Generally if you are rising your bottles after filling, to wash off the beer you purposely let overflow, you should have a clean surface. Dry part is easy as you've either toweled it off of let it air dry. The temperature on the other hand is only something I recently ran into when bottling via the BeerGun. I use to bottle and label in the same sitting and as you might recall I recommend having the beer and bottle at the same cold temperature. This means that the bottle I'm applying the label to is actually pretty cold. Cold to the fact that it can have a tendency to sweat therefore eliminating the dry part of my labeling requirement. I'd also found that even if I towel it off the label still doesn't want to overly stick to the bottle. These days I generally let the bottle come up to room temp overnight before labeling.
When I was first brewing I had a lot of fun labeling upside down, sideways and even on an angle. Today I generally like a nice straight label. I've found a little trick to help with this. As modern bottles are machine made not hand blown they all have vertical seams on them. I find one of these seams as use it as a guide to position one side of the label, I general label like I read left to right. Once aligned it's a simple trick to roll the bottle smoothing out the label as you go. I've also found that you can remove and reapply within a second or so to straighten it out.
Seeing as I've only used wax a couple of times I might not be the best authority on it. Wax comes in several colors and generally I choose one that matched the label and overall feel of the beer. To melt the wax I take on old can and fill it with the wax. Then I drop it in a pot of boiling water till melted. I will saying having done it side by side don't stir your wax, just let it melt. Early bottles of IRS 2011 had some small bubbles where as the main run is smooth and glossy. The difference, I stirred the first time I melted. Once melted I remove the can from the pot and dip the tip of the bottle to the depth I want and hold it there for 10 seconds and remove. In the last run I say no reason to double dip. You could have fun at this step or keep it clean. I like to have fun with drips here and there.
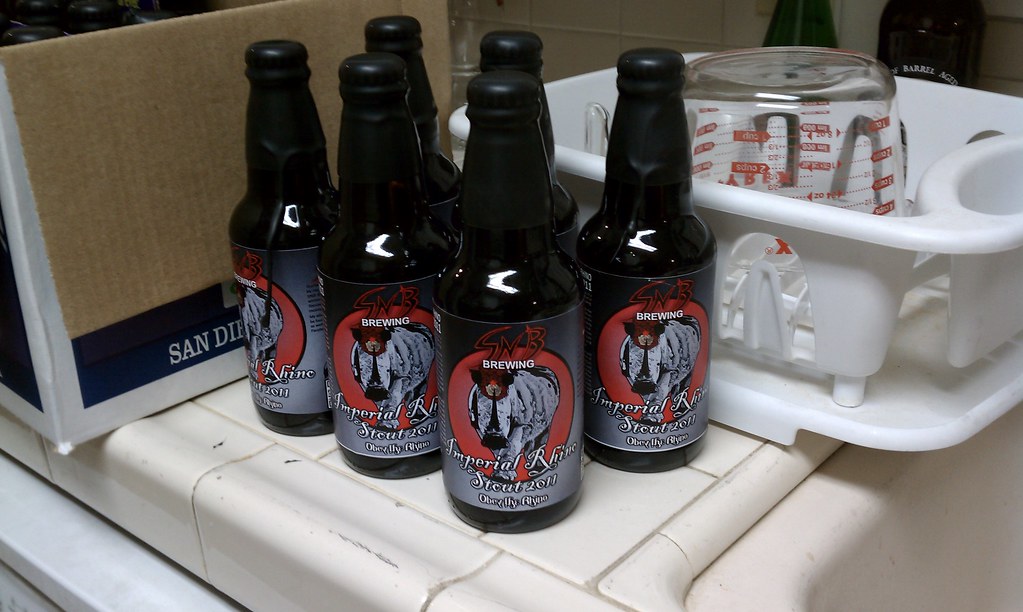
The end result looks pretty damn good.
Cheers
-SNB
Labeling
 |
| The work area laid out for labeling |
 |
| The seam is there, I promise |
 |
| Once the seam is found line up an edge of the label... |
 |
| ...and roll the bottle while smoothing out the label with your hand |
 |
| Finished product |
Waxing
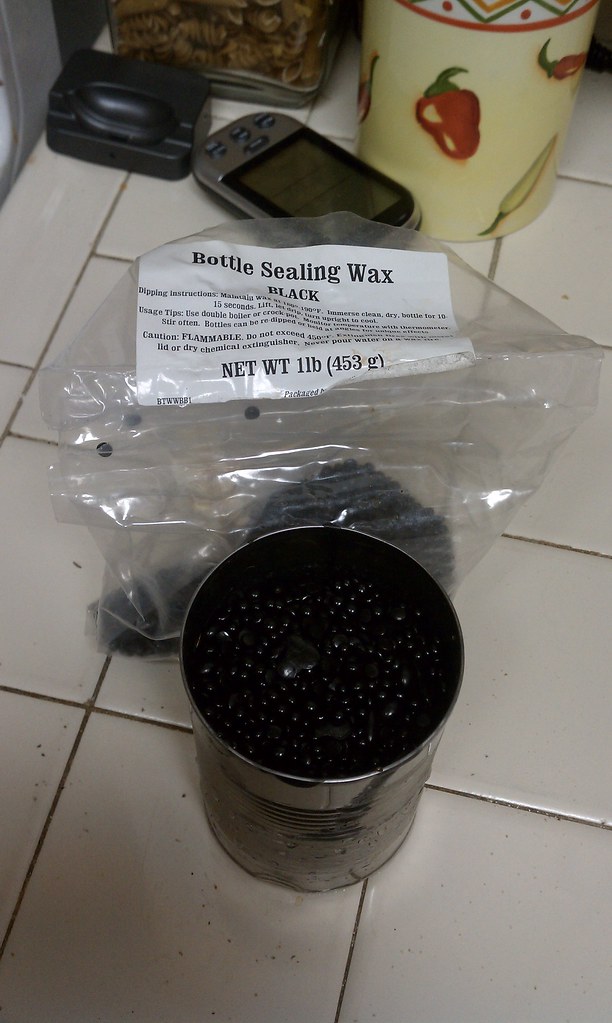 |
| The raw un-melted wax resin in an old can |
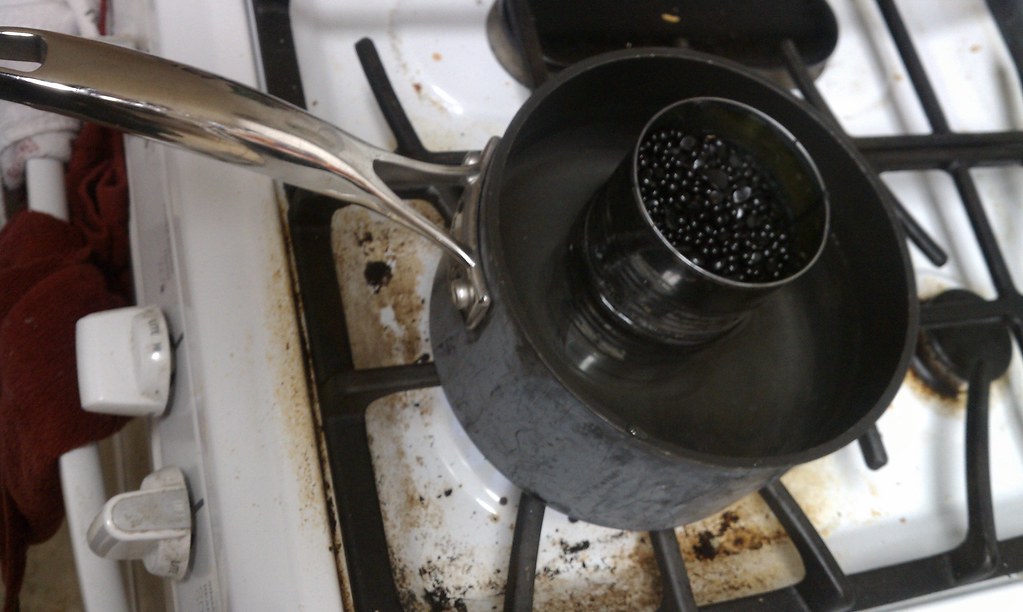 |
| Melting the wax |
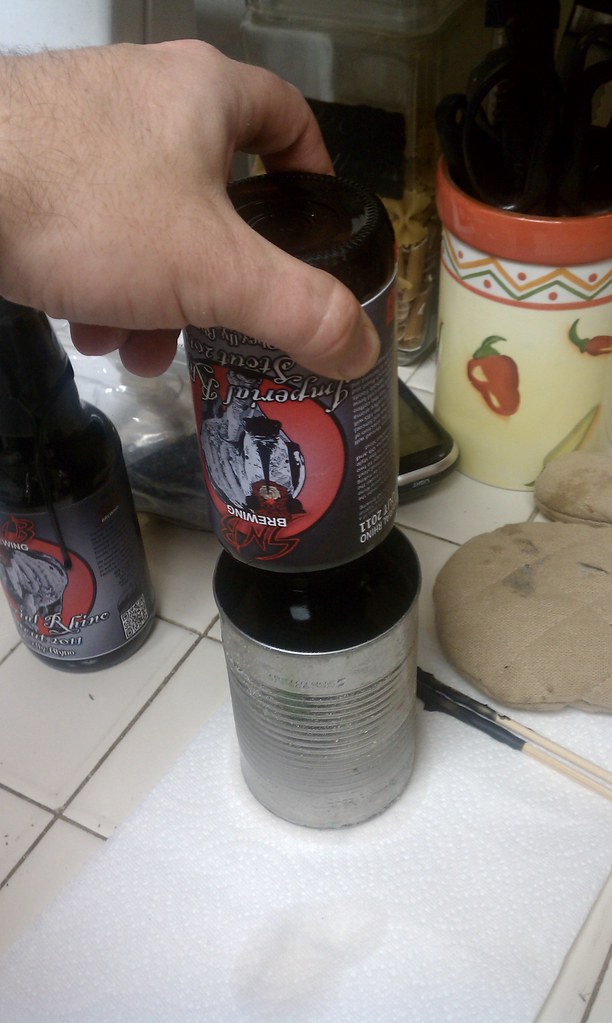 |
| Dip the bottle to the desired level for 10 seconds |
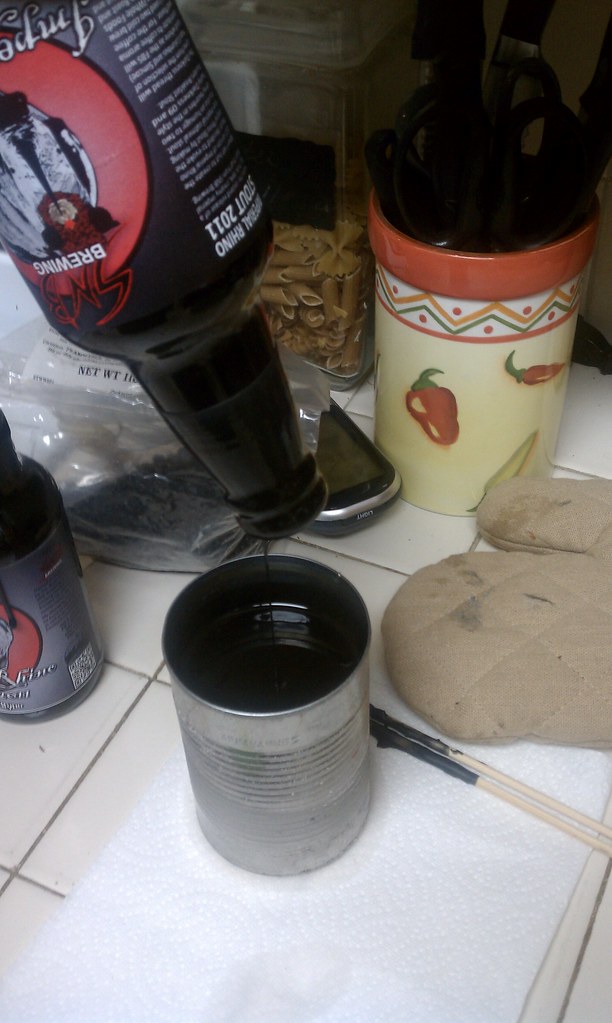 |
| Let it drip to remove the excess |
 |
| A little drip here and there can add to the look of the bottle |
 |
| The herd is out grazing |
 |
| That's what I call a nice six-pack |
 |
| Have fun with it |
 |
| Almost a case |

I like that you label your home-brew bottles. Lots of home-brewers consider it a waste of time, but I'm like you in that I think it is a nice touch. Of course, your labels are much nicer looking than mine.
ReplyDeleteI've never waxed. I also think it looks cool, and I've thought of doing it, but I just have not gone that step yet.