
 |
| What if this dispensed beer? |
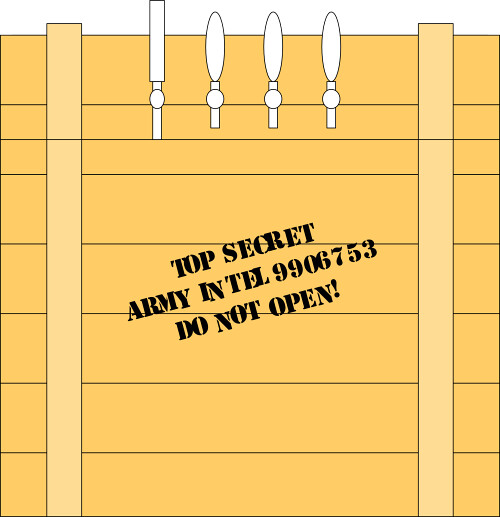
I've decided for today to finally post the complete Indiana Jones Crate Keezer build. By now you might have noticed in the "SNB Brews Currently..." section on the right of the page a section listed "On The Crate". This refers to the 4 tap keezer I built out of an old chest freezer, which is the definition of a keezer vs a kegarator btw.
I knew going into building my own draft system that it should be four taps and have a theme to it. After a lot of thought I got inspired to make it look like the crate the US Government puts the Ark of the Covenant in at the end of Raider of the Lost Ark. This is why it is refer to as the Crate, The Indy Crate and The Indiana Jones Keezer on this site and others that I post to.
I bought the chest freezer off of Craigslist and a Johnson Analog controller from Addison Homebrew Provisions. I also picked up the shanks and Perlick faucet from AHP. I highly recommend Perlick faucets for their forward sealing design. Everything else I picked up from Home Depot mostly in their scrap wood department.
Real quick, chest freezers work by routing the cooling medium around the inside of the walls. Unless you have a map diagramming this it is highly advisable to NEVER screw, drill or nail anything to the wall of the freezer. I used liquid nails to connect the wood skin to the lower part of the freezer.
In total it took me about 2 weekends to complete which I broke up into two builds several months apart for monetary reasons. During this period I used it as a 3 tap keezer, this is the reason that for a period it only has 3 holes and the lid magically becomes red. Later I decide to build a removable drip tray using rulers, shelf brackets and a drip tray I bought off of eBay.
With that said here is a picture walk through of the build process.
Cheers
-SNB
 |
| The mockup design |
The Keezer Build
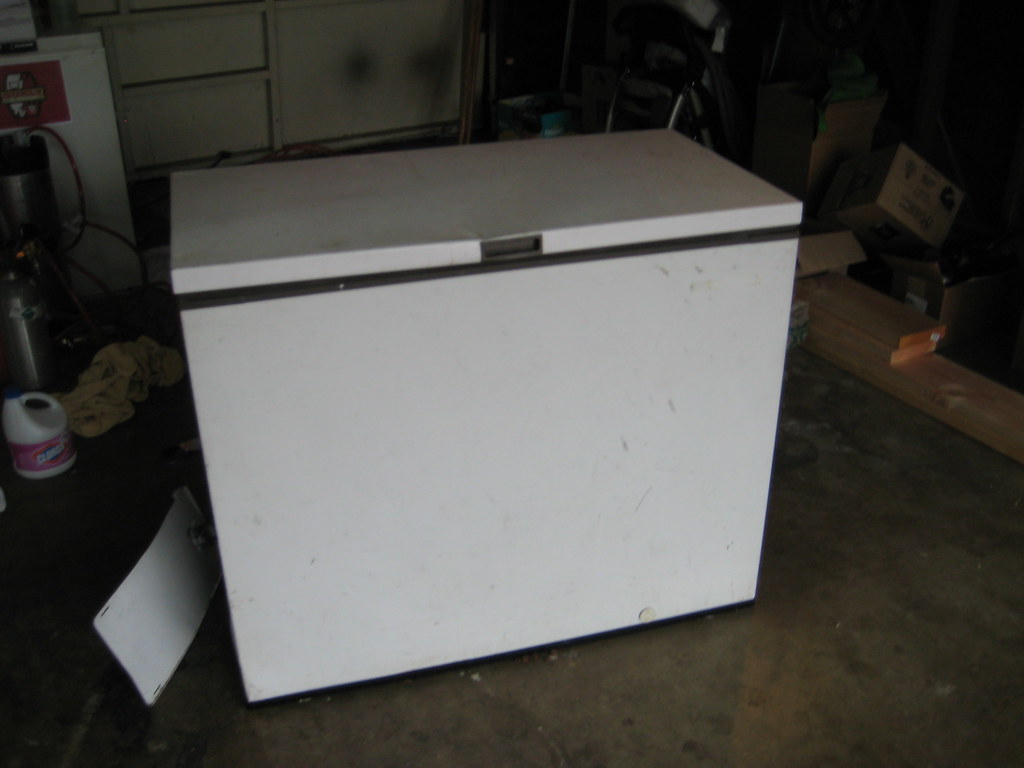 |
| Found on Craigslist for $80 |
 |
| First step is to secure the hinges with a heavy duty nail |
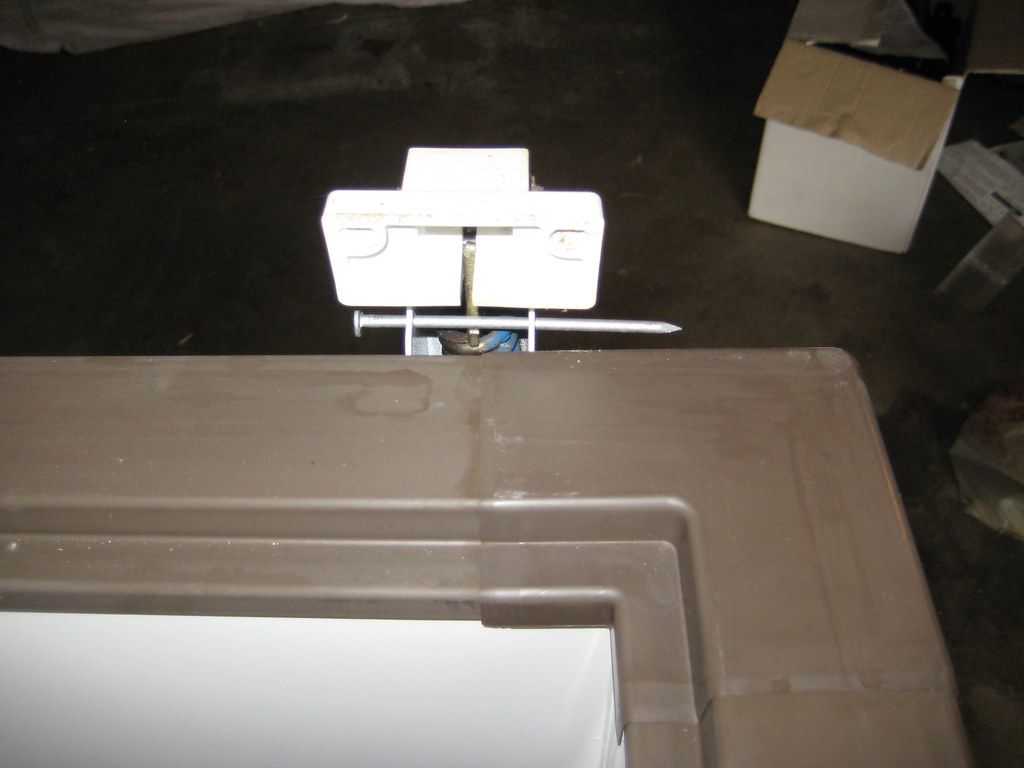 |
| This is to keep the hinge closed to make it easier to work with |
 |
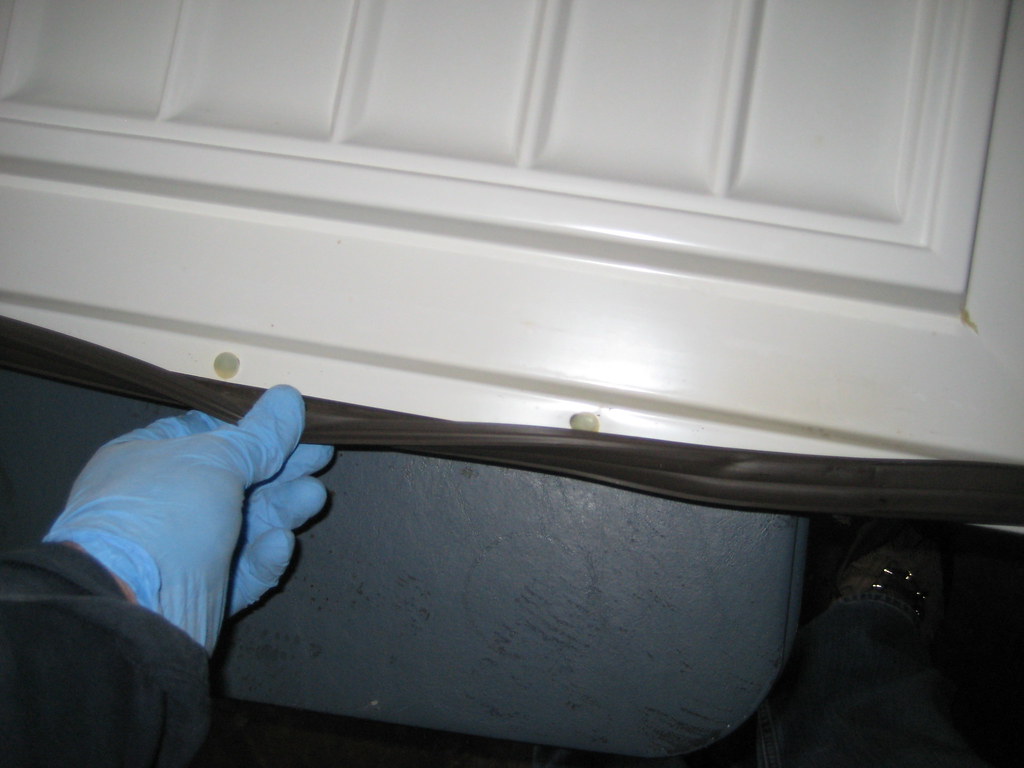
| Next I decided I wanted to save the seal gasket, so I removed the tabs holding it on which was also connected the plastic piece to the top. |
 |
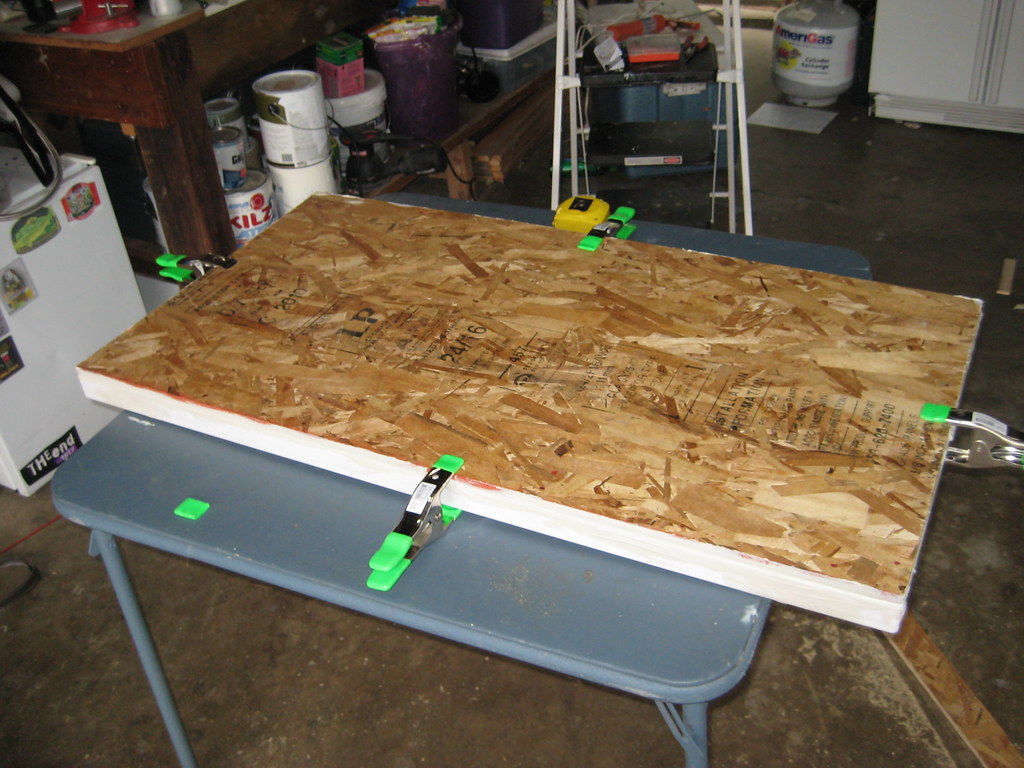
| Next came attaching a piece of scrape plywood I got at Home Depot for 51 cents to the lid. I attached it with exterior screws and a tube of Liquid Nails. I found the 2 inch clamps at Home Depot for 99 cents each. in retrospect 2 more would have been prefect |
 |
| While the lid was drying I started on the collar, I'd bought a 10 foot 2X8 and had them cut it into 2 41 inch boards and had them split the reminder in half which came to be 19 inches each. I cut an inch off each of the side boards and screwed it together. |
 |
| I tossed the lid on quick to get a sense of how it would look and make some markings |
 |
| Next I attached the collar to the lid with lots of brackets and screws |
 |
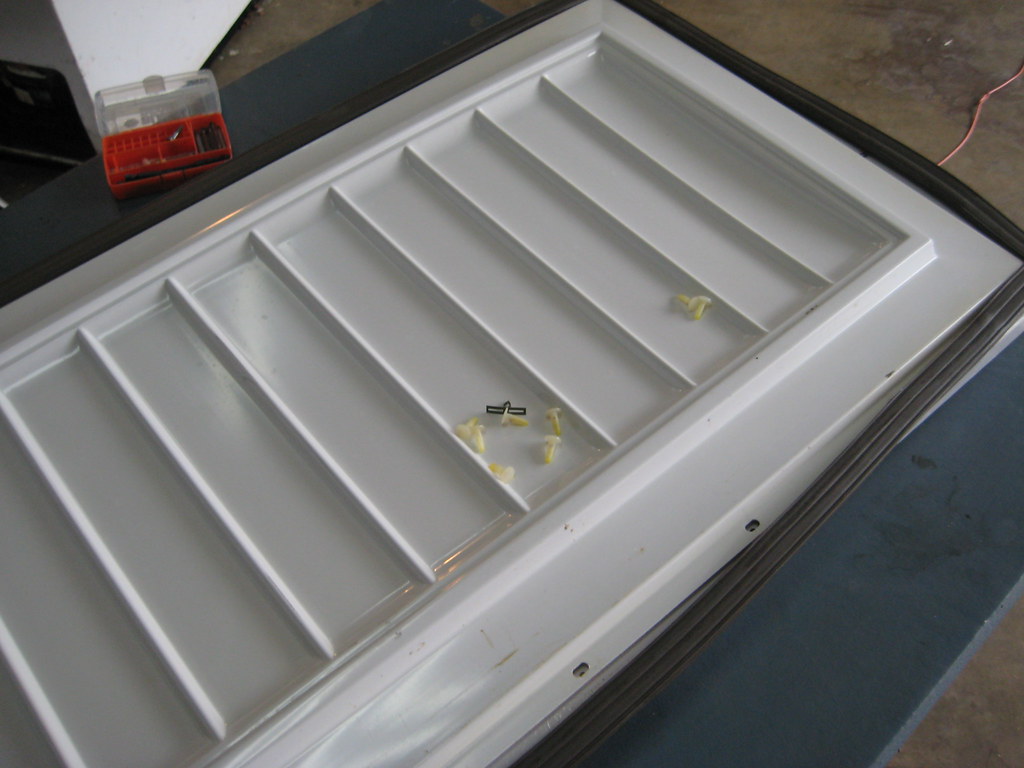
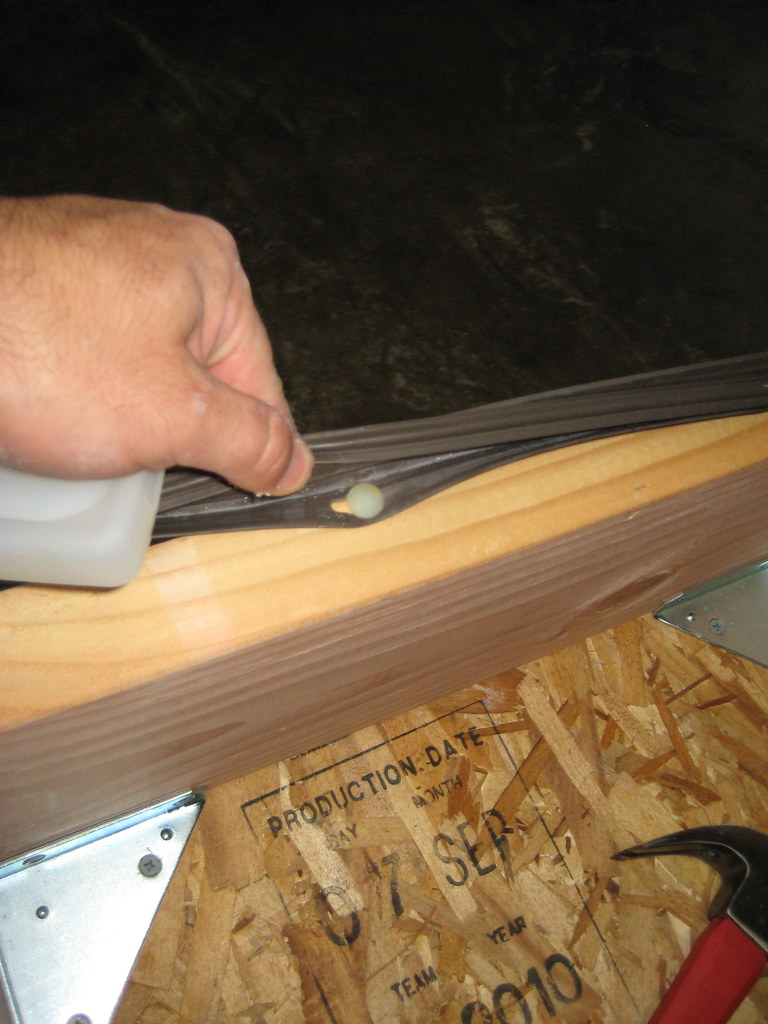
| Next I drilled some holes on the top and reattached the gasket seal using the tabs I salvaged earlier that day. |
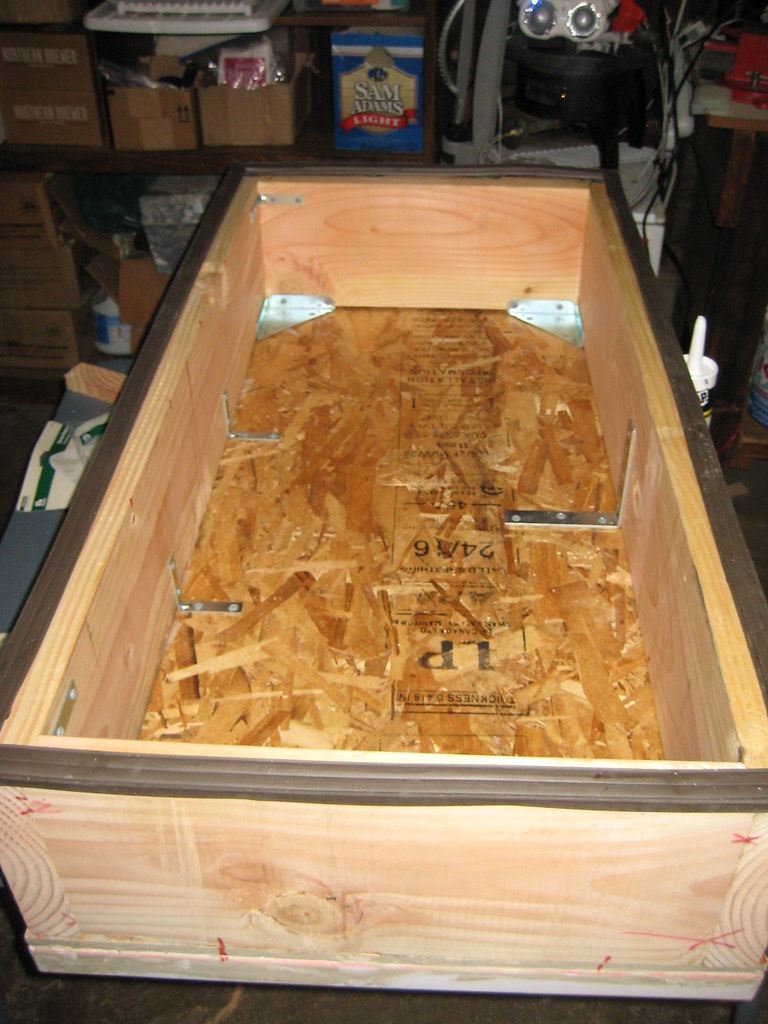 |
| Here it is bracketed up with the seal back on |
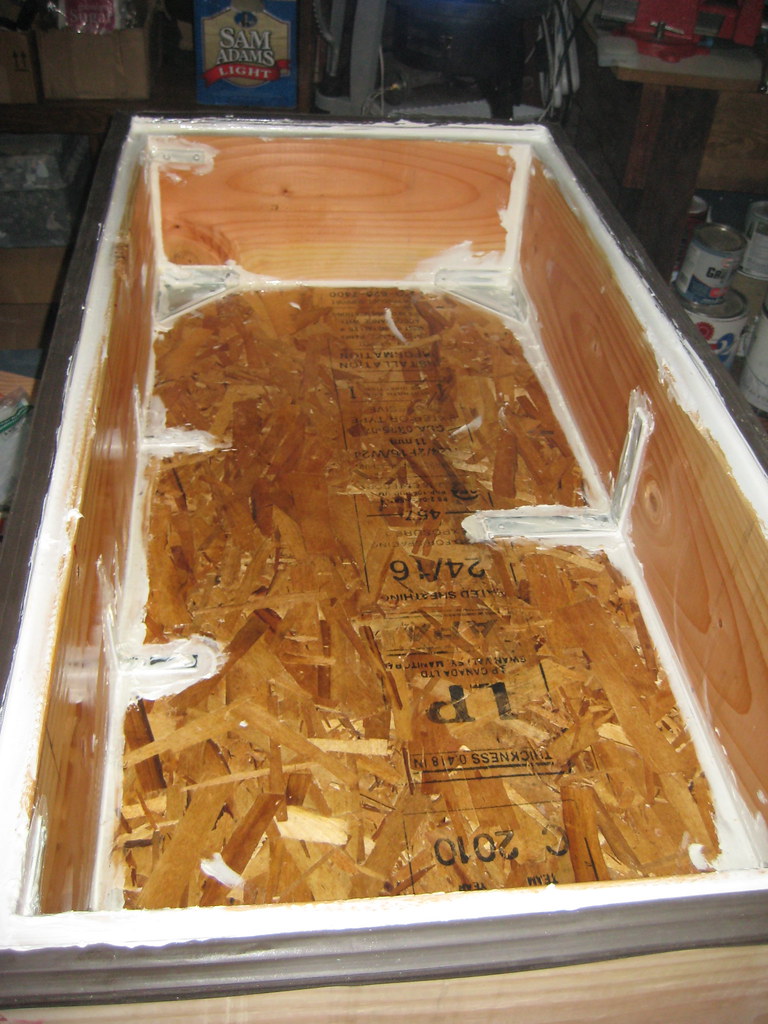 |
| Next I took a tube of mold resistant exterior seal and sealed everything up. I also grabbed a can of exterior polyurethane and put on three coats to seal the wood and let it dry over night |
 |
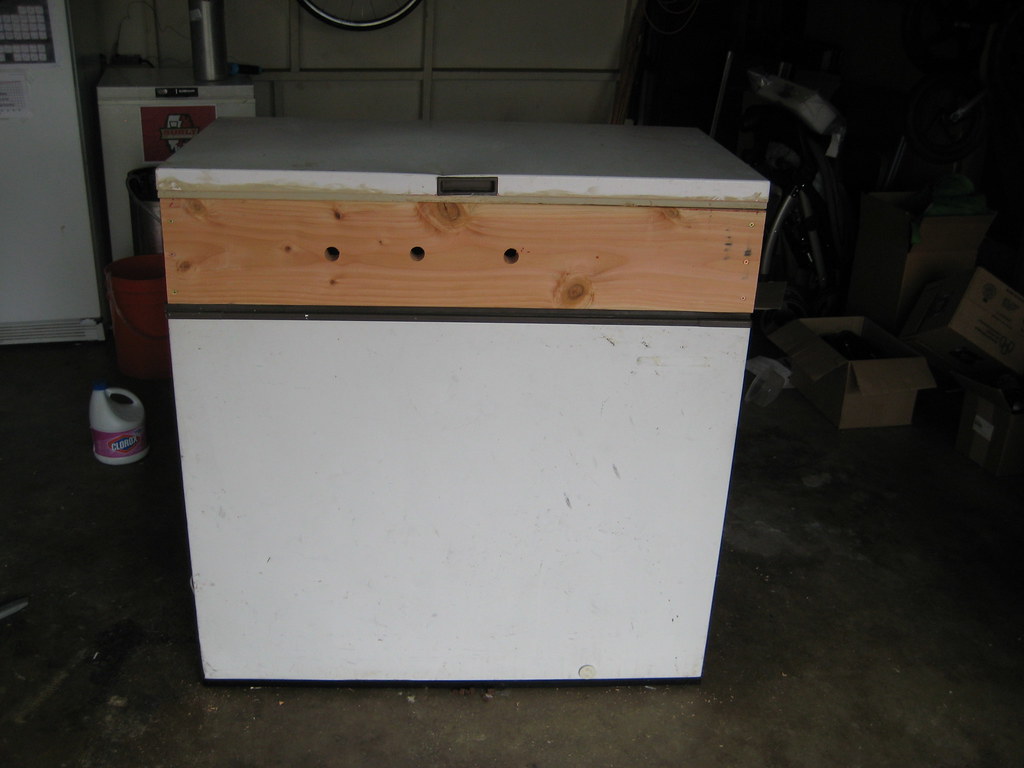
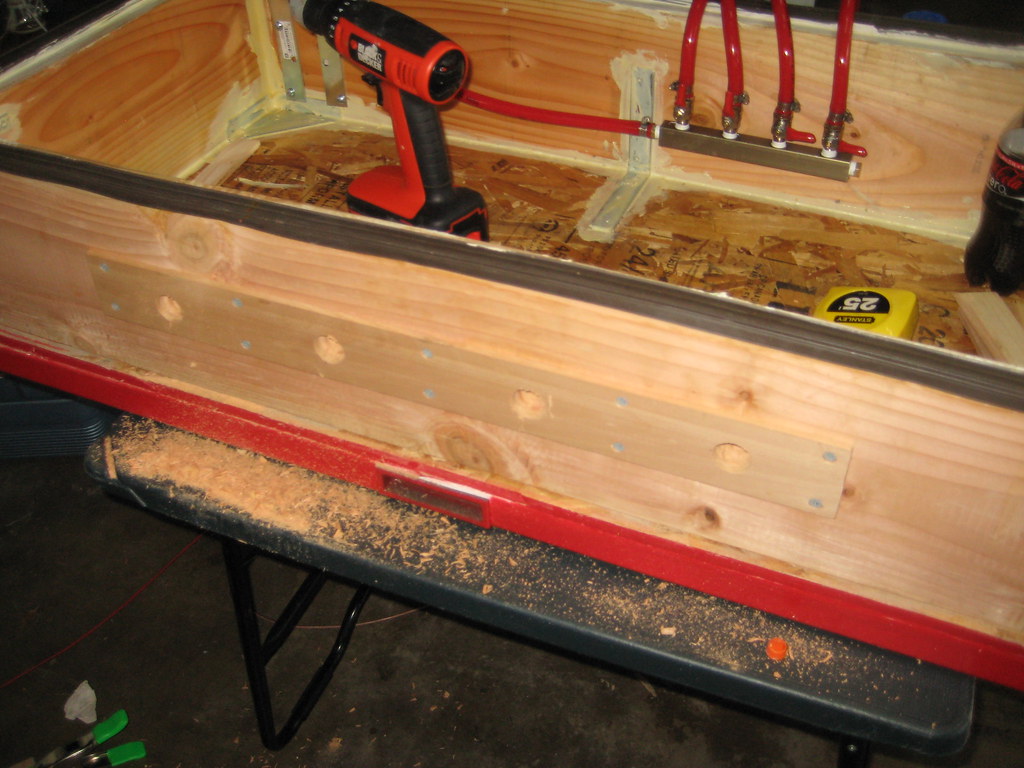
| The next day I started by measuring and
drilling some pilot holes. I then took a 1 inch bore and bored out my three tap holes. I used a 3/4 inch bore to do the same for my gas line after a suggestion about keeping CO2 bottles out of keezers. [not pictured till later, to reinforce the hinges I sandwiched the wood at the hinge between 8 6 inch plates you'll see it in a bit] |

 |
| Here are some pictures of my airlines in a four way manifold |
 |
| The lid and collar are back on... |
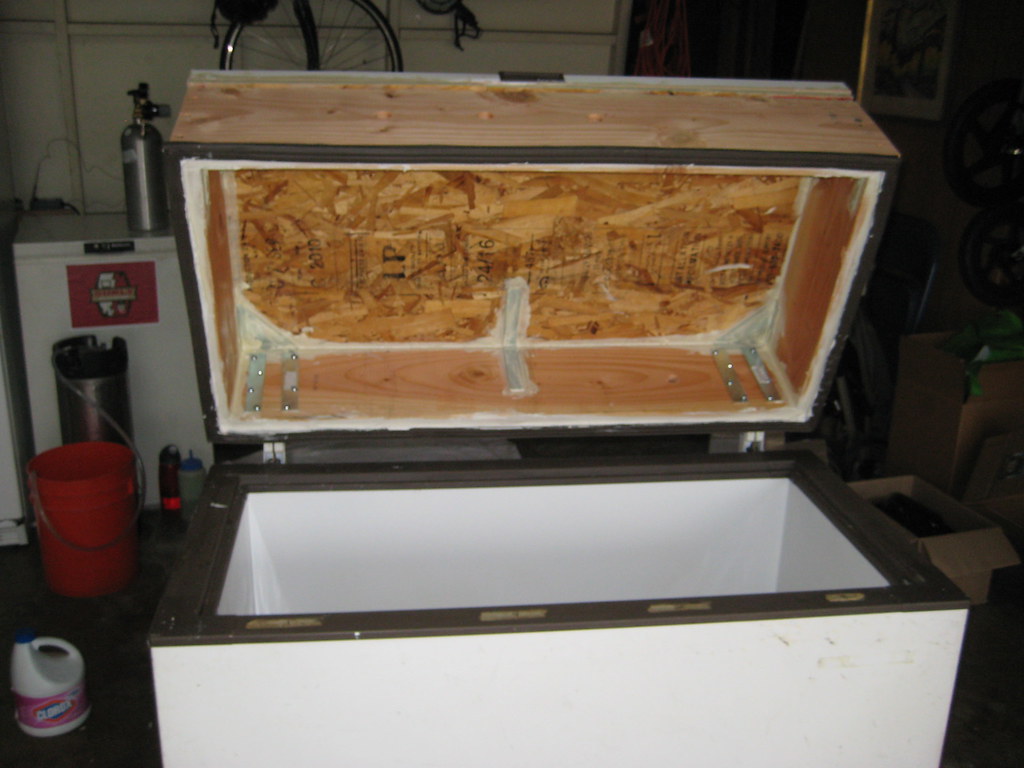 |
| but will it open... |
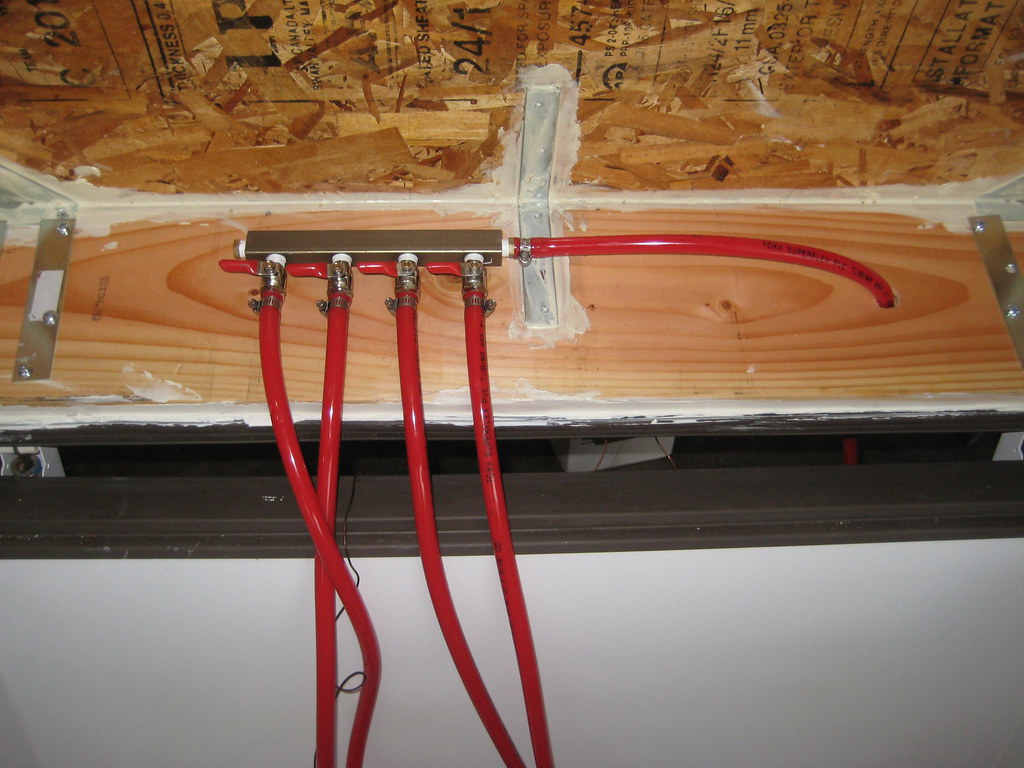 |
| Next I ran my airline through the hole I drilled and attached the manifold to the collar |
Skinning the Keezer
 |
| I really scored in the scrap wood department as I purchased the bulk of the wood for the skin for around 51 cents a board and all were 45-50 inches which allowed me to cut in half and cover both sides and half the top! |
 |
| I needed to do was trim the plastic so it would be flush, quick work with my chisel |
 |
| Next I attached a small piece of wood in front of the existing holes to help level it so that when I attached the shanks it would have something to reinforce it. (Does that sentience make sense?) I also added shims for the same purpose |
 |
| Then I drilled holes |
 |
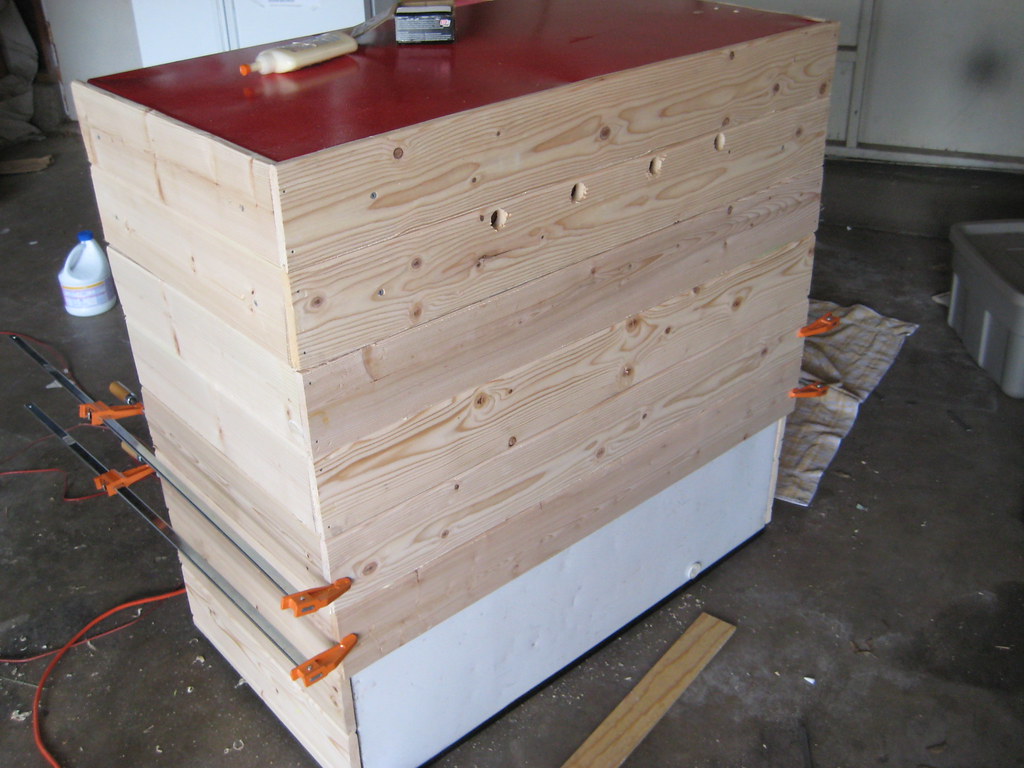
| Side panels attached with liquid nails curing overnight |
 |
| The front panels added |
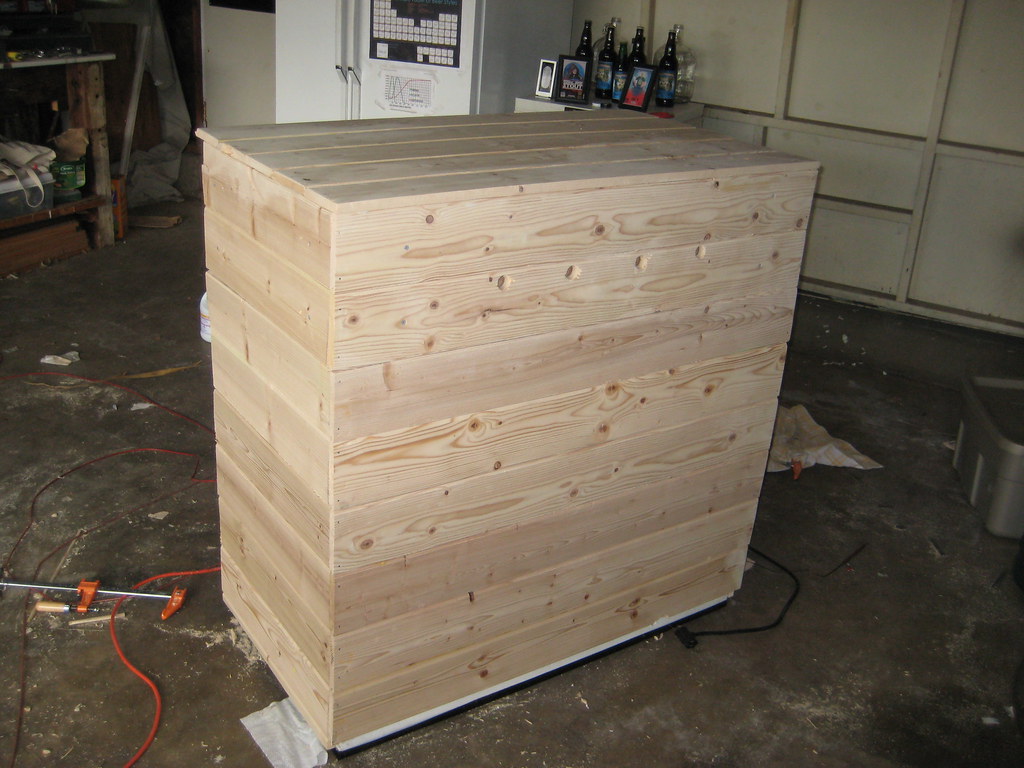
 |
| Pretty heavy but it still opens |
 |
| Attaching the lower section |
 |
| Just needs a little cleanup work |
 |
| Attached the control to the side |
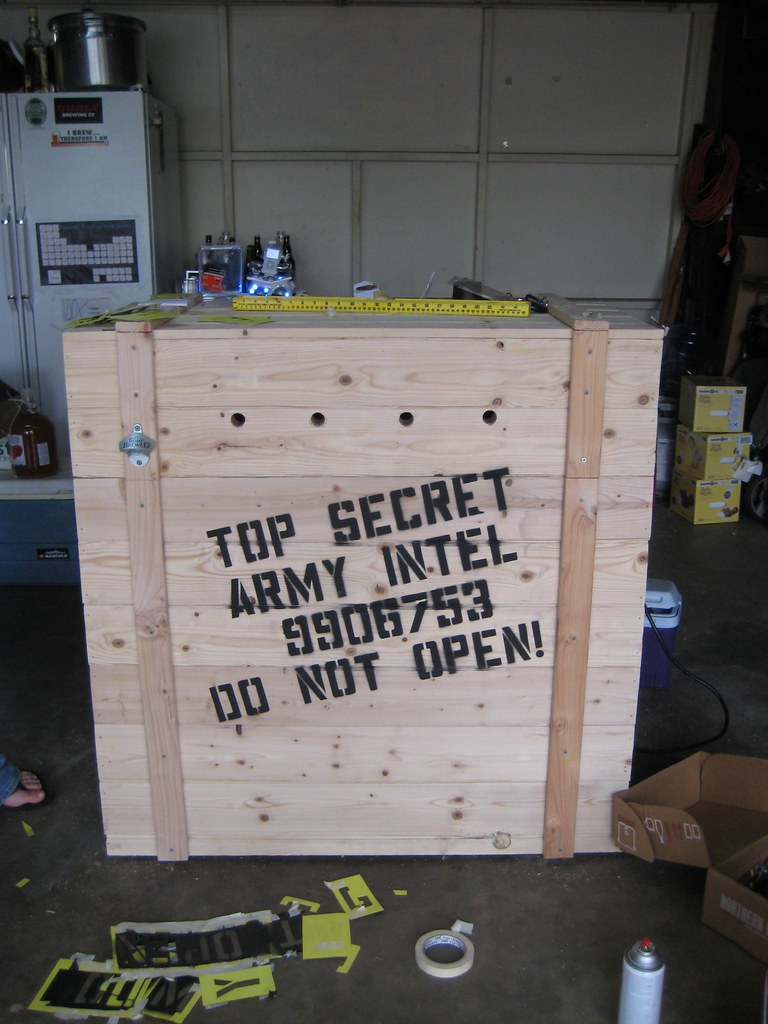 |
| Added the strapping and stencil (should have use 2 inch) |
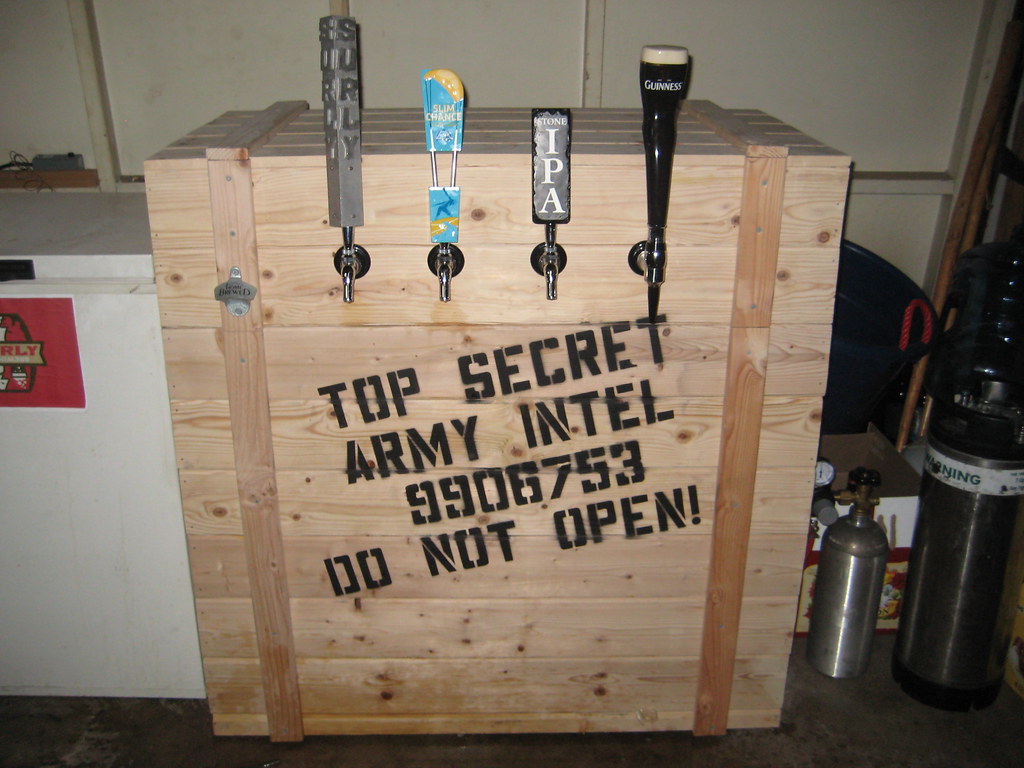 |
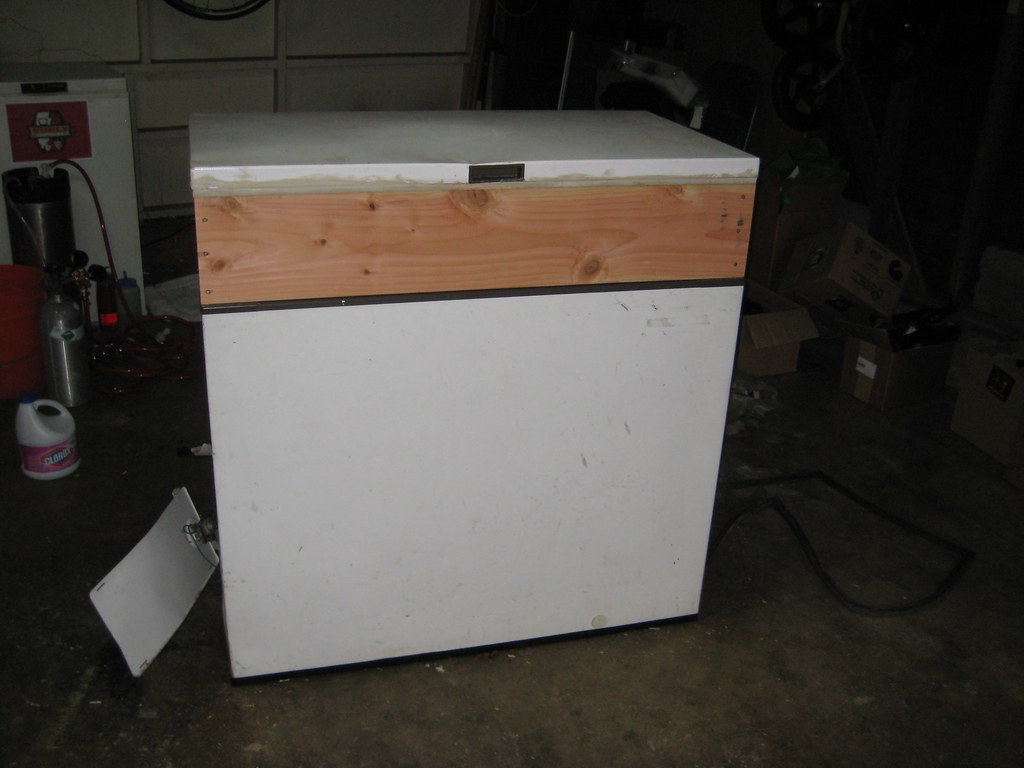
| Almost the final product. Currently I've ditched the stout faucet andadded another HomeBrewed Opener |
The Drip Tray
 |
| I bought a brass 23 x 7 inch drip tray off eBay for around $35 |
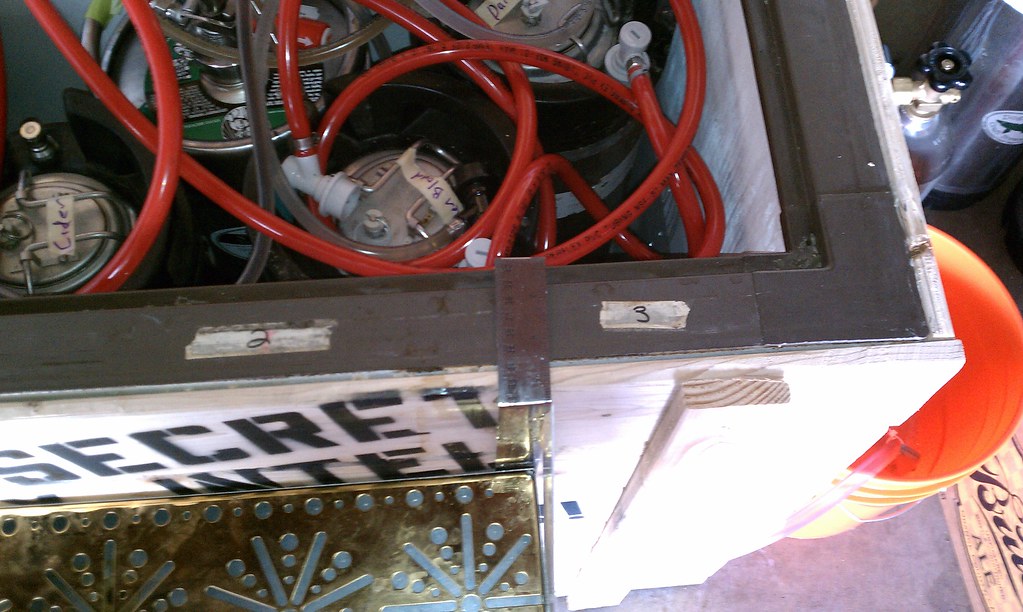 |
| Created some hangers using 18 inch steel rulers that I bent on my vise |
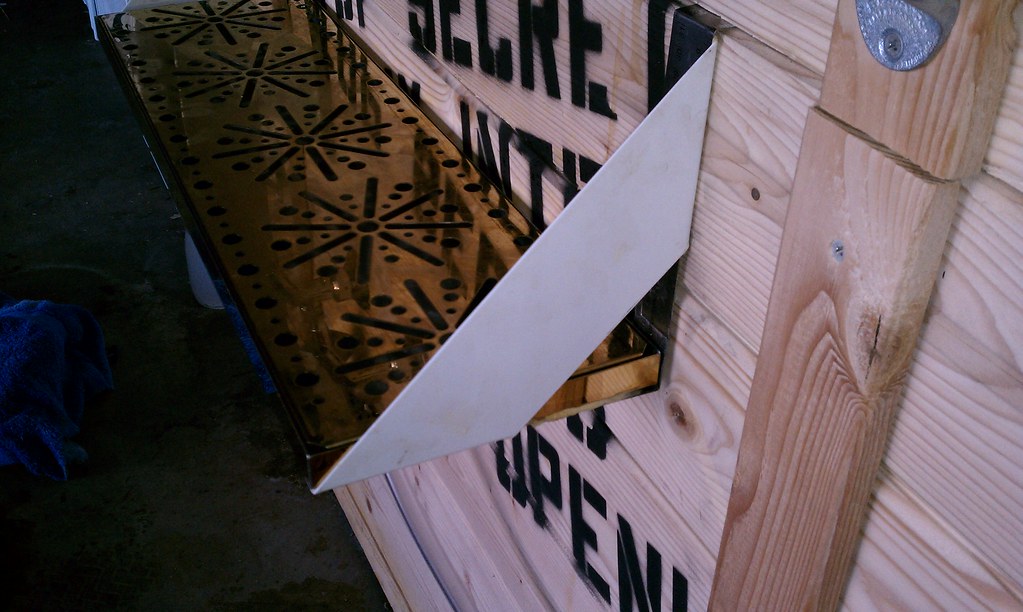 |
| I reinforced it using some 7 inch shelf hangers |
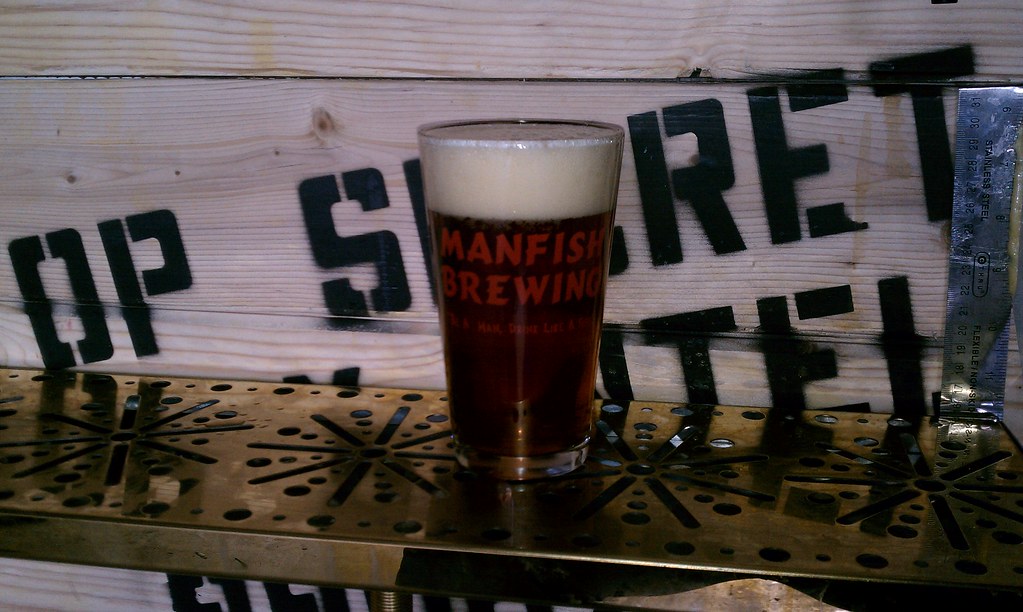 |
| Works wonderfully |
very cool.
ReplyDeleteThat is awesome. :D
ReplyDelete