Header Image

Showing posts with label Addison Homebrew Provisions. Show all posts

Thursday, January 10, 2013

34

Happy Birthday to me
For the second year in a row I spent my birthday leisurely brewing a big imperial stout. You may recall that a year ago I mentioned that I always try to take my birthday and spending it doing things I love, which for the past two years has meant brewing a beer.

The beer this year was a slight retool of the Kate the Great clone that I brewed last year. I had started to tool-up a monster of a beer in BeerSmith about 6 months ago but decided I wanted to give the recipe another shot after the fate that had befallen 33.  As you may recall from the "Barrel" Aged 33 post due to it's close vicinity to Halvtreds it caught a brett infection that somewhat diminished the final flavor of the beer.  This really bugged me as my in process tasting was reveling an incredible beer was developing.

Brewing of the beer went really well and considering that last year I had to sub in some DME to meet my targeted gravity I was quite pleased to have hit it without any this year.  The biggest cause of this was my focus on the efficiency of the system and the process I've been using for sparging. I've spent some time studying other brewer's processes and the flow rate while sparging does appear to be a big contributor to the system's efficiency.  The rule of thumb that Shawn has advised be to follow four oz in a quarter minute. (Note: I texted Shawn to confirm this and he replied - "Yes.  One pint per minute, but measuring 4oz in 15 second allows for quick adjustment and dialing in." He cautions - "Don't exceed 90 min total (per Noonan)")

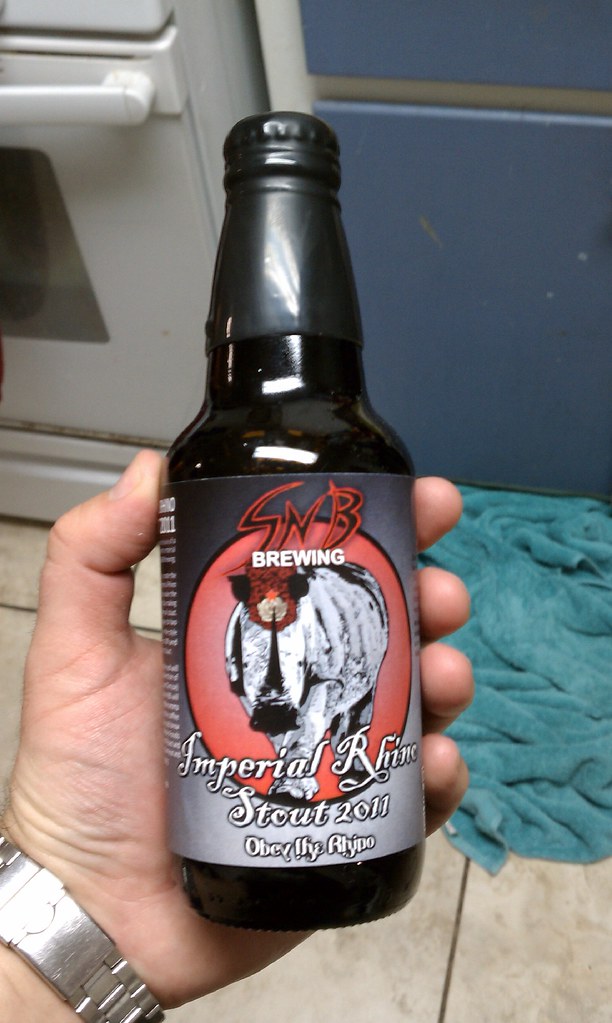
The 521 Blend of "Barrel" Aged 33
Another big deal for the day was the birthday present from my wife and daughter of a Duda Diesel plate chiller.  I've had A LOT of issues with my immersion chiller leaking while cooling, which resulted in some severely missed gravities and no loss of frustration, and really wanted to follow Shawn in getting a plate chiller.  I'd been eying Duda Diesel as the cost effective solution after first hearing about them over at Chism Brewing Voyage.  I had originally planned on buying one direct however between first coming across them and my birthday I mentioned them to Eric at Addison Homebrew Provisions who then went on to start carrying them (which is where Bonnie bought mine).  I still have some set up work to do it get the temperature efficiencies to where I want it.  So far I've been able to drop the wort from boiling to 80 in about 5-6 minutes.  From there it give it an ice bath to reach pitching temp in the mid 60s.  Pretty damn good considering it was taking 30-45 minutes to get to 90 using the immersion chiller.

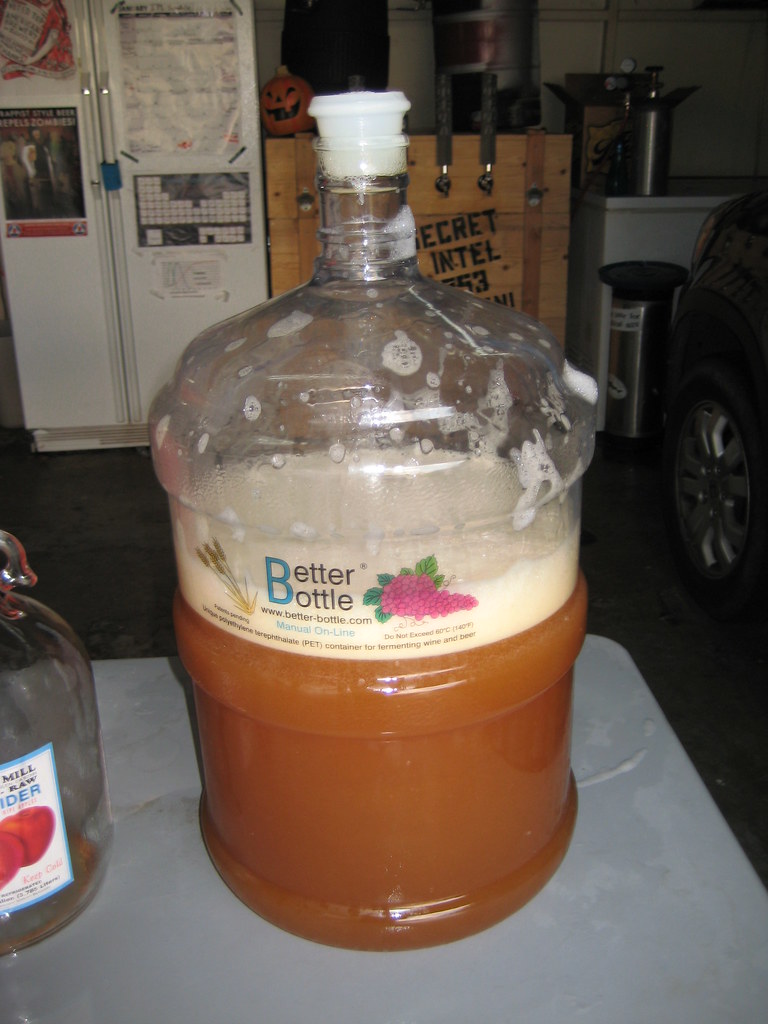
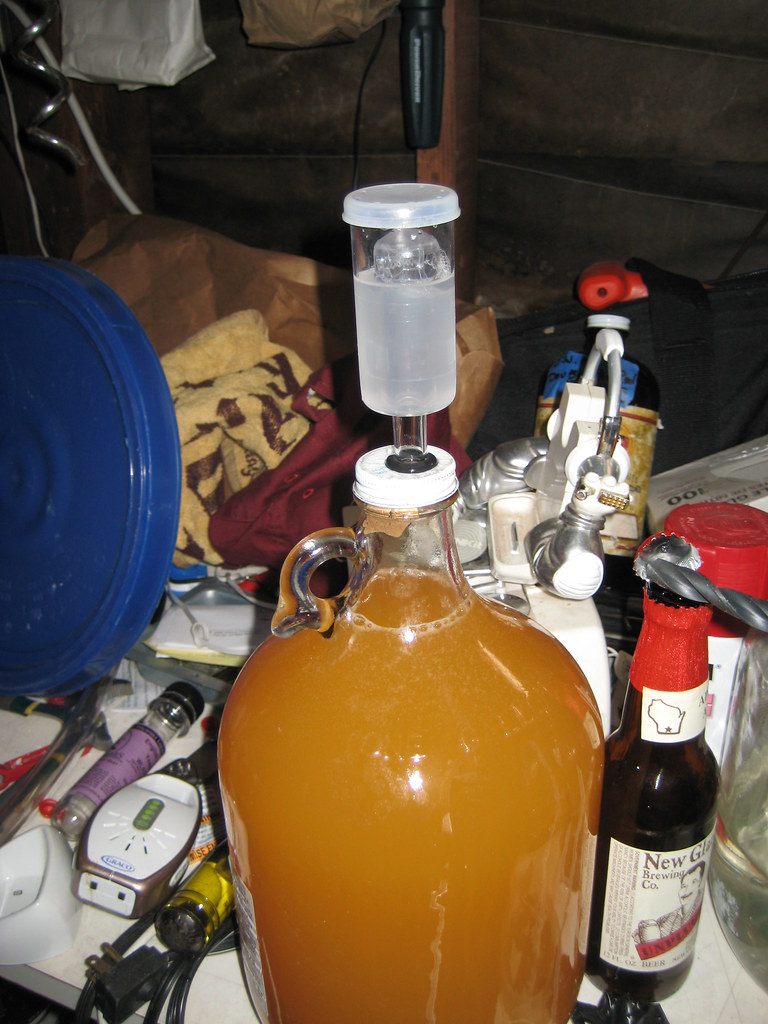
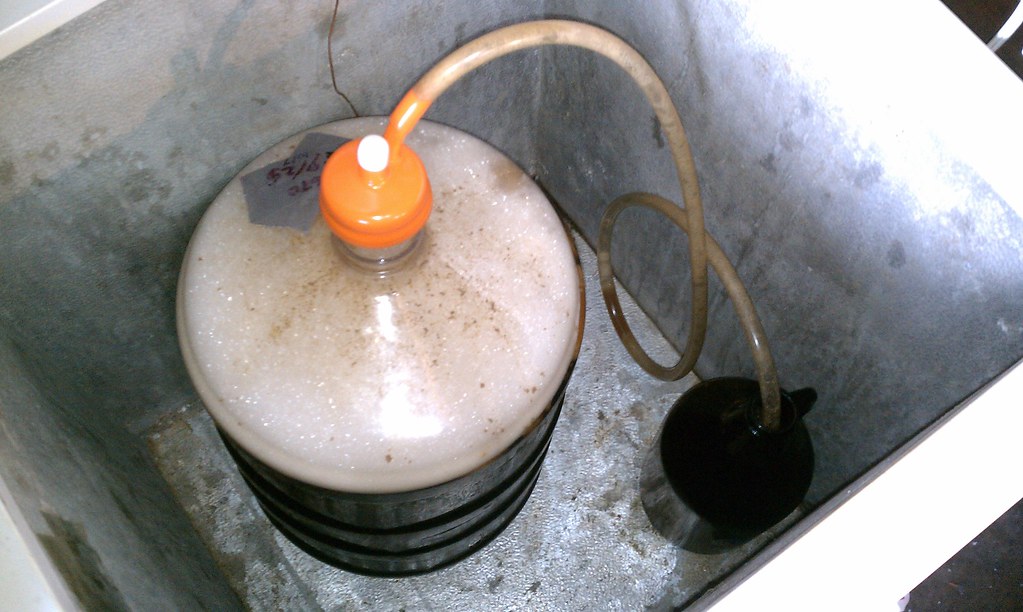
I'd made a big starter using WLP007 and my stir plate which resulted in active fermentation in about 3 hours.  In fact the fermentation was so strong that dispite keeping the temp in the 60s I experienced on of the worst blow off I'd seen in years!  oops

Cheers

-SNB

Tuesday, November 27, 2012

Sydnie IPA

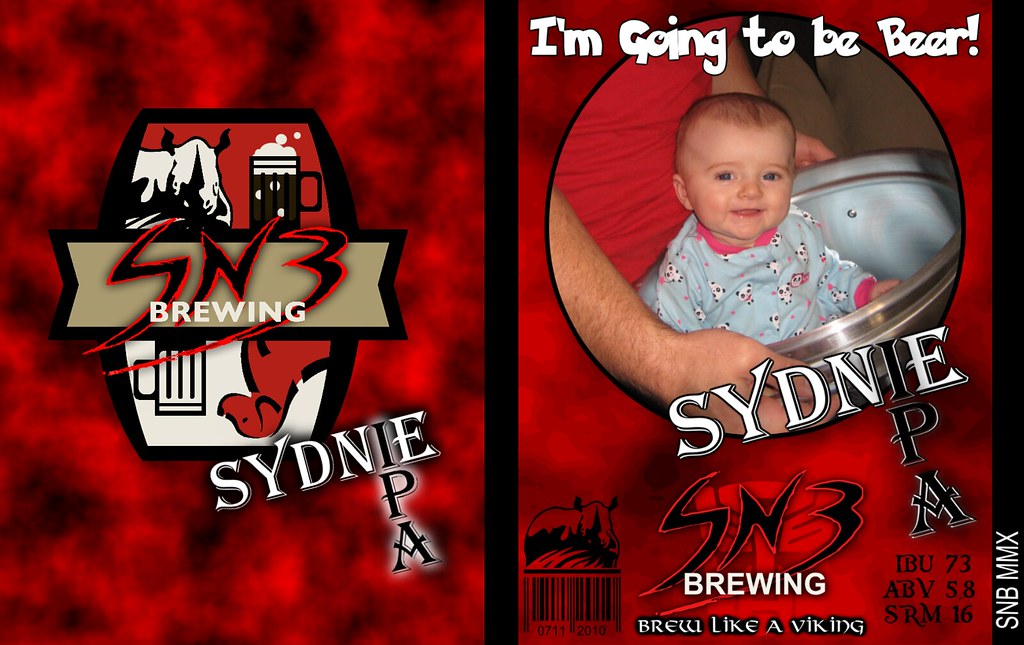
The labels from the first 2 Sydnie IPAs
As I've mentioned before in 2009 my mom bought me a Mr Beer for my birthday.  After sitting on it for a few weeks I ordered the American Devil IPA kit as I wanted my first beer to be an IPA.  It was with that in mind in that I brewed my first beer in my house in January of 2010.  I called this beer Sydnie IPA after my still incubating offspring and as legends go it turned out really bad.  Somewhere along the way it got an infection (probably from the water I found in the back of my fridge) and was never really drinkable.  Despite the disappointment of the first try I really loved the process and continued forward.  For those saying it was probably because I used Mr Beer I disagree as I went on to make dozens of success beers using Mr Beer products. 

Later that year after getting 20 odd beers successfully under my belt I decided to give Sydnie IPA a second go and again I was left with a less than stellar brew.  Was the name cursed?  I had made a bunch of really tasty beers since my first outing. I'd followed the directions to a tee and had again failed. Again I put the disappointment behind me and continued forward honing my brewing techniques. While I made several IPAs and worked on a few IPLs over the last couple of years but none of them carried the name Sydnie IPA.

That was until October of 2012.

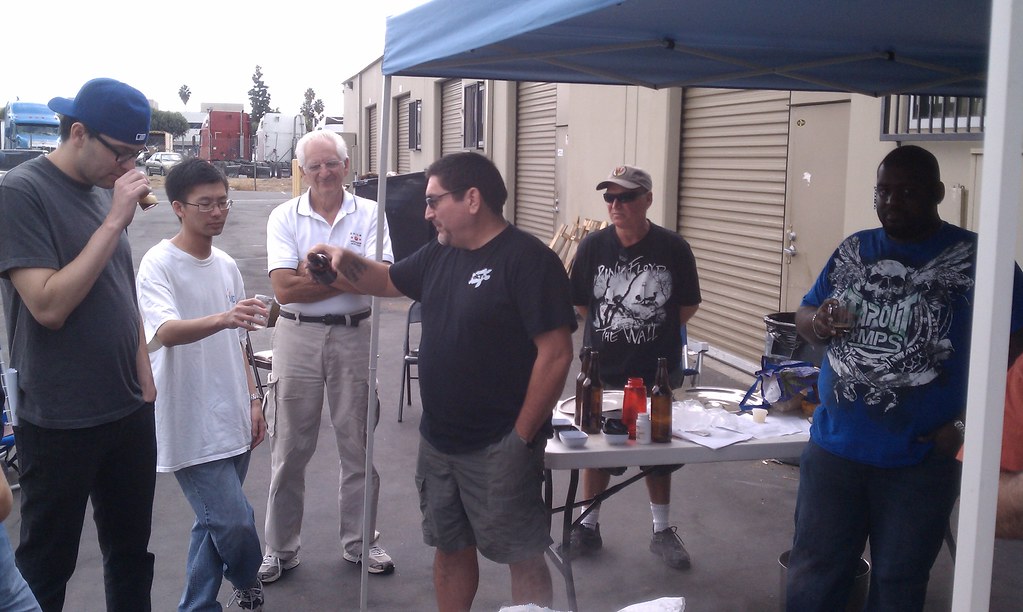
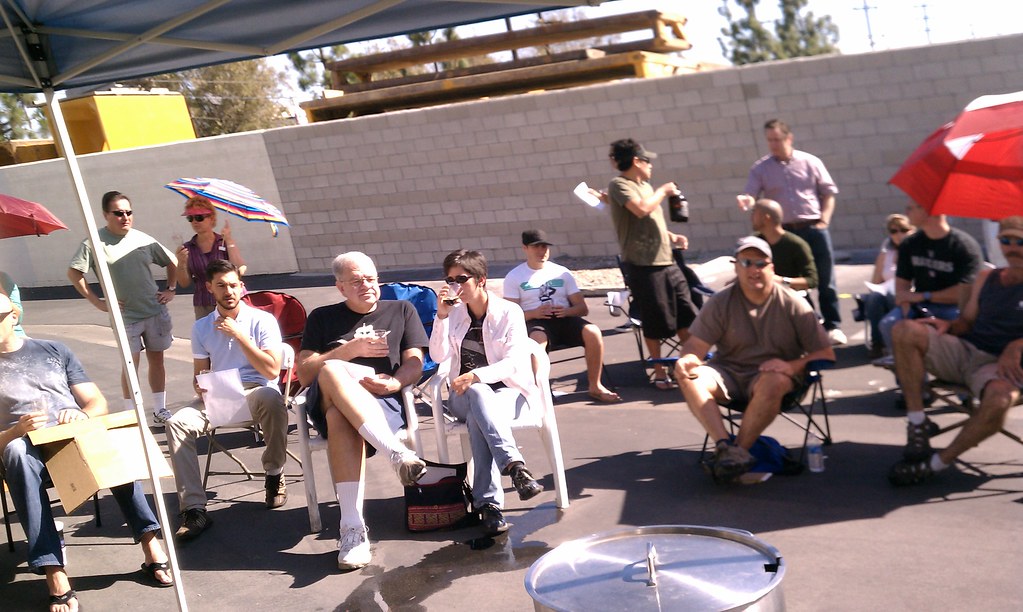
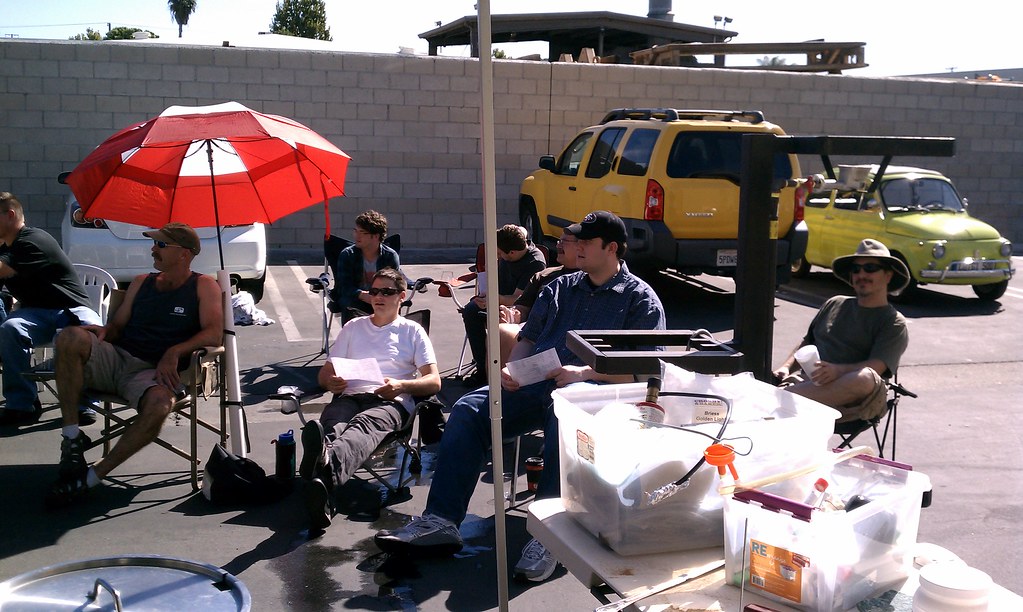
On October 21st I did a brew demo for Addison Homebrew Provisions.  Leading up to the demo I created a poll on the forum asking people what they wanted to see made.  I had five ideas in mind each would included a presentation topic to discuss during the downtime between steps. 
  • IPL – Discussion Topic: Lagering 
  • IPA – Discussion Topic: Hop Additions 
  • Imperial Stout– Discussion Topic: Brewing BIG Beers 
  • Vanilla Porter – Discussion Topic: Flavor Additions 
  • Split Batch – Discussion Topic: Creating Two Beers from One Wort 
In the end IPA won with 24% of the vote. 

My buddy Daniel from BeancurdTurtle Brewing pouring
some of his outstanding beer during the demo
When it was clear that IPA was going to win I started looking for a recipe. Like a lot of brewers I tend to have a lot of beer recipes floating around my brewing software.  Some of these are scribbles of recipes, a few are recipes I've come up while others are ones that I'd found online. They all fall into the "someday" I'll get around to brewing them.  One in particular stood out - Sydnie IPA... 

I'd always known that one day I would make another go at a beer called Sydnie IPA it was too sentimental of a name for me to never use again.  I also knew that I would need a new recipe for it, just start completely fresh carrying over just the name.  The recipe I'd been toying with was based on an old Melrose IPA homebrew recipe that Julian Shrago had posted back in 2007.  I'd made a few modifications along the way (converting it to extract for the demo and including a little carared for color).  Mostly I was evaluating the hop bill for a new IPL style recipe I'm working on.

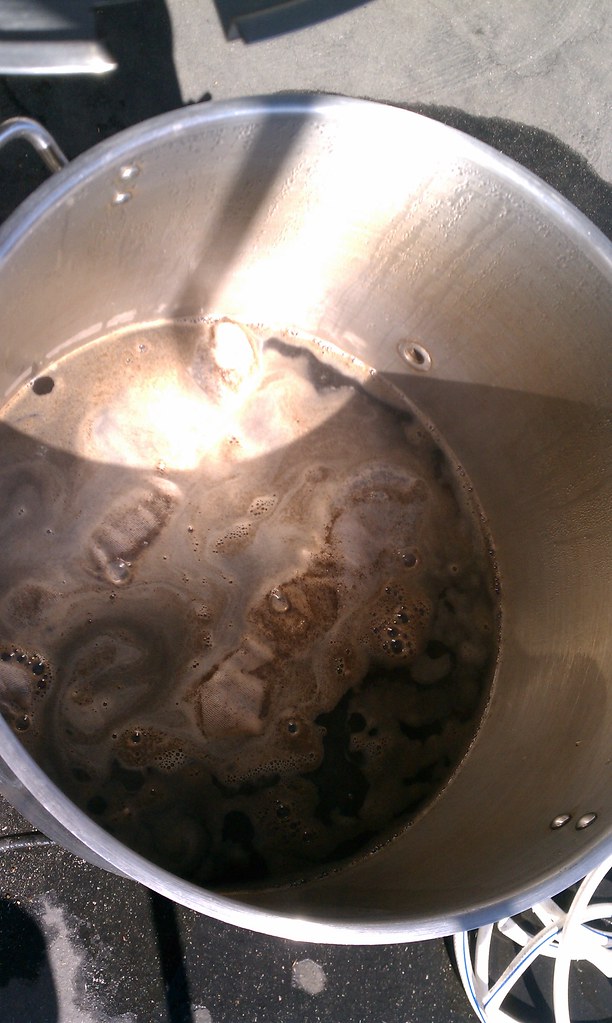
The demo went off pretty well,  a few oh my gosh (as Sydnie would say) moments but overall it went really well.  

One of the few benefits that not posting for over 6 weeks has afforded me is time.  Normally I would post about only the brew aspect of the beer and never really report on how it came out. In the case enough time has passed between brewing and posting for me to report on how the beer turned out.  It turned out really great, probably the best IPA I've brewed.  The hop bill worked really well and is a lock to make it into my forthcoming IPL. Curse = Smashed

Cheers

- SNB

Wednesday, March 21, 2012

SCHF Split Batch Porter

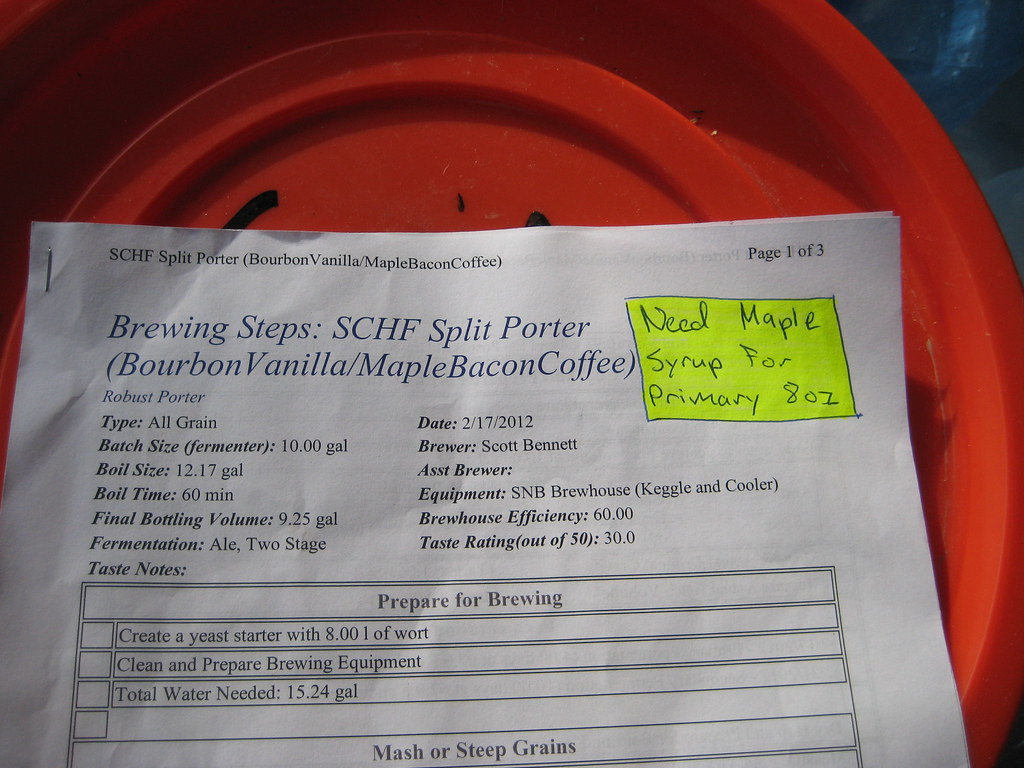
The brewsheet
In anticipation of this year's Southern California Homebrew Festival, taking place at Lake Casitas the first weekend in May, I set aside a Sunday to push my system to produce 10 gallons of beer with the plan on donating half to AHP Brewclub and the other to Brewcommune. When it came time to decide what to brew I had several ideas, would it be an IPL, a mild or bitter to be severed on cask or something completely new?

Last year took up 2 beers; an English-Belgian-American Double IPA that I called Scottland's Yard and a porter with 5 different kinds of peppers called Campsite Smoked Jalapeño Porter. Both beers were a hit and I got a lot of good feedback particularly on the Campsite Smoked Jalapeño Porter. It also happened to be the first keg to kick which I took as a good sign. I realized that I actually hadn't brewed a porter since then so I figured why not brew up a double batch of porter for this year as well


Assistant Brewer in training

If I was going to do it again I wanted to develop a base porter that I could use to create 2 different beers in secondary. To one half I plan on adding 4 vanilla beans in secondary and straight bourbon when I keg it, I am calling that batch BaseCamp Dessert and the other will become a porter with maple syrup, bacon and coffee called BaseCamp Breakfast. For BaseCamp Breakfast I have already added the first of 2 maple syrup additions by adding 18oz of maple syrup that I pasteurized while the main batch was cooling. The second addition will be used to prime keg. I will talk about what I will be doing to each batch more once I move them to secondary.

When it came time to brew the beer I started by making a starter of WLP007 that I could use one vial for all 10 gallons of beer.  My plan really was to make the primary of both beers pretty identical and really create two different beers in secondary so using the same yeast was a no-brainer.  I'm also hoping to be able to use the yeast from the Dessert portion to get a house culture of WLP007 going for this years Imperial Rhino Stout whose brewday is right around the corner. At around 7% the Dessert version is right at the upper limit for reusing yeast.

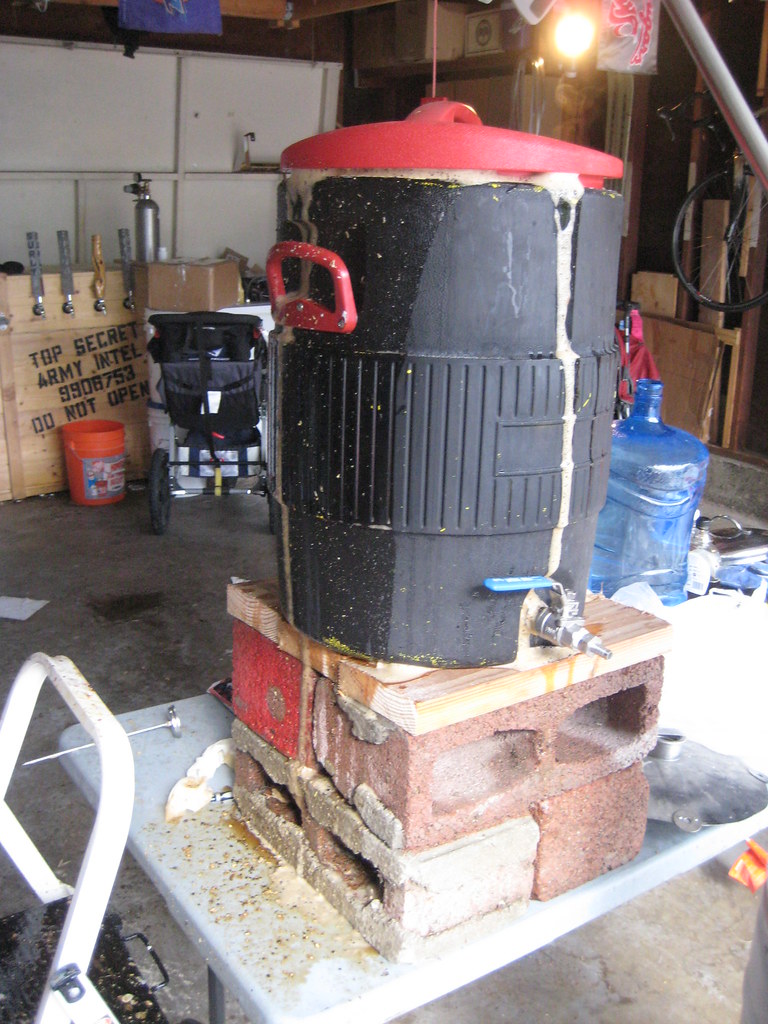
Overflowing with mash
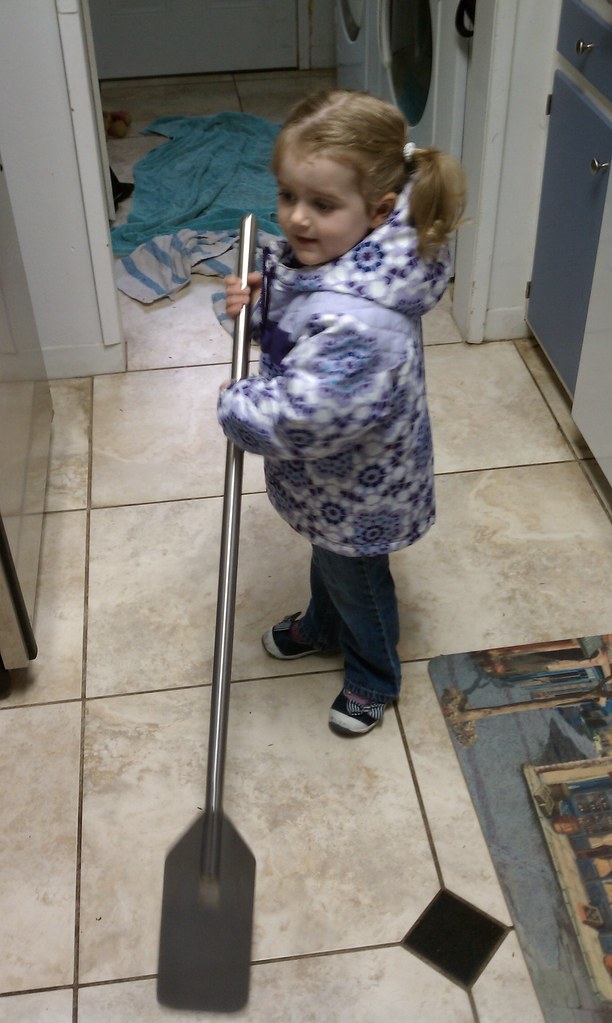
Brewing 10 gallons of the beer required the most amount of grain yet, even with the addition of 3 lbs of light DME I used so much grain that when I put the top on the mash tun the volume it displaced poured over the side.  Still after 60 minutes I held a steady 154 temp, which was about 2 degrees under my target, and got full starch conversion. There was no way my stainless spoon was going to be able to handle the job so I few days before I brewed I used an Amazon gift card my brother gave me for my birthday to buy a 48" stainless paddle.  I had planned on buying a $10 wood paddle buy they had none in stock.  I love my new paddle, though I had to close the garage while stirring as I kept hitting it.

You might recall my frustration with the efficiency I'd been getting and more so to the point that even as I'd been lowering my efficiency I was still missing my target OG. I mentioned last time I brewed back in January that I had an idea where my problem was, my equipment settings.  Between then and now I spent some time looking at what variables others with similar equipment were using.  It turns out the default evaporation setting for a keggle (boil kettle made out of an old keg) was way off.  If I recall correctly it was set at almost 20% and when I looked online most people where getting 10%.  Adjusting this setting made all the difference in the world and I ended up with a 10 pt efficiency gain, pushing me into the 70s.  I also got to test out the refractometer that Shawn gave me when I bought his old grain mill. The flap is broken off but it still works great you just have to hold it in place.  I calibrated it against my hydrometer and ended the value in to the calibrate refractometer section of the brewing app I use.

Tuesday, February 7, 2012

Temperature Control

I recently put together a presentation for the AHP Brewclub at Addison Homebrew Provisions on the benefits of temperature control on fermentation.  This is the core of that presentation with some minor changes

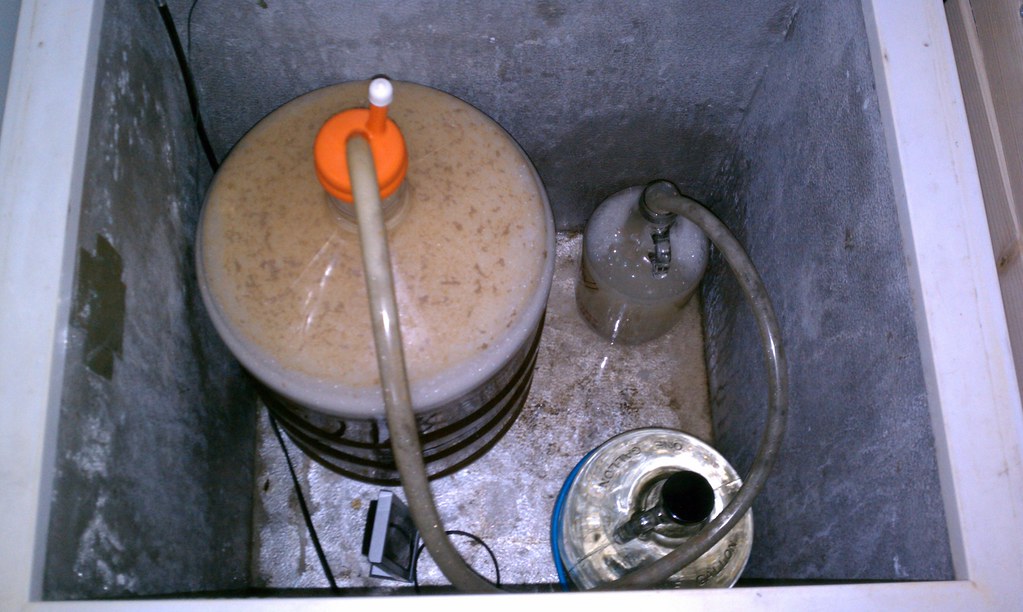
The Inside of my Fermenting Cube
A recent reader poll on the Mad Fermentationist found the most important investment brewers could make is Fermentation Temp Control. I definitely agree that it is one of the best investments I have made in brewing.  Let’s face it yeast like a nice stable environment to do its job and when it’s not happy it will let you know in both off flavors and aromas.

Here’s a quick list of issues that can occur without controlling temperature (sourced from How to Brew).
Alcoholic:  Overpowering alcohol flavor, bitter, acetone, paint thinner, spicy, sharp, undesirable
“hot” sensation in the throat fermenting at temperatures exceeding 80ºF

Estery/Fruity:  Fruit, especially banana, to a lesser extent, pear, strawberry, raspberry, grapefruit. Fermenting over 75ºF has been shown to drastically increase these esters.

Solvent-like:  This group of flavors is very similar to the alcohol and ester flavors, but are harsher to the tongue. These flavors often result from a combination of high fermentation temperatures and oxidation
Temperature control also allows a brewer to have the ability to brew what they want when they want, ie ales in the winter, lagers in the summer. I like to do a lot of lager beers and without the use of my converted deep freeze I wouldn't have the range and accuracy I want to brew them to the standards I want. 

What are we trying to control?

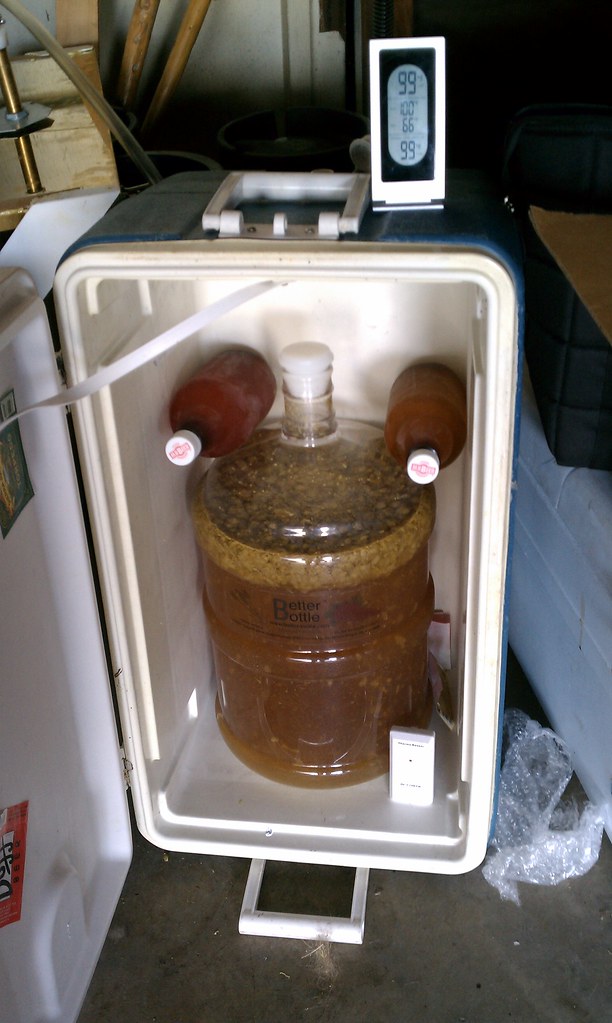
A Poor Man's Fridge
Before we move forward we need to understand what we are trying to control; the environment temperature (ambient room temperature) or the temperature of the fermenting beer.  For the most part we are going to be trying to control the temperature of the fermenting beer but adjusting the temperature of its environment.  Active fermentation can cause the beer to be 5-10 degrees warmer than its surrounding environment.   There are a few ways in which we monitor this.
1) Crystal Thermometer – Similar to one you would find on a fish tank this measures the temperature of the liquid it is attached to.  AHP carries ones specifically for beer that measures into the lager range.

2) Thermowells + Thermometer – Typically these are stainless tubes built into stopper bungs that always you to take a center of the liquid temperature method but inserting a thermometer into the tube.    Certain types for temperature controllers can have their probe inserted into the thermowell allowing you to control the liquid temperature instead of the environmental temperature.

3) Infrared Thermometer – A small hand held device that takes the surface temperature of the object scanned.

In all these cases (except when using a temperature controller inside a thermowell) you are taking the temperature of the fermenting beer with the understanding that you will be adjusting the temperature of the control up or down to reach the desired fermenting temperature

Thursday, December 15, 2011

Building the Indiana Jones Crate Keezer

What if this dispensed beer?
I've decided for today to finally post the complete Indiana Jones Crate Keezer build.  By now you might have noticed in the "SNB Brews Currently..." section on the right of the page a section listed "On The Crate". This refers to the 4 tap keezer I built out of an old chest freezer, which is the definition of a keezer vs a kegarator btw.

I knew going into building my own draft system that it should be four taps and have a theme to it.  After a lot of thought I got inspired to make it look like the crate the US Government puts the Ark of the Covenant in at the end of Raider of the Lost Ark.  This is why it is refer to as the Crate, The Indy Crate and The Indiana Jones Keezer on this site and others that I post to.

I bought the chest freezer off of Craigslist and a Johnson Analog controller from Addison Homebrew Provisions.  I also picked up the shanks and Perlick faucet from AHP. I highly recommend Perlick faucets for their forward sealing design. Everything else I picked up from Home Depot mostly in their scrap wood department.

Real quick, chest freezers work by routing the cooling medium around the inside of the walls.  Unless you have a map diagramming this it is highly advisable to NEVER screw, drill or nail anything to the wall of the freezer.  I used liquid nails to connect the wood skin to the lower part of the freezer.

In total it took me about 2 weekends to complete which I broke up into two builds several months apart for monetary reasons. During this period I used it as a 3 tap keezer, this is the reason that for a period it only has 3 holes and the lid magically becomes red. Later I decide to build a removable drip tray using rulers, shelf brackets and a drip tray I bought off of eBay.

With that said here is a picture walk through of the build process.

Cheers

-SNB

Thursday, December 8, 2011

Labeling and Waxing the Imperial Rhino Stout 2011

Ready for wax
So on my last post I talked about using a Blichmann BeerGun to bottle Imperial Rhino Stout 2011. Since then I spent some time labeling the bottles then waxing the top to complete the look.  

For the most part I've labeled pretty much every bottle I've filled (minus competition bottles) but I've only waxed a couple of beers.  In my opinion there is nothing classier of a finishing touch to a killer homebrew then labeling and waxing the bottle. Especially if you are going to be giving them out to friends.

There is a lot of discussion on the real usefulness of waxing beyond decorative reasons.  With the advent of modern bottle crown technology the need for wax to prevent oxidation has been greatly reduced.  Modern crowns are manufactured with ability to seal airtight. Oxygen aborbing caps are also fairly common and can be picked up in any LHBS.

I have a few tricks to labeling bottles that I never discussed when I did my post on creating them.  When it comes to labeling I primary use two kinds of Avery labels; 5168 (3.5 x 5 inch) for the big labels and 5164 (3.33 x 4 inch) for small labels.  I generally buy them off of Amazon in boxes of 100 sheets, this yields 400 5168s and 600 5164s.   I've used full sheets to custom cut labels and clear which I've not liked the results of.  I seen other label products that are removable but more expensive and the Avery labels come off pretty well with a good PBW soaking. One of the hardest parts of labeling is getting the label to print perfectly on the sheets.  In the past I've thrown away a lot of not 100% perfect labels.  These days I print and hope for the best.

Waxed
When it comes to applying labels it's best to apply to a clean, dry and room temp surface.   Generally if you are rising your bottles after filling, to wash off the beer you purposely let overflow, you should have a clean surface.  Dry part is easy as you've either toweled it off of let it air dry.  The temperature on the other hand is only something I recently ran into when bottling via the BeerGun. I use to bottle and label in the same sitting and as you might recall I recommend having the beer and bottle at the same cold temperature.  This means that the bottle I'm applying the label to is actually pretty cold.  Cold to the fact that it can have a tendency to sweat therefore eliminating the dry part of my labeling requirement. I'd also found that even if I towel it off the label still doesn't want to overly stick to the bottle.  These days I generally let the bottle come up to room temp overnight before labeling.

When I was first brewing I had a lot of fun labeling upside down, sideways and even on an angle.  Today I generally like a nice straight label.  I've found a little trick to help with this.  As modern bottles are machine made not hand blown they all have vertical seams on them.  I find one of these seams as use it as a guide to position one side of the label, I general label like I read left to right. Once aligned it's a simple trick to roll the bottle smoothing out the label as you go.   I've also found that you can remove and reapply within a second or so to straighten it out.

Seeing as I've only used wax a couple of times I might not be the best authority on it.  Wax comes in several colors and generally I choose one that matched the label and overall feel of the beer.  To melt the wax I take on old can and fill it with the wax.  Then I drop it in a pot of boiling water till melted.  I will saying having done it side by side don't stir your wax, just let it melt.  Early bottles of IRS 2011 had some small bubbles where as the main run is smooth and glossy. The difference, I stirred the first time I melted.  Once melted I remove the can from the pot and dip the tip of the bottle to the depth I want and hold it there for 10 seconds and remove.  In the last run I say no reason to double dip.  You could have fun at this step or keep it clean.  I like to have fun with drips here and there. 

The end result looks pretty damn good.

Cheers

-SNB

Tuesday, November 15, 2011

Oak Glen Cider Run Cider 2011

One of the things I like best about belonging to multiple homebrew clubs is that it has given me the opportunity to do things that I wouldn't have done on my own, such as fermenting fresh from the orchard cider.

Last year Shawn arranged for a group of us to travel to Oak Glen to collect fresh cider to turn into hard cider.  He even called ahead to have one of them, Law's, press from unfiltered or preserved cider just for us to use.  This is the best type of cider to use when making hard cider as it is free from anything, you can even leave it be and it will self ferment.

I had a great time last year and enjoyed the first cider I made so for the second year in a row Bonnie and I got in the car and took the girls up to Oak Glen to get more cider. Bonnie's anniversary party for work had prevented us from joining Shawn's group but he had picked me up a couple of gallons from Law's that I could let go wild.

We left mid Sunday morning for hour and a half drive up to Oak Glen.  We ended up having pretty bad luck weather wise and it was cold and rainy when we arrived, in fact it even snowed a couple of times.


Bonnie and Sydnie staying dry
Our first stop was at Law's where I picked up an additional 2 gallons of cider as Bonnie had read that one of the mills, Riley's at Los Rios Rancho was closed.  Law's cider is said to be some of the best on the mountain and they still had a couple of gallons left over from the week before.

Our next stop was at one of our favorite places on the mountain, Snowline... unfortunately we weren't able to really enjoy it as there was snow on the ground and in the air.  The first thing I did was grab a fresh dozen of thier awesome mini doughnuts and walk around the store. After grabbing a gallon of apple cider for myself and a gallon each of the fruit blends for Eric, Bonnie and I bundled up and took the girls for a little walk.  It didn't last long as we decided it was too cold and wet to stay out so we grabbed another dozen doughnuts and headed over to Riley's at Los Rios Rancho to see if it was really closed.

It wasn't.  Having already acquired 5 gallons of cider (2 Wild from Law's via Shawn, 2 unfiltered from Law's and a gallon from Snowline) I didn't need anymore so I just grabbed a tri-tip sandwich to split with Bonnie before heading back down the mountain. I believe the closed issue might have been Riley's Farm and not Riley's at Los Rios Rancho, oh well better luck next year.

Snow at Snow-Line
Upon returning I sanitized a carboy and combined in it the 3 tame gallons along with 3 campden tablets to kill off anything present in the cider. The cider sat overnight so that the campden could do it's work. The next day I feed it some nutrient and hit it with O2 before pitching WLP775 English Cider Yeast.

To date I've been feeding it and the wild gallons nutrient every few days.  I even built a special airlock system for the wild gallons that will come in handy later for mead.  It should be ready in a few months.

Cheers

-SNB


Additional Pictures
Snow-Line's line up
Ingredients for this years blend
All combined
Tucked away with the wild cider
Airlock system for the wild gallons


Tuesday, October 11, 2011

Brewdemo and Scott's Session Series 4: DG's Mild

On Sunday I did a extracting brewing demo at Addison Homebrew Provisions.  I planned it with Eric several months before but it took me a long time to figure out what I wanted to brew.

I toyed around with a bunch of ideas and tried to get some feedback on them. They included:
A Flemish red
A sour session over peaches
A viking porter
A session wheat (maybe open fermented)
A California Common over fruit (probably peaches)
An Old Man Winter

The biggest theme ended up being my desire to have some more session ales on the Crate.  

While flipping through the Stone book The Craft of Stone Brewing Co.: Liquid Lore, Epic Recipes, and Unabashed Arrogance that I got off of Amazon I came across the recipe for Lee's Mild and decided to give it a go.

Besides converting the recipe to extract the only change I made was to sub the Northern Brewer bittering hops with Columbus (which is a Northern Brewer Sub) and add some Cascade hops for flavor and aroma.  I still keep the IBUs very low.

Here is the recipe I ended up with

Scott's Session Series 4: DG's Mild
Mild
Type: Extract Date: 10/9/2011
Batch Size (fermenter): 5.00 gal
Brewer: Scott Bennett
Boil Size: 7.37 gal Asst Brewer: 
Boil Time: 60 min
End of Boil Volume 6.24 gal
Final Bottling Volume: 5.00 gal

Beer Profile
Est Original Gravity: 1.038 SG
Est Final Gravity: 1.009 SG
Estimated Alcohol by Vol: 3.8 %
Bitterness: 29.2 IBUs
Est Color: 18.1 SRM

Ingredients

Extract and Steeping Grains
4 lbs 4.0 oz Light Dry Extract (8.0 SRM)
9.8 oz Brown Malt (65.0 SRM)
9.0 oz Caramel/Crystal Malt -150L (150.0 SRM)
3.2 oz Chocolate Malt (350.0 SRM)

Hops
0.50 oz Columbus (Tomahawk) [14.00 %] - Boil 60.0 min
0.25 oz Cascade [5.50 %] - Boil 20.0 min
1.00 oz Cascade [5.50 %] - Boil 0.0 min

Other
1.00 Items Whirlfloc Tablet (Boil 15.0 mins)
1.00 tsp Yeast Nutrient (Boil 15.0 mins)

Yeast
1.0 pkg Dry English Ale (White Labs #WLP007)

Steep grains in 1 gallon per pound of grain at 160 for 30 minutes


While finalizing some equipment I wanted to borrow from Eric he mentioned that his brew kettle was 15 gallons.  A light went off in my head and I decided to scale the recipe to 10 gallons to split batch. I love the concept behind split batch recipes and I wanted to do one on my own for a while. I choose to do 5 gallons to the recipe and for the other I would do a starter of my WLP670 strain and pour the fresh wort over some frozen peaches from whole foods that I would pasteurized and cool during the demo.

I overshot the temp on the steeping water which wasn't a problem as I showed the crowd hot to remove a gallon of the 180 water and replace with additional filtered tap water.

After the 30 minute steep we filled the kettle with 10 gallons of water and added the 8.5 lbs of DME which I had a volunteer stir until dissolved while I turned on the heat to start bringing the temp up.

At the start of the boil it looked like we were easily around 14 gallons wort ready to go.

I then put 3 lbs of frozen peaches in a separate pot to pasteurize.  I needed the small burner for this so I simulated running out of propane mid brew and carefully with more audience participation moved the main pot onto Eric's brew stand.

In total we boiled a little over 60 minutes

The measured original gravity corrected for temperature ended up at 1.042 SG

Here's the pics I took.

Crowd Shots
Two grain bags steeping in 2.5 gallons of water
Propane and my DME/Peach pot
Getting ready to boil, now that's a lot of wort
Hops
60 minute addition
Hops moved to the brew stand
Boiling away
Cooling down
Collecting some of the hot run off to clean up with later
I used a cooler filled with Ice water to help get the beer cooled down the rest of the way
Trub Island after the whirlpool
The peach version with WLP670
Inside the fermenting cube with a blow off
4 hours later another shot of O2
The next morning - that's why I use blow offs

Wednesday, September 21, 2011

SNB can be CynicAle

I'm going to try something new with my brewing posts and include more pictures and a somewhat different layout.

Brew sheet, hops and
wireless thermometer
After a long break from brewing which lasted over 2 months I got back into the swing of things pretty fast.  My first two brews after the break where both StarRaptor, the first one I dumped while the second was during a brewday and very hot.  Between the heat, learning the new system and multitasking as a host I really didn't enjoy either one.  I've always enjoyed brewing so I needed to do another round more relaxed and laid back.  I therefore decided to invite my buddy Marshall over to hang out and assist me in brewing my first all grain batch on my new system.

For this inaugural brew I decided to try Northern Brewer's Surly Cynic Pro Kit.  The story behind how the kits were created and the process they went through is pretty cool as I learned while talking to Todd Haug but that's a story for a different time.  I decided to select this kit for a few reasons.  I wanted to try another one of the Pro Series Kits after the great results I had with the Furious kit and I wanted to do a saison, which Surly Cynic is, using the American Farmhouse Blend WLP670.  After how well BeanyTink's Farmstead Ale came out I was really wanting to use it again so I grabbed I vial while it was still available from Addison Homebrew Provisions specifically to use with this recipe.  As I'm pretty new to the world of all grain brewing so I wanted the first batch to  recipe.

75 minute mash at 150
I have to say the information included in Northern Brewer's all grain kits are completely different from their extract kits which as pretty much a step by step recipe.  The all grain instructions on the other hand were little more than an ingredient list.  While it did tell me the target mash temperature of 148 that was about it.  How much water to use,  water to grain ratio for the mash, water temperature targets, even expected efficiency were left out.  After a lot of research I came up with a 1.3 qt/lb grain ratio and let BeerSmith 2 tell me the rest.  I found the ability to play with the grain and mash tun temperatures pretty useful.

The name is a play on the name of the beer and is similar to the name I gave the Furious version which was SNB is Furious.

The brewday itself was not with out it's issues but overall went pretty smooth and was much more relaxed, it did help that the temperature was a lot cooler than previous days. 

1.3 qt/lb water to grain ratio
Marshall arrived near the end of my 75 minute mash with a growler of 2010 Stone Double Bastard with Chipotle Peppers, just in time to help me vorlof the wort till it was clear.  Later I tossed some sausage on the grill for lunch and used the heat of the boil to warm the tortillas. 

I only had three minor issues; I was slightly above mash temperature, under target efficiency and forgot the flame out hops.  I decide to toss the hops in the primary anyway.  

It felt nice to be back in the swing of enjoying brewing again.

For primary fermentation I started the beer at 68 and slowly raised it up a little each day over the first two weeks to 78.

Currently the beer is still in primary, as I want plenty of time on the yeast, sitting around 1.006.  This weekend I'll transfer to secondary and collect and wash the yeast.

Cheers


Friday, September 2, 2011

Manfish Brewing Comes to Town Part 3 + The Bruery (and Provisions) and SNB Brewing

Welcome to the final part of the SNB Brewing / Manfish Brewing Epic.  In the previous posts I have been recounting my travels with Ken from Manfish Brewing.  This post wouldn’t be any different but may be longer.
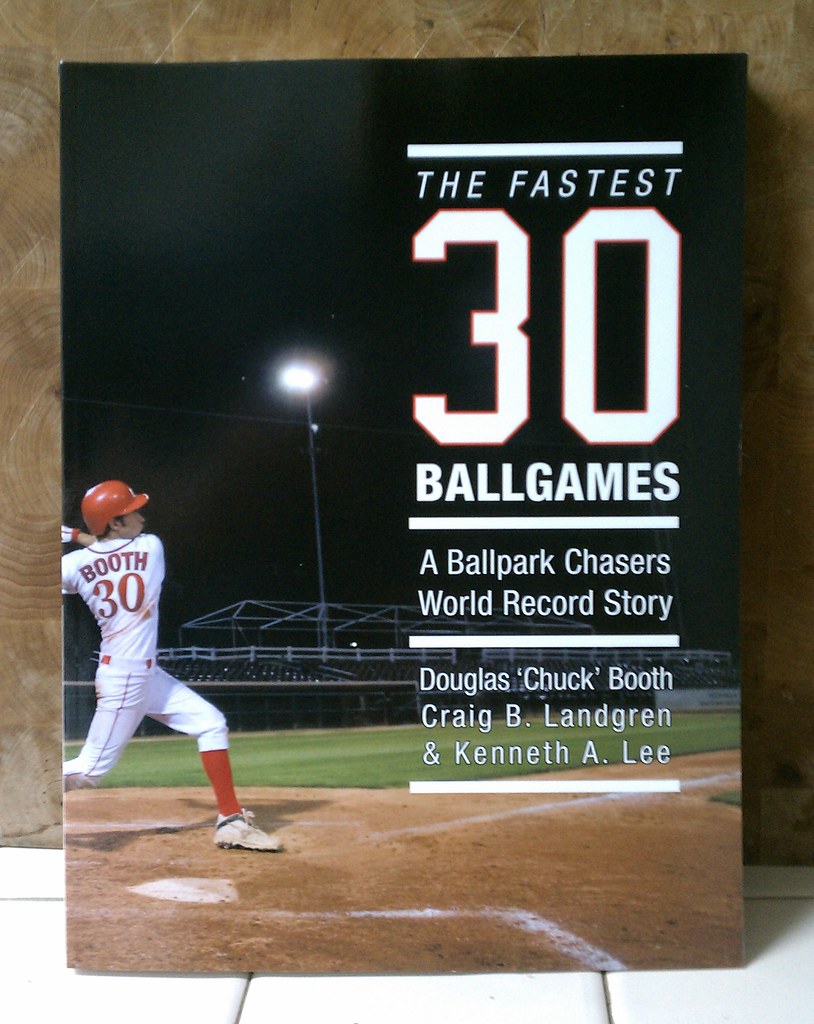
Ken's book
Before I resume our tale I would like to take the opportunity to point out that Ken recently co-authored a book entitled TheFastest 30 Ballgames.  The book follows Ken’s friend as he attempts to break the record for the fewest days it takes to see ballgames in all 30 major league ballparks.  Does he break the record? Does he fall short? How did he go about this run at it? Has he attempted it before?  What role did Ken play?  If you want those answers I suggest you check it on Amazon.  I for one know the answers not only because I had the opportunity to discuss it with Ken in person I also scored a copy autographed by all three of the authors!

When we last left our tale we were just leaving the serene setting of Peace Brewing.   On our way out we decided that out next stop would be to check out one of the craft brewing gems in Orange County – The Bruery

The Bruery

Today the Orange County California area seems to be going through a Craft Beer Renaissance.  While we still have a ways to go before we can start to challenge San Diego County for the title of California’s best beer region.  
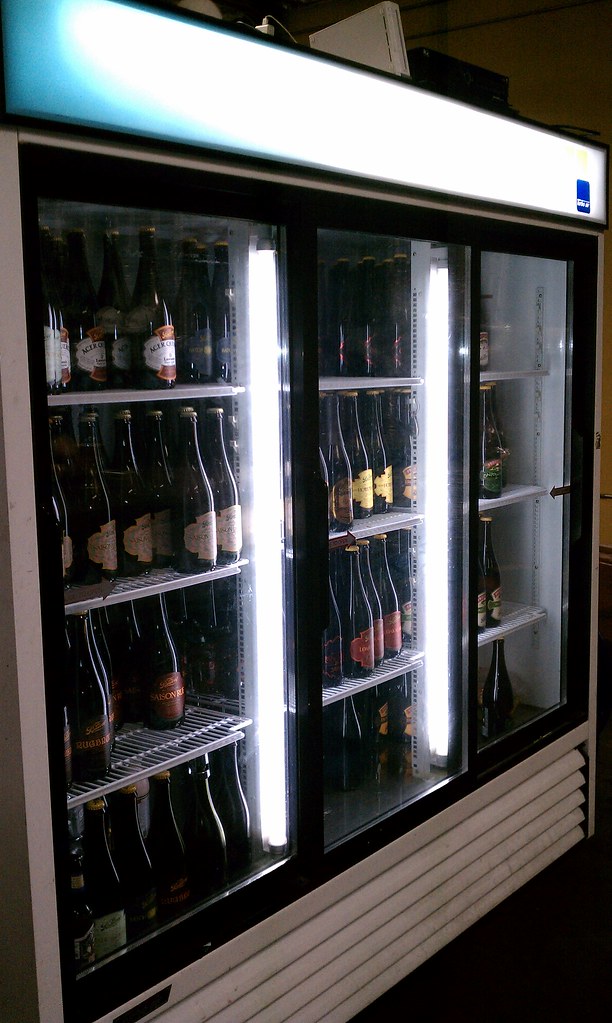
The Line Up

One of the breweries clearly leading the charge is TheBruery out of Placentia.  Founded in 2008 by Patrick Rue (the Rue in the Bruery) The Bruery is focused on producing beers different than the ones you often find in California.  Most of their beers are brewed in what could be argued is in the Belgian Tradition using a proprietary Belgian yeast strain for the majority of their creations.
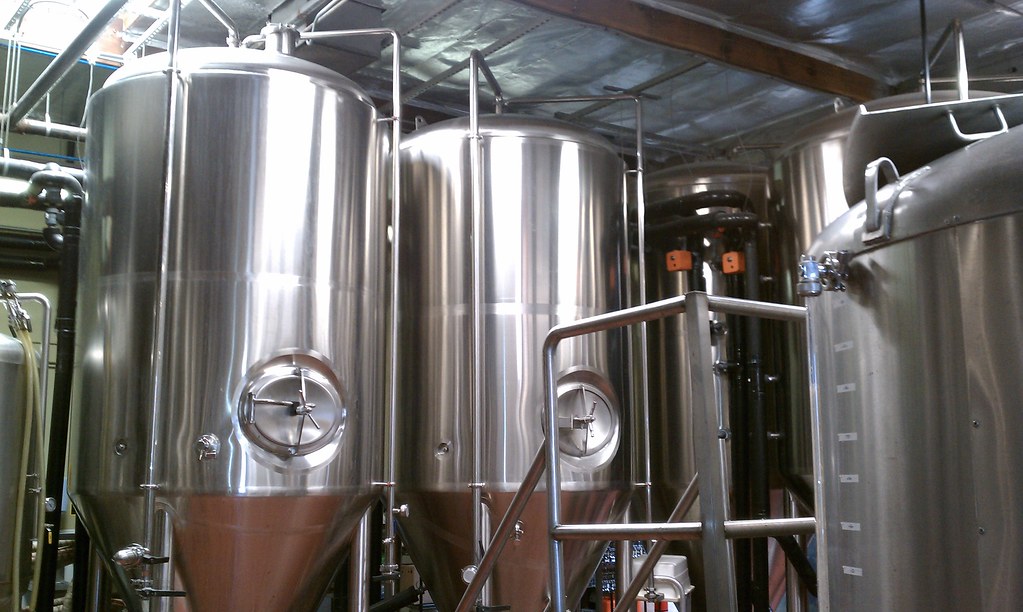
30 Barrel Fermentors
The great thing The Bruery is the amount of creativity they put into their beers.   They have been redefining what works in beers, which includes rice, spices, tea, flowers etc.   The cool thing is they release a lot of beers draft only in tasting room to get a feel for what people are beers.  They also release dozens of Provisions Series beers only sold at the tasting room and in their retail space The Bruery Provisions in Old Town Orange. One of their semi-year round beers Humulas Lager was the inspiration for my BIG IPL. 
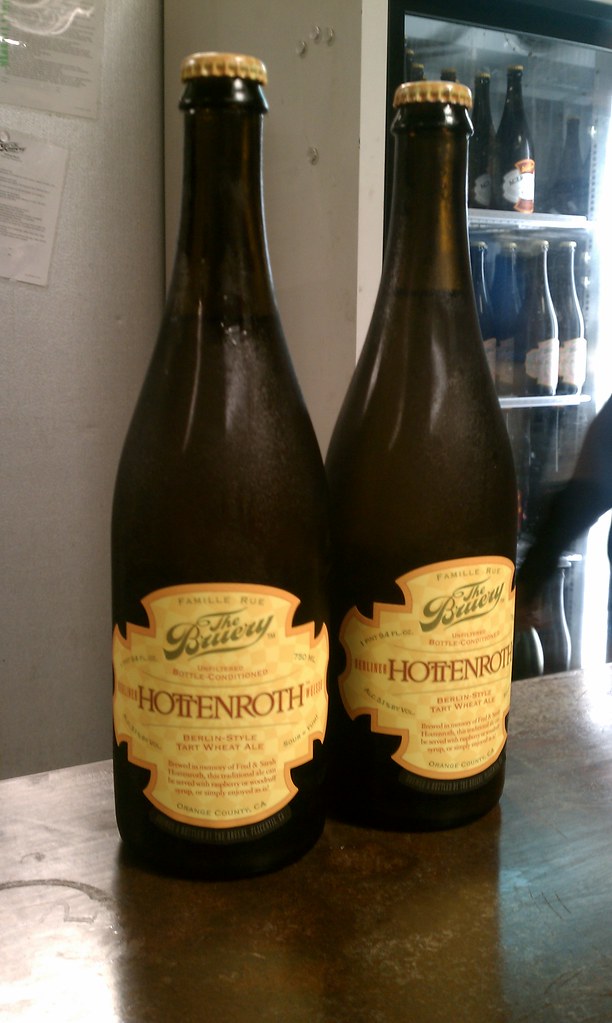
Hottenroth
In my opinion, one of the things that the Bruery does extremely well that all those that dream of opening their own brewery should that note of is quality control.   Quality control leads to consistency which brings people back time and time again.  You need to have standards for what you will and won’t sell to consumers and the guts to take the loss if one of your beers fails to live up to that standard.  The Bruery regularly conducts sensory panels on their beers and if they feel a beer is not ready it doesn’t get released. 

Speaking of quality control processes, in the middle of writing this post the Bruery emailed members of the Reserve Society to let them know that their Provisions Series: Iniquitous was not living up to their standards so they were scraping it and automatically issuing refunds for those who had ordered it.  That’s a pretty upstanding thing to do.

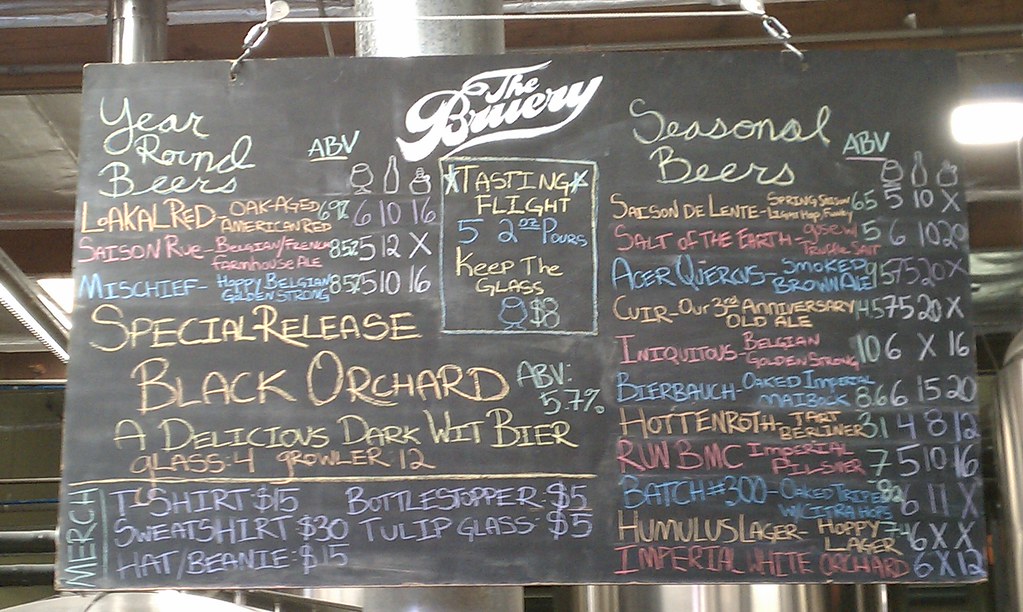
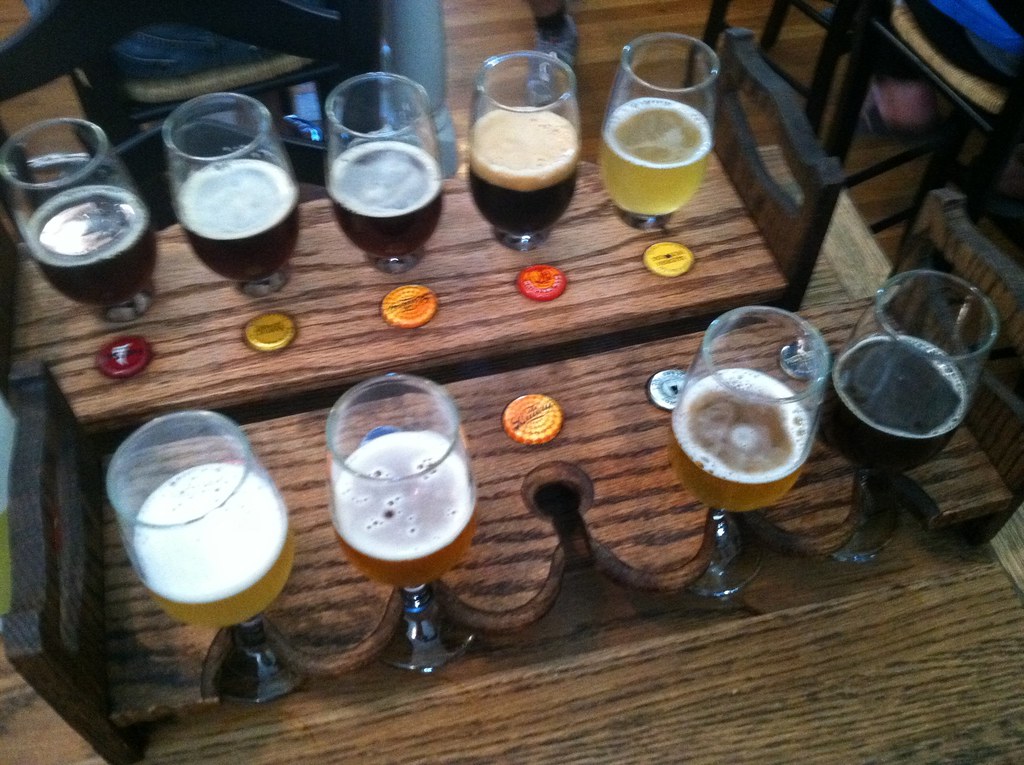
With all that great write up on The Bruery I almost forgot to talk about our visit.   I started off with a glass of the recently rereleased Black Orchard, a Dark Wit Beer, it was ok but nothing I would take home.  Ken started off with a glass of one of my favorite of their beers Loakal Red, which is only sold in Orange County.  Next up I grabbed a glass of one of the best berliner weisses in the US Hottenroth.  For those unfamiliar with berliner weisse it is a soured low gravity wheat brewed in the German tradition.  Ken grabbed a taster flight but I failed to take notes, I do remember he had the Run BMC, Humulus Lager, Cuir and a couple others, plus he got to keep the glass.  
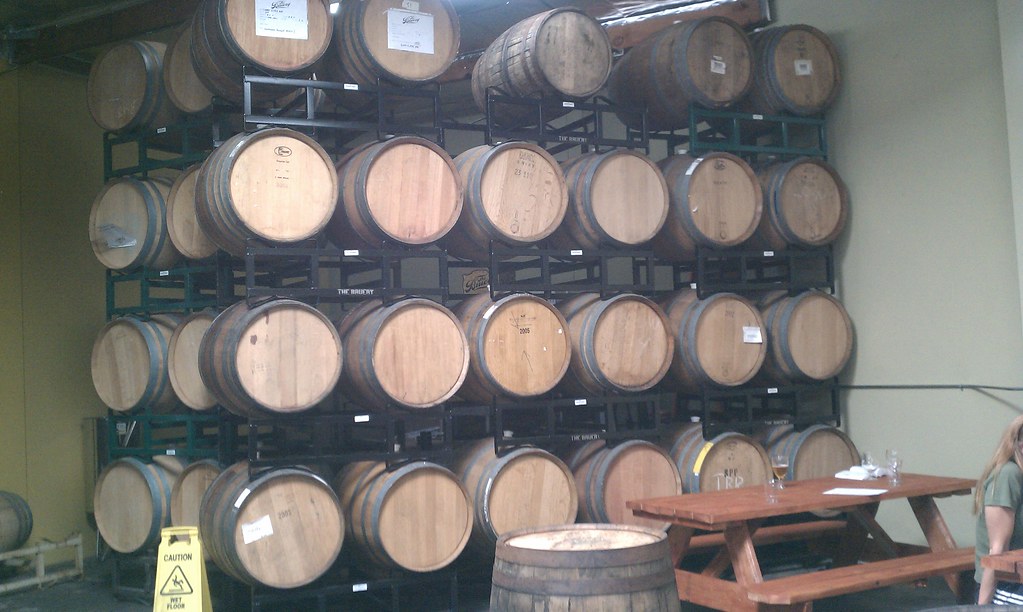
The Bruery has one of the best barrel programs in the county
On our way out I grabbed a couple of bottle of the Hottenroth for some trades and we headed south to the Bruery’s retail location the Provisions.

The Bruery Provisions

From here on out the following pictures were borrowed from Ken.
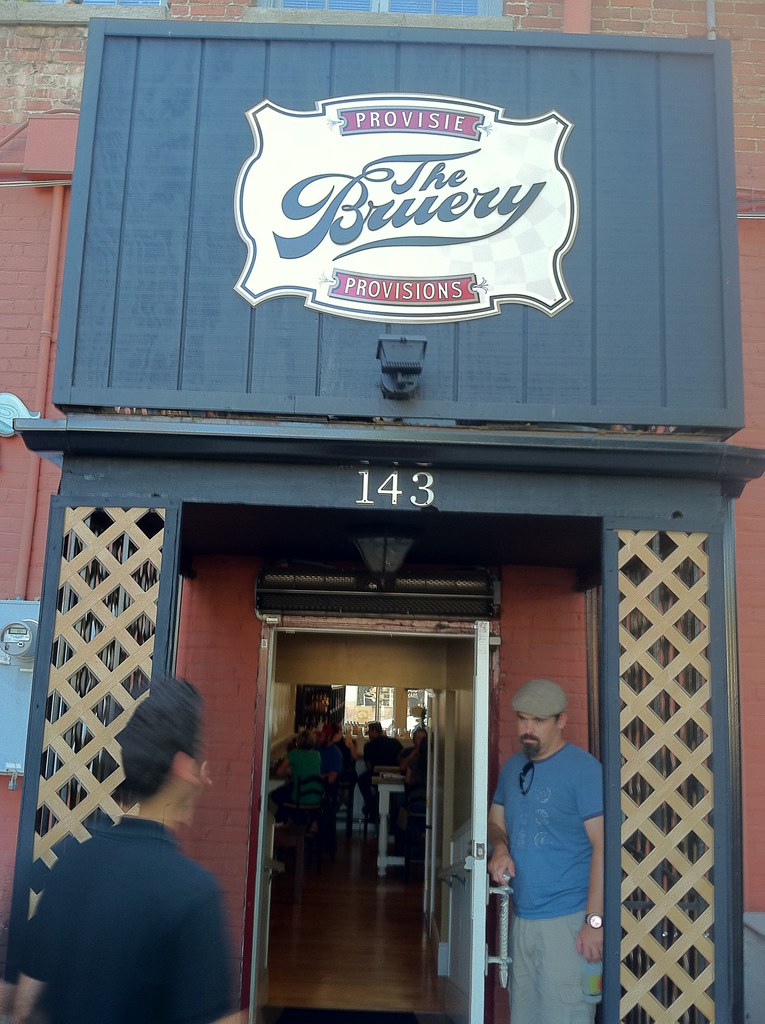
The back way in
The use of the name The Bruery Provisions stretches back to shortly after the Bruery opened when they started sell homebrew supplies out of their facility.  It soon however became a distraction to them so they decided to close.  A point of interest with this is when I started in homebrewing I tried contacting them to get their hours of operation but never heard back. I therefore shopped at another shop for a little bit before I got tired of the drive and prices.  When I decided to give the Provisions another shot they were closed.  They did however have a link on their page to Addison HomebrewProvisions which was going to have its grand opening a few weeks later.  So again a nice Bruery connection in my life because I wouldn’t have come as far as I have without the people I’ve met because of AHP.
The taster flights
There was once a cheese shop in Old Town Orange called Frog’s Breath.  I’d visited it a few times to pick up some cheese and other stuff.  They had some beer, mostly local, but nothing out of this world.  Shortly after the Bruery’s second birthday they announced that they were buying Frog’s Breath and turning it into a retail store and bottle shop and would be keeping the cheese.  After a long wait they finally opened and I’ll admit they had some learning pains.  All that is now behind them and it is one of my favorite places in Orange.
The cheese plate
The Provisions carries a very large selection of beers from around the world all in singles.  They do have a couple of 6 packs but all the six pack beers you can get in singles.  They all keep the beers that need to stay cold like IPAs cold.  This makes them one of the best bottle shops in the OC.  I also love the tasting bar that features over a dozen beers for tasting.  I generally skip the prebuilt flights and build my own Scott’s Super Flight with whatever looks good.  Scott Tip: If you find a beer you want to have a pint of just order a full flight of just that beer.

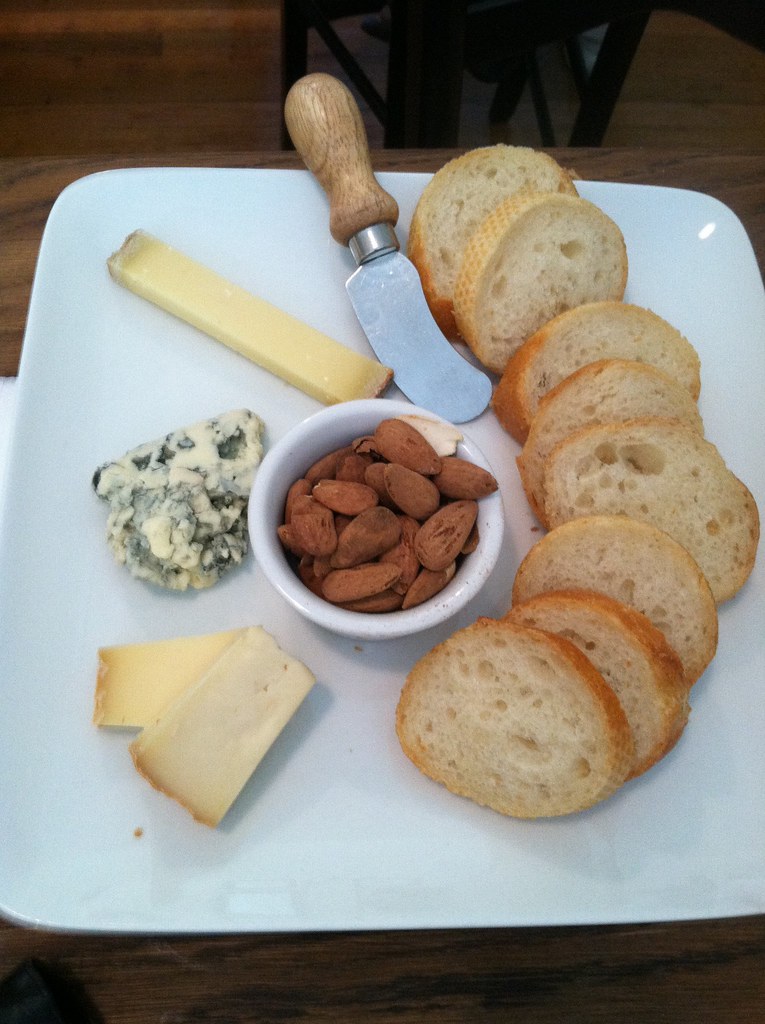
After talking to one of my buddies who works there I settled into my tasting flight with Ken.  I also ordered a cheese plate to pair with the beer.

After we were done it was off to the home brewery.

SNB Brewing
Me pouring a Furious for Ken
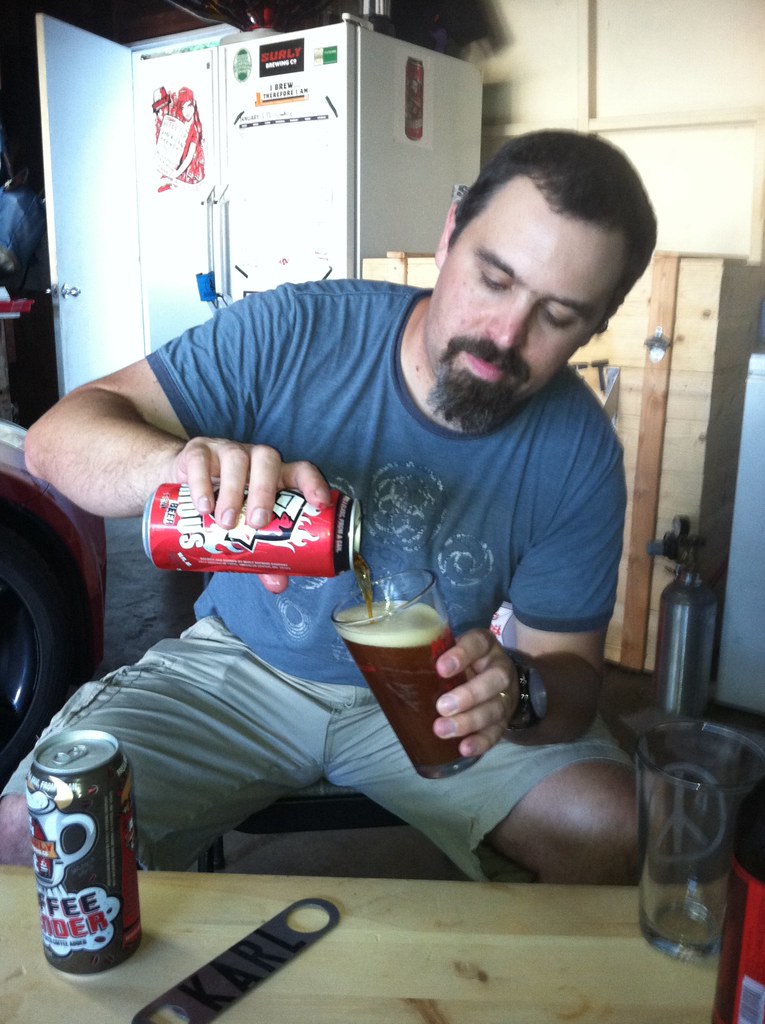
We finished off the night back and the main brewery.  Originally we had set up shop in brewery itself as usually but this night it was just too hot so we moved out back.  Before we moved however grabbed a Furious out of the BeerVault for us to share as well as a Coffee Bender. Even though I was short on both I wanted to share some of my favorite beers with a friend.  I should also note that for Ken I busted out my Manfish Glass that I had gotten from him earlier in the year.
Portamarillo
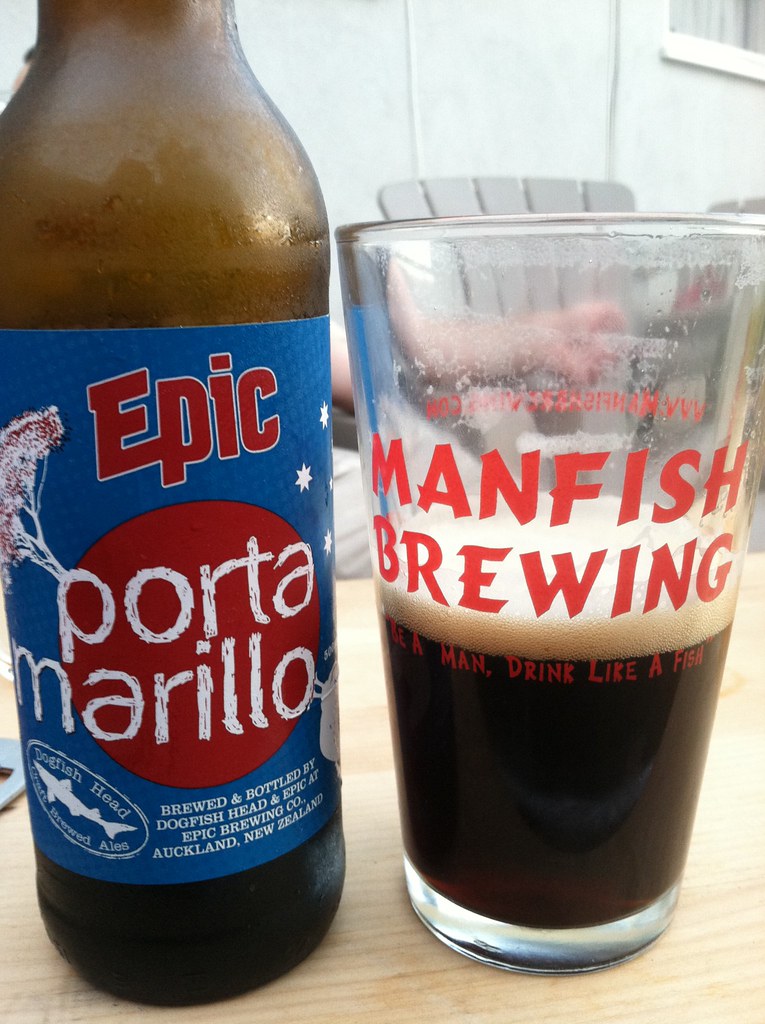
Earlier that day Ken had mentioned that he was a big fan of Brew Masters.  I filed that away in the back of my mind knowing that I had a bottle of Portamarillo at home.  For those that may not have watched the show let me explain it.  Brew Masters was a woefully short lived show on the Discovery Channel hosted by Sam Calagione, craft beer maestro and founder of Dogfish Head Brewery.  On one of the episodes, Punkin & Portamarillo, Sam travels to New Zealand to collaborate with Epic Brewing Company on a beer using the native tamarillo, a relative of tomato, they called the resulting beer Portamarillo.
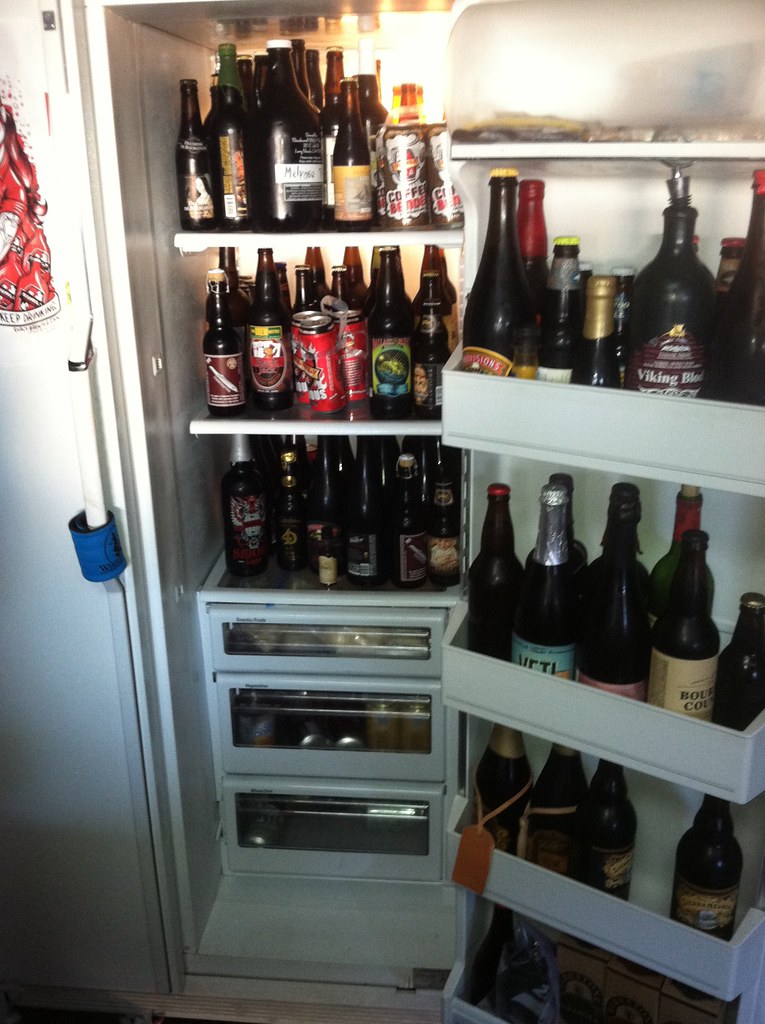
The "BeerVault"
After the Portamarillo I ordered a pizza and wings and continued to drink some beer.  During dinner Ken decided it was time to bust out a Barrel Aged Brrrbon. I’ve known Ken long enough to know that he loves Widmer Brrr and that one of his all time favorite seasonal beers.  Last year they did something cool and released a onetime limited edition called Barrel Aged Brrrbon.  Barrel Aged Brrrbon is Brrr that aged for four months in single use bourbon barrels from Kentucky.  Knowing all this I felt pretty honored that he wanted to share this with me.   After having it I think it is a highly underrated beer, it’s really nice and mellow with the bourbon, I pick up some faint vanilla flavors and it pairs very well with the spices in the base beer.   Bonnie called it a sexy ass beer.

It was a perfect end to a great day.  Few things are as nice on a summer night than sitting in my backyard, eating pizza and drinking beer.  Bonnie and Ken talked at length about Washington College football and country music.   I can’t wait for the next time we get together which hopefully won’t be as long as last time.

Cheers,

SNB


Here are some left over pictures I a took during our stop at The Bruery.


Related Posts Plugin for WordPress, Blogger...