Header Image

Tuesday, August 14, 2012

Kate The Great

Every year I make a list of beers that I want to try and set out to land a bottle or two.  In 2010 the list included Black Tuesday, Darkness, Dark Lord and Surly Four.  In 2011 it was about developing a taste for sours  was hitting off various Cantillons and Drie Fonteinen but also included beers like Westvleteren 12, Pliny the Younger, Marshal Zhukov and Surly Five (plus Mo's Bender).  Of all the beers I tired there was one above all that I needed to try.  So I decided that in 2012 I would set out to land legendary Kate the Great from Portsmouth Brewery.

A quick history on Kate the Great - First released in 2005 it lwas a quite sleeper of a beer until 2007 when it was named the Number One Beer in the USA (Number Two on Planet Earth) by Beer Advocate Magazine.  Almost overnight Kate became on the the rarest and most talked about beers. Not helping the fact annually only 1,000 22oz bottles were released until 2012 when the volume to 12oz allowing the quantity of bottles released to raise to 2,000.  2012 also marked the first time the beer was released in a unique bottle as all previous years had used a default Portsmouth Brewery label stamped with Imperial Stout.
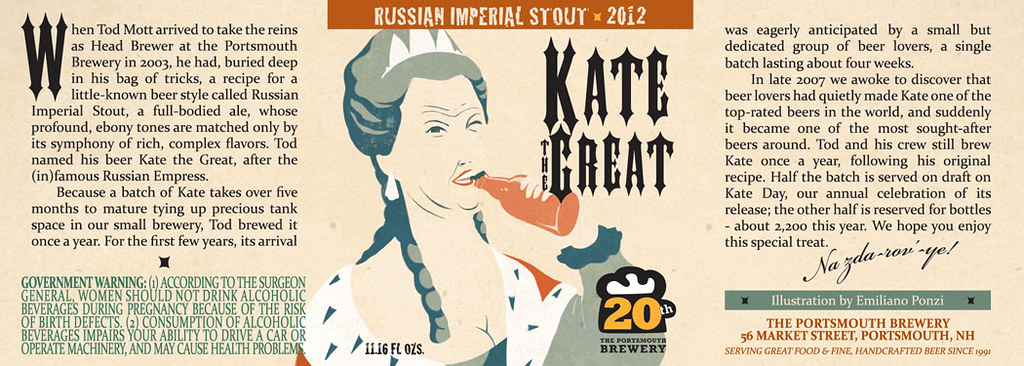
The first and only? Kate the Great Label

Sadly 2012 might well mark the last year of true Kate the Great as after eight and a half years Tod Mott the creator of Kate the Great has left his post as Head Brewer at the Portsmouth to pursue other ventures, taking the recipe with him.  While Tod has plans to rebrew the recipe he will do so under another name and future plans for "Kate the Great" have yet to be decided by Portsmouth Brewery.

To obtain the beer I responded to a ISO:FT [ISO- Rare, Churchills 12 FT- Kate, Cantillon, Allagash Sours, 07/08 Abyss, list...] started by jsilva. I still had a Churchill's Finest Hour 2012 that I'd almost just put in a box anyway for a BIF that I got zero wants out of (bullet dodged).  So I considered it out and available to trade. I didn't want to however do a 22oz for just a 12oz so I started the conversation simply with -

Do you have or have access to a Kate the Great glass?

[IMG]
I figured that if I was going to enjoy Kate the Great there would be no better way to do it than in the official glass.  This was a special glass produced for the 2012 Kate Day in conjugation with Portsmouth's 20th Anniversary and featured a close up of Kate bitting off the cap to the bottle - "Twist off... my ass!" The Kate arrived first with the glass getting to me several weeks later.

I decided that my upcoming Tenth Wedding Anniversary (#Scott&Bonnie10Years!) would be the perfect opportunity to open it.  Once the day came I arrived home around 5:20 and pulled the Kate out of the fridge to warm a little. We were going out to dinner later so while Bonnie was getting resdy I gathered my glass and opened the bottle.  Here is my review.
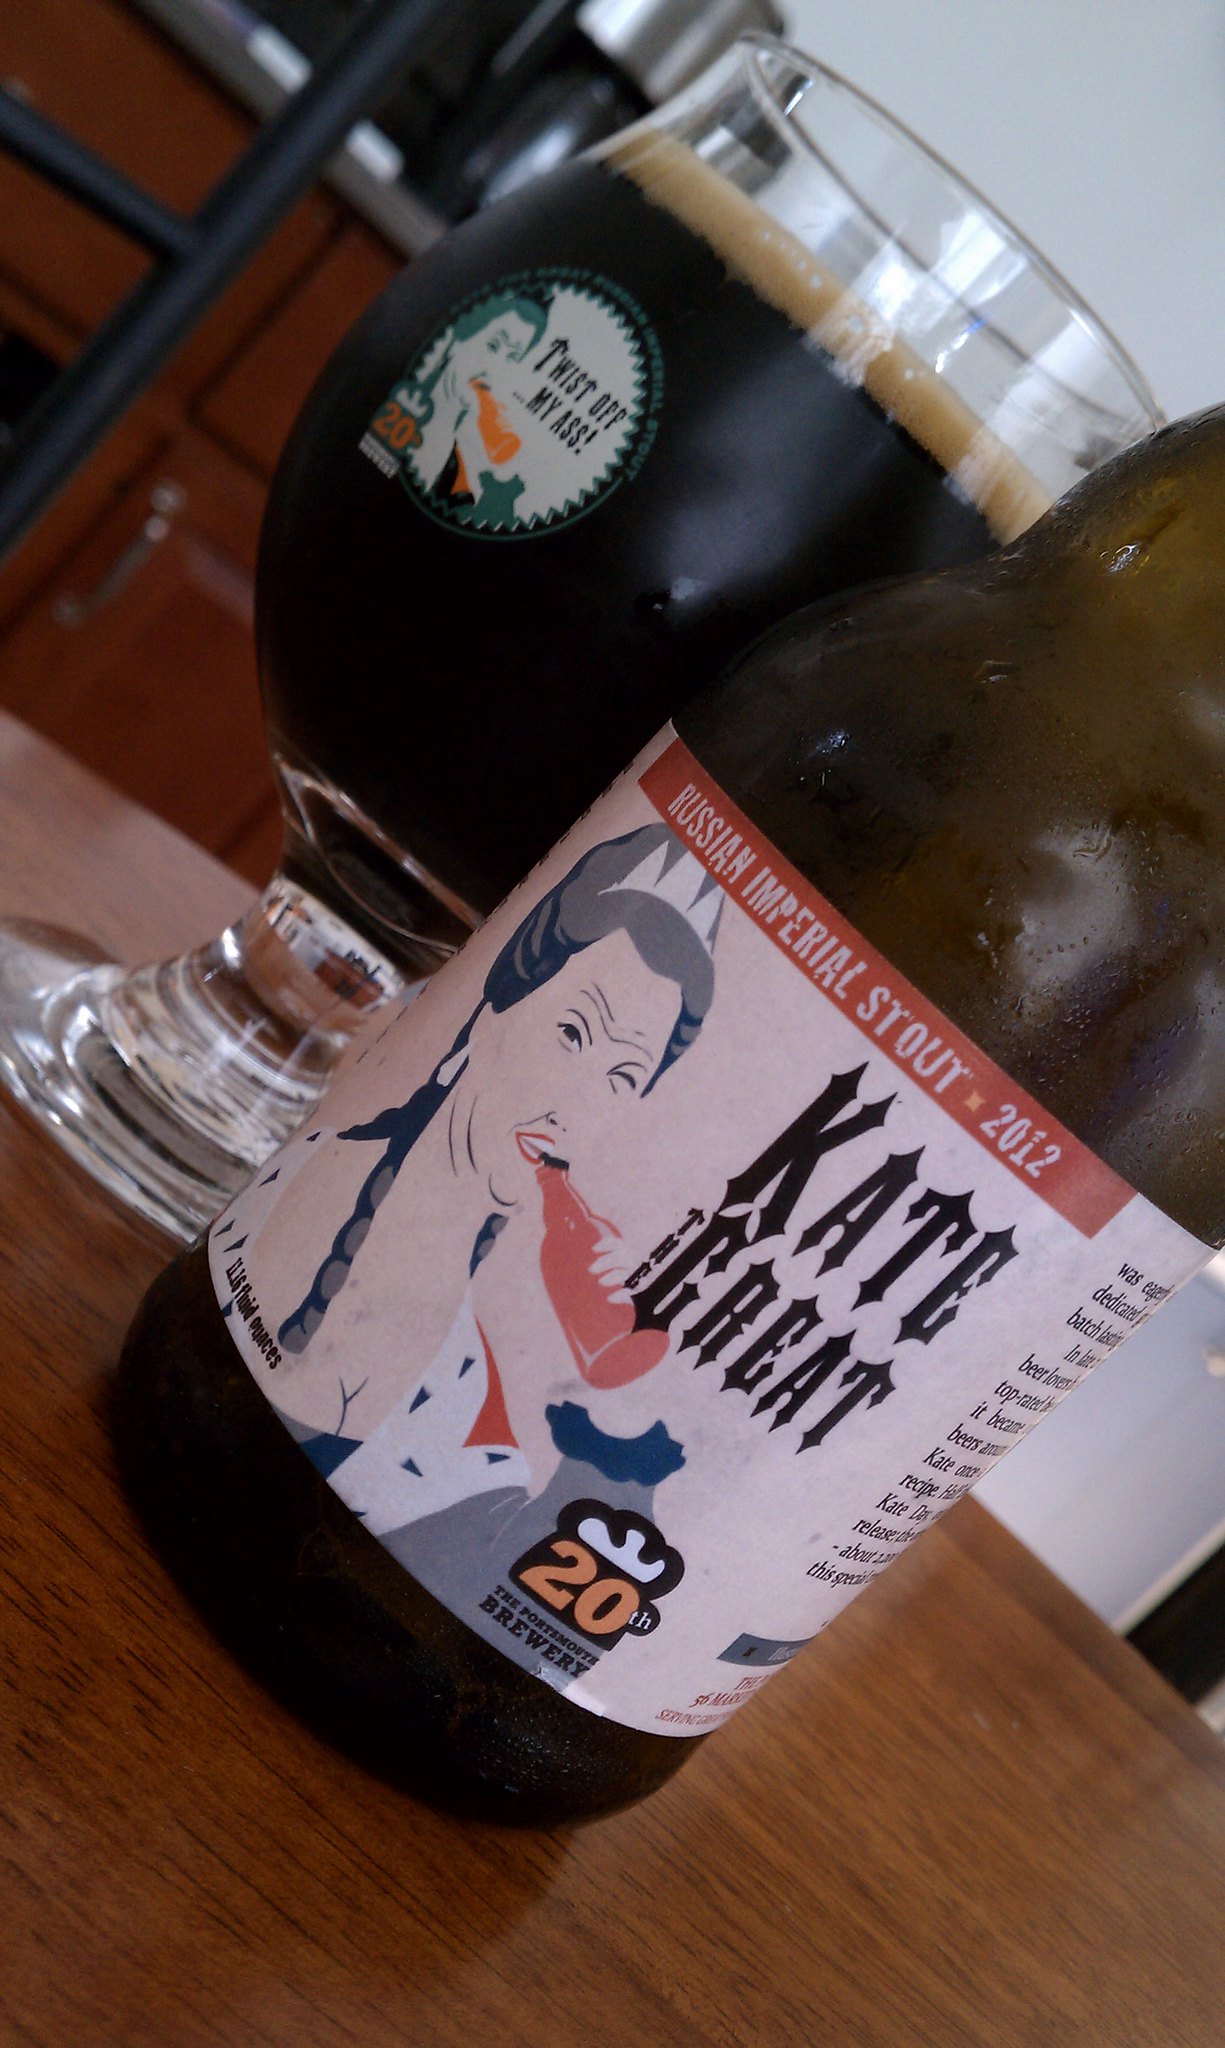
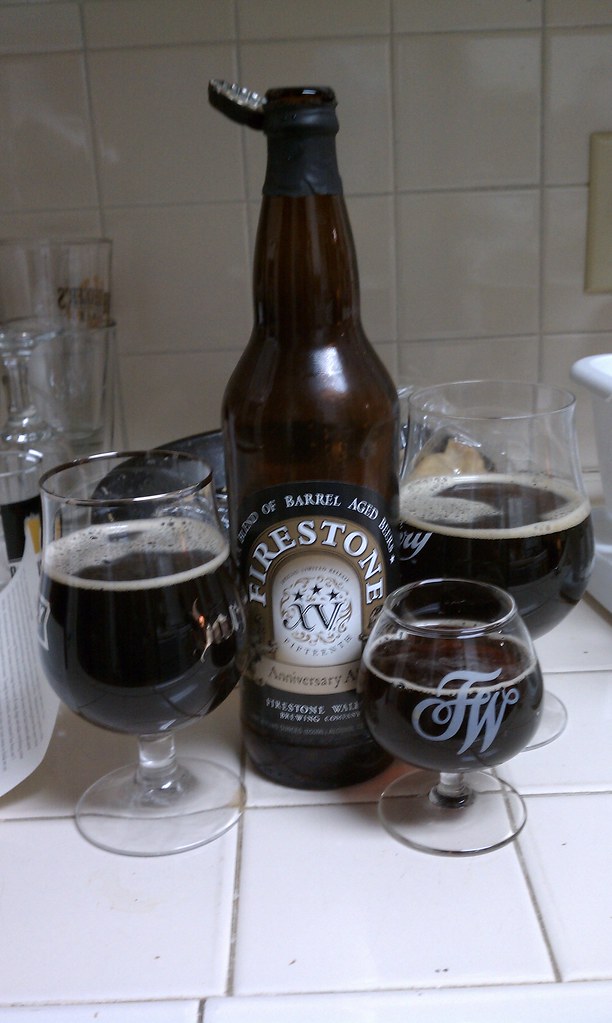
Great looking combo
Appearance: Pours deep and black, with a fourth inch of tan head.  Not a ton of lacing but still an enjoyable experience throughout.

Aroma: I personally don't get as much port as I expected, in fact I don't get any. What I do get is a nice roast aroma with some chocolate and wood traces. 

Mouthfeel: It sits remarkably heavy in my month.  Thick, rich and cream with a very full mouthfeel. Wonderful! I've only had a few stouts as rich and creamy as this one.  Literally everything I look for in an Imperial Russian Stout.

Taste: It was a little cold of the starting block but nothing that a little hand warming couldn't fix.  I get a lot of dark stone fruit similar to what I've tried on quads, almost a plum. A lot of roasty goodness with some fug and chocolate undertones. A very slight warming not unexpected from a beer with a 12% abv.

Overall: I honestly thought this beer was spectacular and lived up to the hype.  Currently Kate the Great occupies the number 3 slot on BeerAdvocate's list of Top Beers for Russian Imperial Stout.  When you consider the fact that most of the top beers on that list are barrel aged while Kate is not it's a pretty impressive feat. 

While I had most of it I probably lost maybe a sixth when my daughter decided to jump on me. I had moved to the couch to finish it up while Bonnie finished getting ready for dinner. Apparently after a little bit Syd decided that it would be a good time surprise me by jumping on me. Result - me covered with most of my remaining glass of Kate. Awesome. Bonnie's Notes: You ended up with Kate the Great all over you because of Syd the Wild

It definitely makes me want to revisit the recipe for Kate the Great that tried back on my birthday as 33 developed some odd infection that I'm hoping will be covered via some faux barrel aging.

Cheers

-SNB

Monday, August 6, 2012

Scott's Scottish on Scotch (AKA Project S.C.O.T.T.)

Could use an acronym
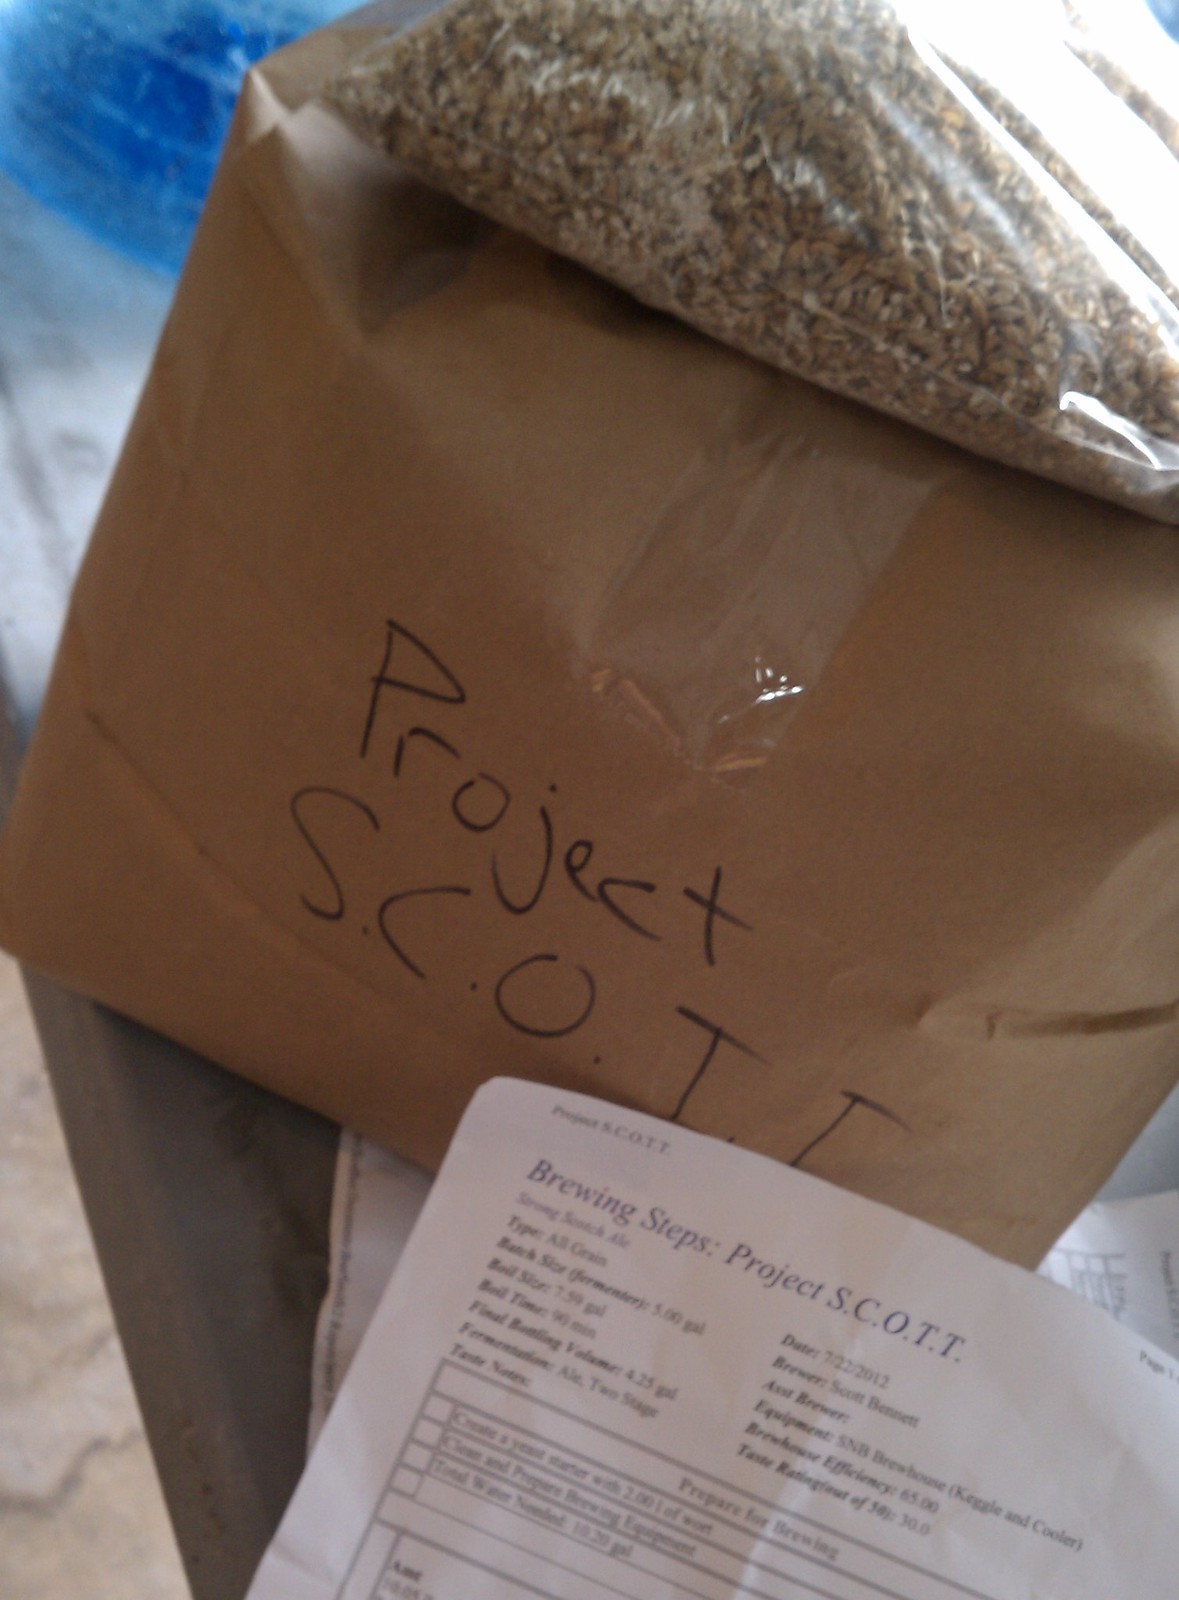
A while back I got this crazy idea about getting together with a bunch of other guys named Scott and brewing up 10+ gallons of a massive Scottish Wee Heavy which we would then age on Scotch soaked oak cubes.  I named this idea Project S.C.O.T.T. - ending up calling it Scott's Scottish on Scotch

It floated around in my head for a while but never really congealed into a solid plan. It appeared to see some progress in June when I was finally able to get my hands on some East Coast Yeast.  In addition to ECY01 BugFarm, ECY02 Flemish Ale and ECY04 Brett Blend #1 (yes you'll be seeing a lot of East Coast Yeast posts in the near future) I decided to pick up a vial of ECY07 Scottish Heavy.
ECY07 Scottish Heavy - Leaves a fruity profile with woody, oak esters reminiscent of malt whiskey. Well suited for 90/shilling or heavier ales including old ales and barleywines due to level of attenuation (77-80%) - recommend a dextrinous wort. Suggested fermentation temp: 60-68°F.
I figured picking up the vial would be the push I needed to get a Scott team together.  It wasn't and after over a month of sitting on it I decided to a least run a test batch through.  I therefore set out to run Project S.C.O.T.T. solo, Han style that is.

That's a lot of yeast
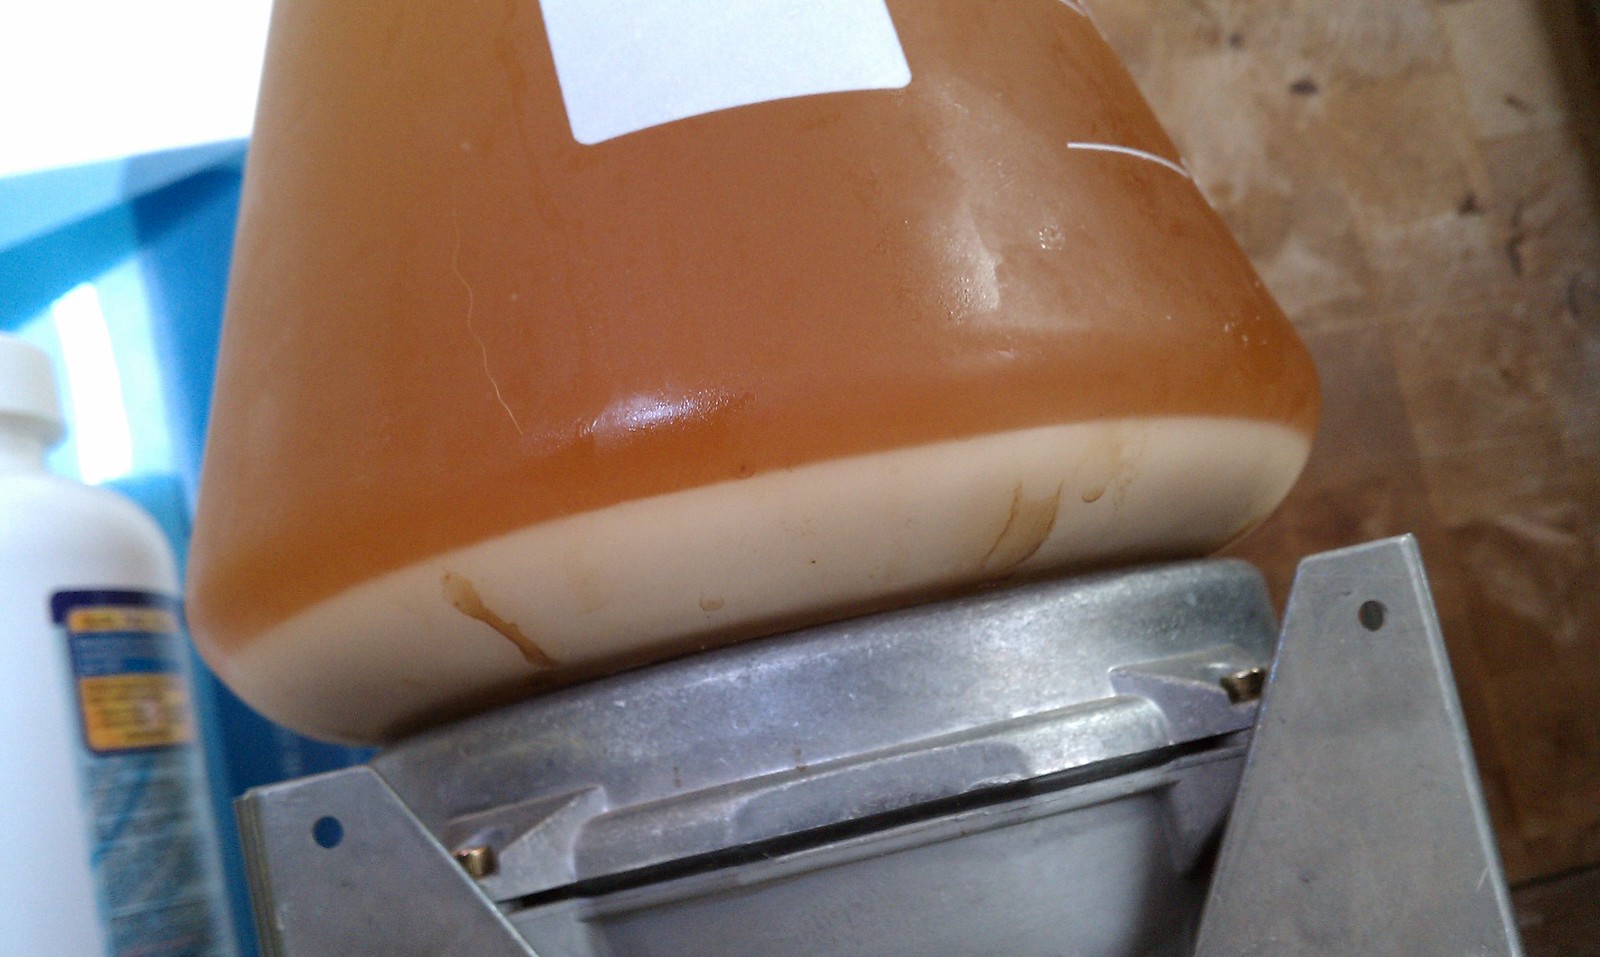
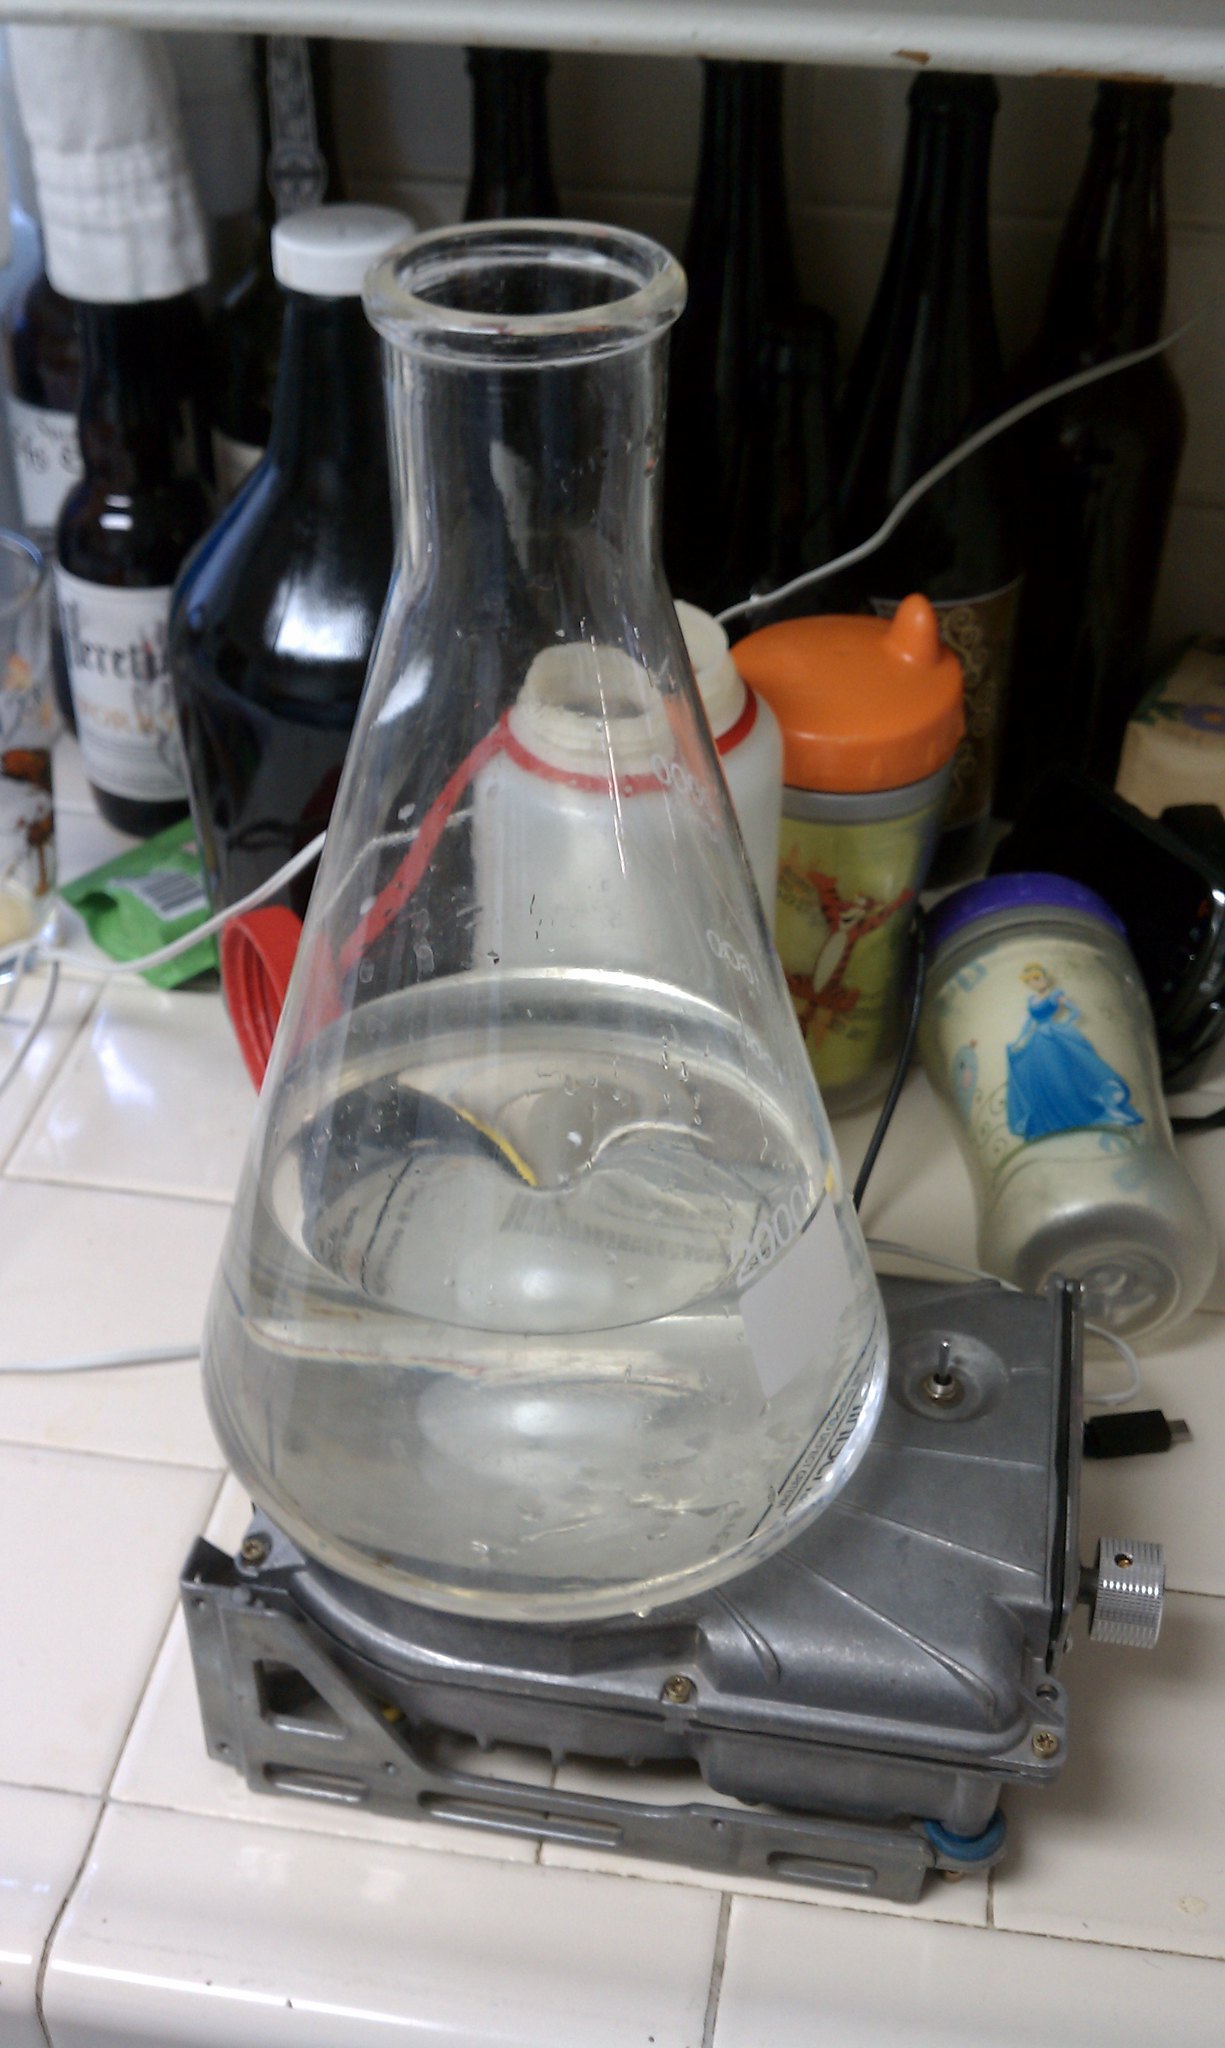
This also afforded me a great opportunity to test out my recently completed stir plate.  It took me a little bit to figure out how to seat the stir bar so that it would correctly spin. Pro Tip: It's best to align it prior to powering up.  Other than that it worked like a champ.  I fired it up on Friday night for a Sunday brewday and with an overnight cold crash I had an impressive layer of yeast in the morning.

For the recipe I did my usually online research.  I was looking for something in the high range 9-10%.  I looked for tasting notes and any comments that I would find favorable.  I also compared recipes to see if there was a common theme in the grain bill, this was how I decided on a generous base of British Golden Promise and Maris Otter.  For the hops I decided to see what I had left over in the fridge the morning of brewday.  I decided to keep the hops balance for more of an ageable beer then a hoppy beer but still include a slight amount of flavor and aroma hops.

Man, this thing has been
killing me lately
As will a lot of massive gravity beers my efficiency suffered slightly resulting in a slight dip from my target gravity of 1.095 ending up being 1.092 including a slight loss of volume. I roused the yeast everyday for the first week till the activity started to die down and every so often since.  My hope is to drive it into the low 20s to reduce the level of sweetness and round my abv in the 9-10% targeted range.

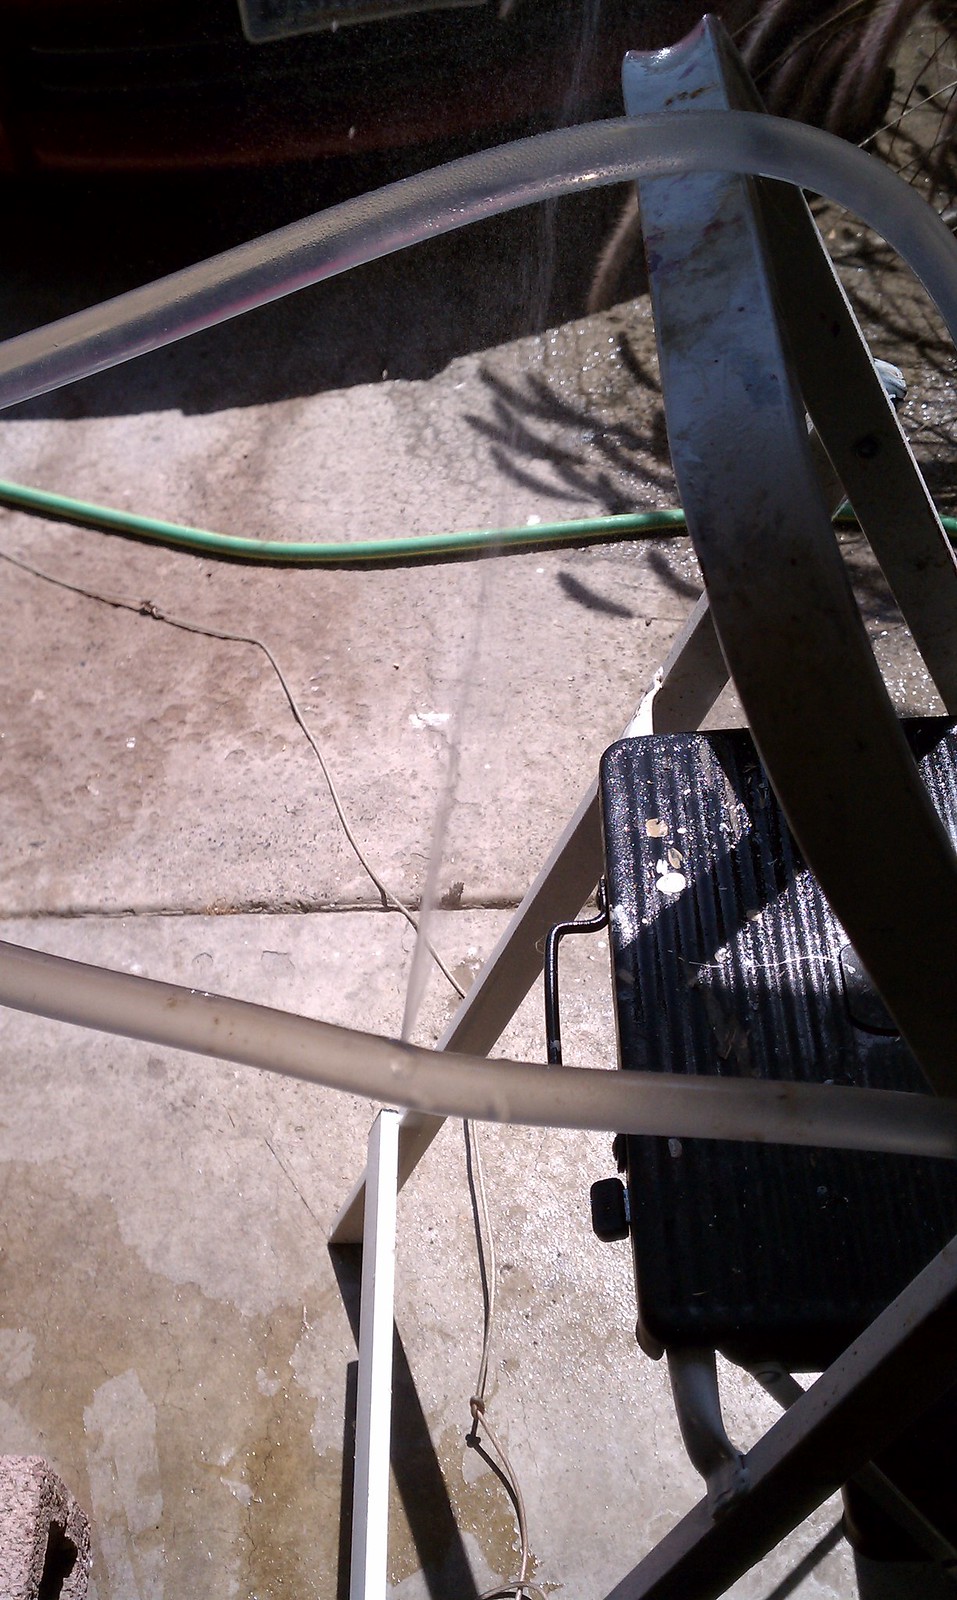
The only minor issue I ran into was a leak in tubing of my wort chiller.  It had had a slight burn in the outer layer and with the pressure a small hole burst.  It wasn't a major problem like the one I experienced with the GRANDE IPL (currently is progressing nicely) but enough to warrant a full tare-down of the existing tubes and a full redesign of my cooling procedure.  I've got a couple of pumps that I'll be rigging up to put into service for my next brew, one of which will be decided to moving ice water through the chiller similar to how Shawn does it. 

Cheers

-SNB

Friday, July 20, 2012

One Year Anniversary!

My inspiration to brew better
Today marks the One Year Anniversary of SNBBrewing.com. I almost completely missed it and if it wasn't for the Brewluminati also turning a year I wouldn't have even remembered.

Technically I acquired the SNBBrewing.com on April 1 of 2011, shortly after winning the Karl Strauss Homebrew Competition at the urging of one of my employees. I didn't really do much will it at first and had no idea what I really wanted the site to be about.  The biggest notion I had was for it to be a modeled after the Surly Brewing Website (shocking I know) and a place where I would display labels linked to my beers brands.  Eventually I started to want it to also include the recipe.

I already been reading a lot of really good brewing blogs (such as The Mad Fermentationist) and didn't think that I needed or wanted to do a blog.  That changed midway through 2011 when I decided that I wanted to control the content of the work I was already putting forth into the web on various forums already.  I decided that I would keep track of my various beer related hobbies (Brewing, Tasting, Trading and Exploring) though these days it contains far more Brewing related posts than anything else.  I'm going to try and chance that moving forward, especially on the Tasting and Exploring side. 

Hops
To decide on the overall look of the site I went to all my favorite blogs and took note of what I liked about them and what I didn't like.  I spent a lot of time getting the background and the page to work the way I saw it in my mind.  While it could be better I've been pleased with the current layout I changed to a couple of months in.

With everything decided I wrote my first post  for publication one year ago today welcoming readers to SNB Brewing.  Over the last year my writing style has changed and I've definitely become more verbose when writing posts.  The one thing that hasn't changed has been my unfortunate tendency for typos.  I've often received texts and emails from friends pointing them out and have then gone in and corrected them. To this day I still go back and find one or two that were missed that make me groan. So to everyone who has pointed out my mistakes I say thank you.

The hardest part has been keeping the tabs up to date, which I've done for the One Year Anniversary!  Actually that's not true, the hardest part of trying to blog is stay to a schedule.  When I launch I pushed myself with a hard 3 days a week update schedule.  I figured with four ares of my hobby to cover I'd have plenty of content.  While it's true I had plenty of content but with a busy/consuming job, a supportive/understanding wife and a young daughter the thing I lacked was time.  I do not now how other bloggers can do it.  I felt bad the first time I had a two post week and even worse when I was only update once a week.  Than things got really busy and I started missing weeks altogether. Today with everything I have going on I've committed myself to at least one post a week.

What it means to me
I'd like to say thank you to everyone that takes the time to read my blog.  I hope you have found it informative, honest and funny. I've had a good time writing it and appreciate all the comments you've given me over the last year.  I've got a bunch of fun stuff planned in the coming year (barrels, blending, a new brewhouse and more exploration of beer) so hopefully you'll stick around and spend some more time with me.

In closing I'd like to give specific thanks to the following for their support: Bonnie B, SydnieNB, DG, Marshall T, Daniel F, Shawn O, Brad D, Eric A, Scott M, Steve C, Ryan O, Chad L, Chris C, Todd H and probably a dozen more.  Your friendship and support mean the world to me.

Cheers

-SNB

A Year in Stats
  • 84 Posts
  • 21 Documented Brews (60 Total ATP)
  • 8 Specials
  • 5 Events
  • 5 Brewery Reviews
  • 2 Projects
Top 10 Posts
  1. Temperature Control - 250
  2. Cold Coffee Extraction - 179 
  3. Stone Ruination IPA Double Dry Hopped with Centennial and Citra - 159
  4. Building the Indiana Jones Crate Keezer - 154
  5. Brewing Beers with Big Hop Aroma - 149
  6. My Funky Brother Brett - 136
  7. The Bruery Batch 50 GFAR aka Grand Funk Ale Road - 124
  8. Scott's BIG IPL w/Citra - 118
  9. Creating Labels and the Imperial Rhino Stout 2011 - 118
  10. Scott's BIG IPL - Alchemy Guild - 110

Wednesday, July 18, 2012

Stir Plate Build

MiniScribe 6085 Hard Drive
In college I was an Art/Business Double Major.  While my primary artist medium was ceramics (both thrown and formed) as part of the requirements of my degree I had to take ART 102 3-D Foundations. One of the assignments in the class was to do a found art project.  The premise of this is simple, take an interesting object and present it in a new and interesting way.  I did a couple but the one that has stuck with me was I found an old slide projector from the 50s.  I loved the design of it it really had a classic almost art deco feel to it.  I presented it by tipping it on it's side and lighting it up.  It looked like an old space ship taking off.  Shame I couldn't have kept it.  In the end the class gave me a new appreciation for the potential of existing objects.

Fast forward many years to 2009 which found me closing down a company that my work had recently acquired. While sorting trash/scrap/salvage I came across a very old MiniScribe 6085 Hard Drive (Brace yourselves, we're talking a whopping Capacity form/unform 71/ 85 MB !) I absolutely loved the design and form of it and decided it needed to come home with me.

It sat in my office on display for the next two and a half years until I came across the following YouTube video.


I'd been wanting a stir plate to help with my yeast production for a while but couldn't justify the costs given everything else I needed first,but I could do $15. As I was assembling the components I started to search out a box to put it in.  Like the Crate I wanted something that was interesting to look at.  One day I happen to glace over to where the MiniScribe had been sitting and realized right away that I had found my box.

Complete and running
When it came time to build it I started to search out wiring diagrams and other build descriptions to find the details I needed that weren't present in the video. In addition to the video I studied the following builds: Building a Stir Plate, Building a Stir Plate for Brewing, My Stirplate... Cheap and Easy Build and Mad Zymurgists Stir Plate Project. I put together a quick print out with all of the details I needed.

While the build was fairly easy to complete it was far from issue free; the original magnet was too strong and bound everything together, the 5v power supply wasn't strong enough to spin the fan with the magnet on it and the 24v was too powerful and burnt out the fan.

It took a couple of hours over two weekends but in the end I was able to get everything wired up and working.  I'll be breaking it in soon when I make a starter for Project S.C.O.T.T.

Check out the complete build after the break.

Cheers

- SNB

Tuesday, July 10, 2012

Bottling Westbennetteren 12

The Unique bottle collection
Six long months after brewing up my tribute to Westvleteren 12 (Commonly known as Westy 12), which I called Westbennetteren 12, I finally got around to bottling it up.

The process started a few weeks back when I transferred the Westbennetteren 12 out of its long secondary and into a keg to make room in my fermenting cube for Coast of the Sun.  I flushed the keg CO2 and just kept a blanket on top to keep it Oxygen free.  I did nip on it a little while it was on tap and shared it with some friends.  I also did a small side by side with a Westvleteren 12 when I popped Eric Addison's Westy 12 cherry (something I've been known to do more than once).

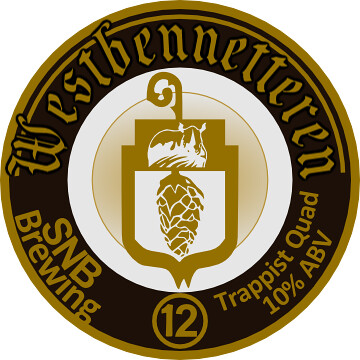
As you may know when I brew a beer with the intent to bottle I always design a label, this time however a label would not have been appropriate for the tribute I was doing.  Currently Westvleteren does not label their beer. The only differentiation that separates the three beers they produce is a colored bottle cap.  So to do this right I needed to create a bottle cap for it.  Fortunately for me, these days there is a solution for that.

Tribute cap to a Tribute beer
A while back I read an article about a company called BottleMark.  BottleMark is this cool company in Houston that was started by a homebrewer who had too many different batches in the fridge at once. He realize that if he could do a low run bottle cap he could tell them apart so he came up with a way to print artwork on a white bottle cap. A bunch of my friends had given them a try and were very pleased with the results.  With a low 11¢ per cap price (now 12¢) I figured this would be the prefect opportunity to try them out. So while the Westbennetteren 12 was chillin in secondary I designed some artwork for a run of bottle caps. The shipping was extremely fast and I was very pleased with results.  I also created a couple of other caps using this order as the prefect test opportunity for other bottle cap ideas I had.

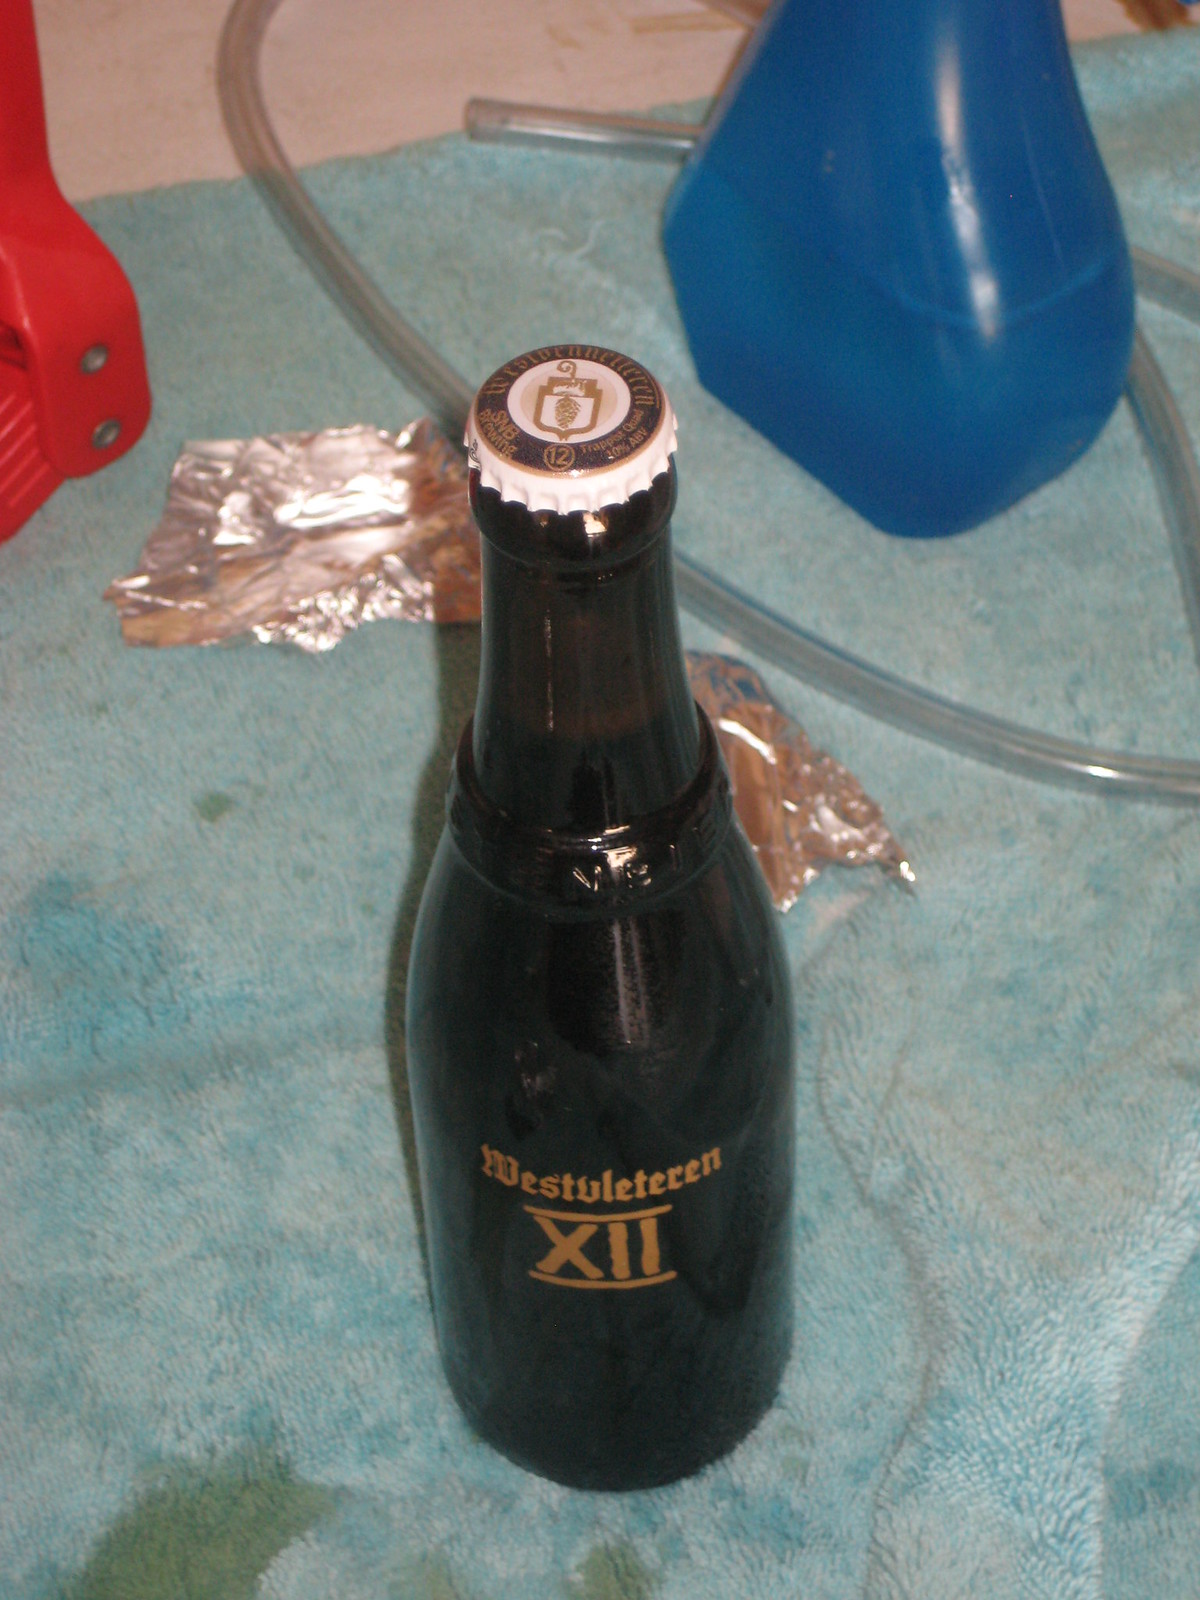
Homebrewed Quad in a Westy 12 Bottle
Gotta love it
I picked up a couple of new cases of 12 oz tall bottles (the Sierra Nevada short stubbies won't have worked) and found 6 special unique bottles for friends. The prefect bottle to have found would have been a couple of cases of New Belgium 12s.  My preferred method for prepping bottles for beer is to sterilize them (several notches above sanitizing imo) via dry heat.  Following Palmer's chapter on the subject I rinsed them and loaded my oven. As Palmer states I loaded the bottles with the oven cold and brought it up to 350, I held that for 60 minutes then killed the oven and let the bottles cool overnight.  I topped all the bottles with foil to keep them sterilized indefinitely until needed.

When it came to bottling day I primed the beer with Simplicity as recommended by the recipe (not recommend was added 3 more oz then I needed) and a fresh vial of WLP530.  I stirred with a sanitized spoon as well as shook and rocked the keg to make sure it was properly combined.  I filled the bottles using my BeerGun at very low pressure.  There was no need to chill the bottles as the beer as still. I then capped them with a sanitized bottle cap.

From here is another five to six months of bottle conditioning.  The first bottle will be cracked when Shawn, Daniel and I do our Quad night sometime in November/December.

Cheers

-SNB

Friday, July 6, 2012

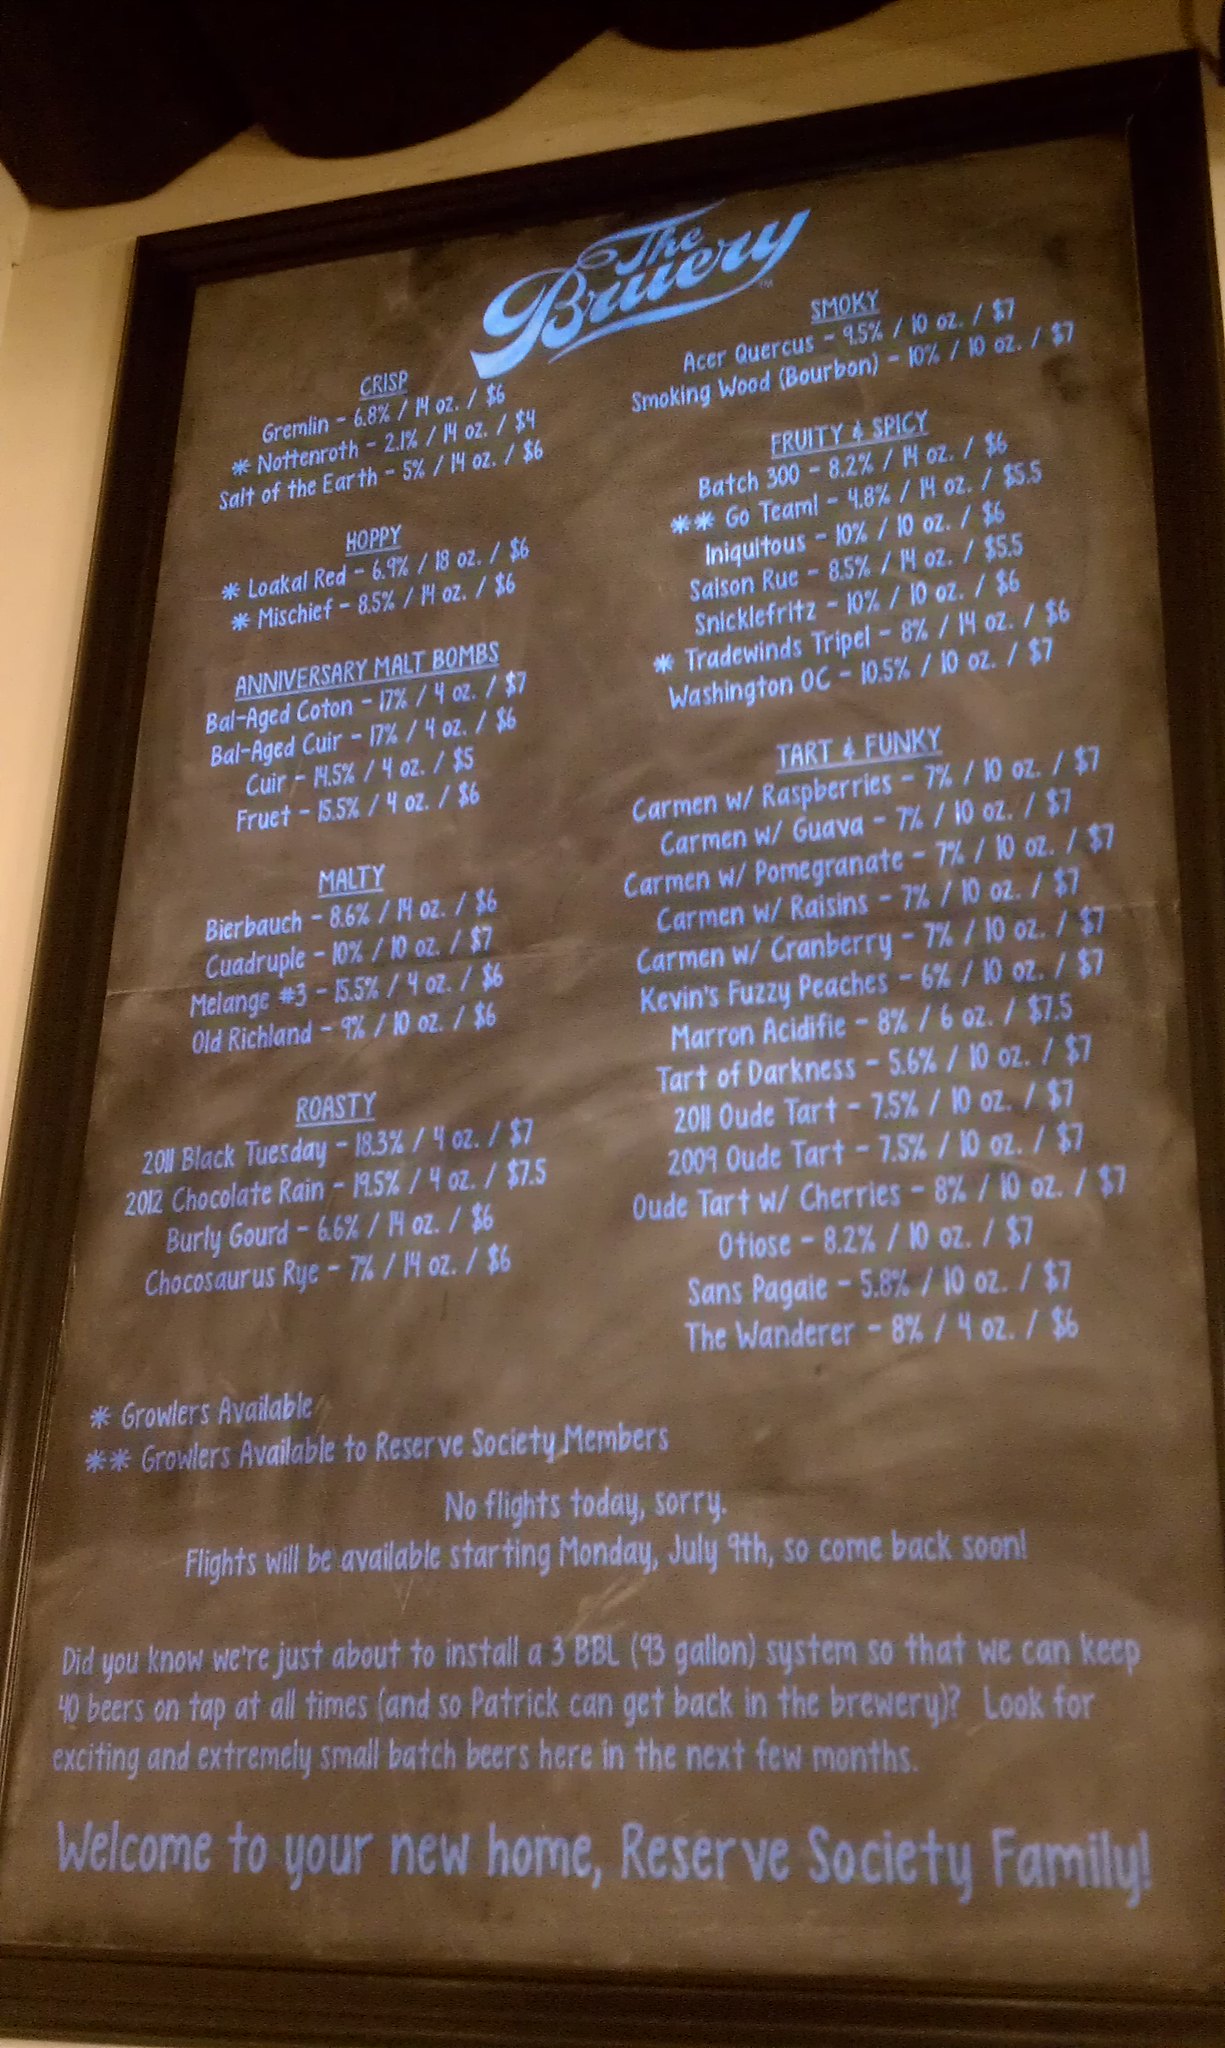
The NEW Bruery Tasting Room

On the night before the Grand Opening a few dozen (more like 100) Reserve Society members got a chance to check out the Bruery's new tasting room. I have to say it was quite impressive and a big upgrade to the old one.

One of the key features is the 40 taps plus one cask on hand pump of Bruery Beer.  They also pulled out all stops for the sneak preview and grand opening filling all 40 taps with some of their best and most famous beers.  This included several of my favorite Bruery beers.

Partial list of beers they had on tap for the preview:
Mischief
Saison Rue
Not actually a chalkboard but a
projection onto a chalkboard
pretty cool

Loakal Red
Trade Winds
Gremlin
Go Team!
Batch 300
Burly Gourd
Chocosaurus Rye
Old Richland
Cuadruplé
Salt of the Earth
Iniquitous
Nottenroth
Hottenroth
Tart of Darkness
Oude Tart
5 different Carmens
Otiose
Sans Pagaie
Mélange #3
Bourbon Barrel aged Coton - Yes Please!
Bourbon Barrel aged Cuir
Bourbon Barrel aged Fruet
Marrón Acidifié
Black Tuesday (2011)
Chocolate Rain (2012) - Yes Please!

I had four beers that night as they were not yet doing flights (which will be very nice)
  • Barrel Aged Coton - One of my favorite of their Anniversary Beers. It was holding up really well and the mouthfeel was the same thickness I fell in love with.  It seemed to have a weird alcoholic burn that hadn't been there before and the raisininess that I loved was gone.
  • Chocolate Rain (2012) - Very Chocolatey still but not as good as it's been in the past.  I might be starting to fall off.
  • Kevin's Fuzzy Peaches - Wonderful beer that was way too quaff-able for its own good!
  • Washington OC - An enjoyable domestic quad that when it warmed opened up wonderfully.
It was nice getting a preview of the new facility. I ran into Tyler and got to congratulate him on the success of the new space.

I will say that despite reports of poofy ceiling to dampen the noise level it got very noisy with 50-60 people having a great time. By the end of my the night it was hard to hear my buddy Scott.

Cheers

-SNB

Thursday, July 5, 2012

SNB Brewing: HopFarms

Rhizome in the pot
One of the things I regretted not doing last year was planting hops so I could do some wet hop beers in the fall.  It was fun watching everybody who did grow them post up pictures as they grew. While I never got to try any of their creations I knew next year I would make growing them a priority.

The thing about growing hops is that for the first two years they are really trying to establish their root system.  This generally leads to lower yields for the first couple of years.  I've heard tails from people saying that they were lucky to get 2-8oz total from multiple plants.

When it came time to plant I sourced from two locations.  The first was Northwest Hops which I had learned about via thread on BA talking about the success and the pricing people had had from them  I ended up ordering two Hop Rhizome Starter Kits, one cascade and one centennial.  The nice thing about the start kit was that each came with 5 Rhizomes, 60 feet of coir hop twine and free shipping.  I gave one of each to Daniel to plant as I didn't think I needed 5 of each.  To round out my hop varieties I also order 3 from Addison Homebrew Provisions; a nugget, a glacier and apparently another centennial (I'd thought I'd ordered cascade and columbus from Northwest Hops when I placed my order)

some of the cascades and centennials
After doing some research online I decide for the first year or so to plant in containers.  I split it up with 2 in 3 containers and 1 in another 3 containers in the back with one planted up front.  I'm pretty sure I also planted a centennial in the garden but can't remember.

Two of my centennials were the first to take off and required building the rope system to the back of the house within a month of planting. The rest have taken much longer with very little growth from the nugget or glacier.

Over the last weekend I got around to building the rope system for that rest of the growing ones. To anchor the rope to the ground I made some stakes by taking some 1.5" x 0.5" wood I had lying around and cut it up at a 60 degree angle, then I took a half inch boring bit and drilled a hole in the top for the rope.  I attached the rope to the house using eye hooks.  I'll build more if and when the remaining rhizomes warrant it.  

Currently they are on a drip system that had been on a timer until it died.  Now I just water them while I water the back yard.  The next step will be to provide them with some nutrients and more time.

Hopefully this will allow me enough wet hops this fall to do the most insane wet hop IPA I can think of...

Till then, cheers

-SNB

Related Posts Plugin for WordPress, Blogger...