Header Image

Tuesday, November 8, 2011

Imperial Rhino Stout 2011 - Tasting Notes

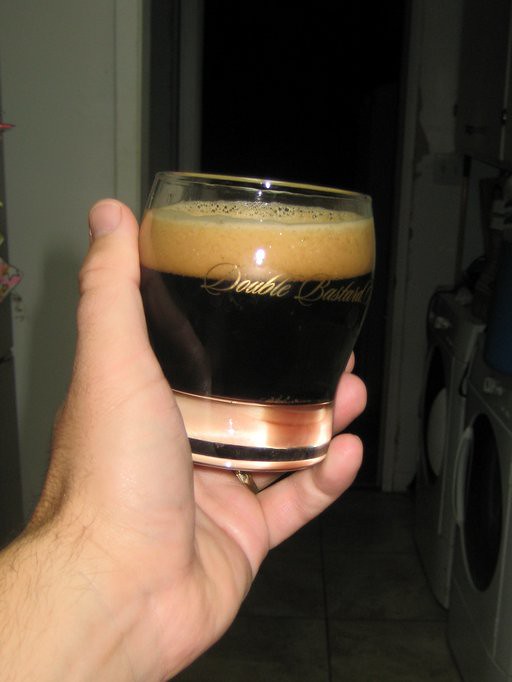
mmmm so thick
Seeing as how I've been slowly drinking this for a while and have BeerGunned the a few bottles to give out to friends I decided it was about time to set aside a glass and take some tasting notes..

Appearance: Poured from the Crate it forms a nice thick light-tan meringue like head.  The color is very dark but also very clean and clear on the edges.  Laces the edge of the glass extremely well hand on them.

Aroma:  Most pronounced right now is the coffee notes which are plesently earthy.  Some light roastiness is present and a very sutle hop character especailly when swirled. Some minor pine notes from the Simcoe are present as it warms.

Mouthfeel:
Very thick and viscous, full bodied with everything I love in a stout.  It is not overly thick or sweet like I've found Dark Lord to be but nowhere near the all encompassing thickness that is Cigar City's Marshal Zhukov. 

Taste: Coffee is pronounced with a nice balanced level of bitterness. I love the subtle roast notes that I pick up.  The flavor profiles from the two varieties of coffee are present and in balance. I'm really enjoy the level of sweatness and roast.

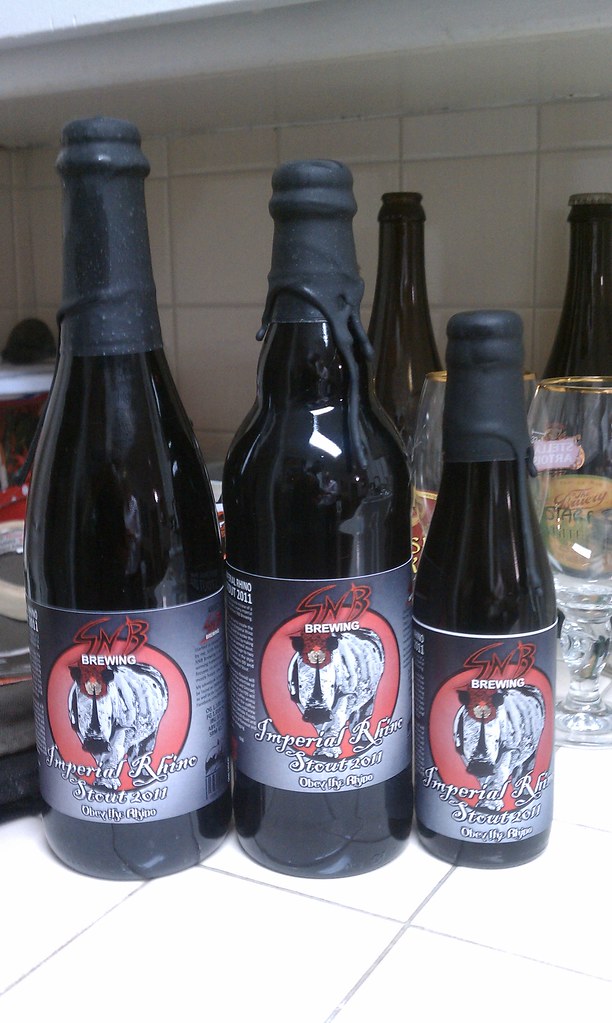
Overall: I am as pleasantly surprised with this years version as I was last years.  It's been nice to slowly sample the beer as it's progressed.  My plan is to BeerGun and wax the remaining in 12 oz bottles similar to what I did with the Wookiee from the BrewCommune Barrel Brew.

Some examples of the bottles I've done so far

Friday, November 4, 2011

Surly WET

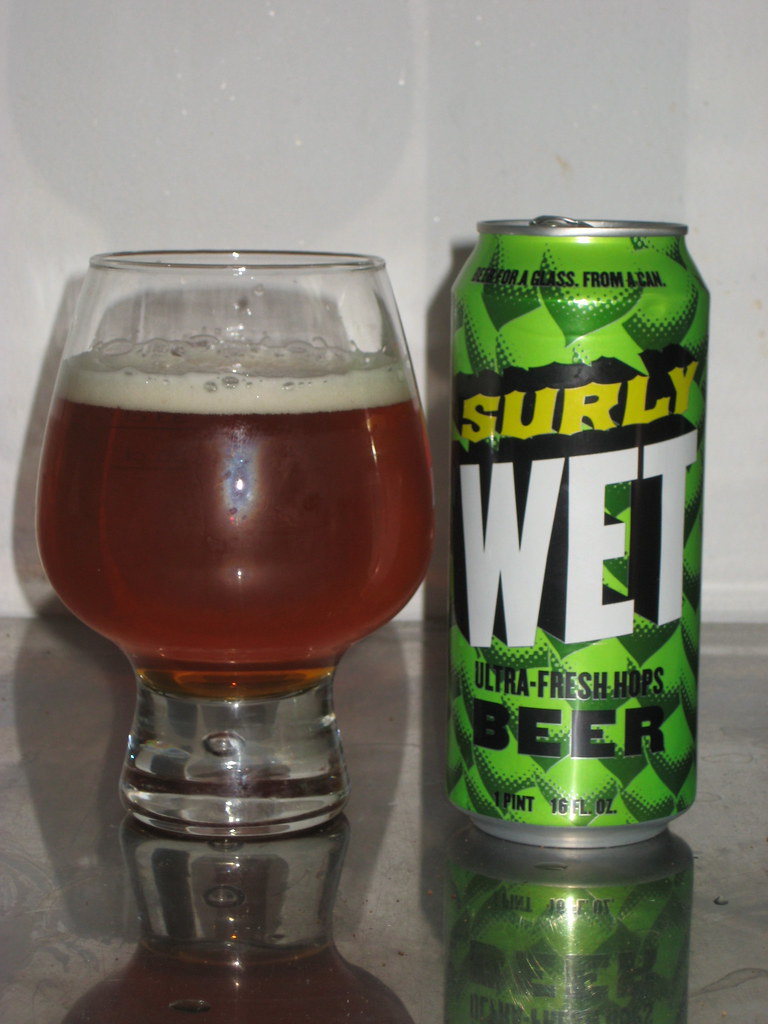
16 ounce cans poured into into Lucifer goblet.  I picked up 2 four packs while I was in Minnesota.  I have really enjoyed this years version. Todd slightly changes the recipe from last year which was a blend of fresh/wet citra and I believe chinook hops. This year it was all citra web hops. Picked on day one and used in a hopback on day four.

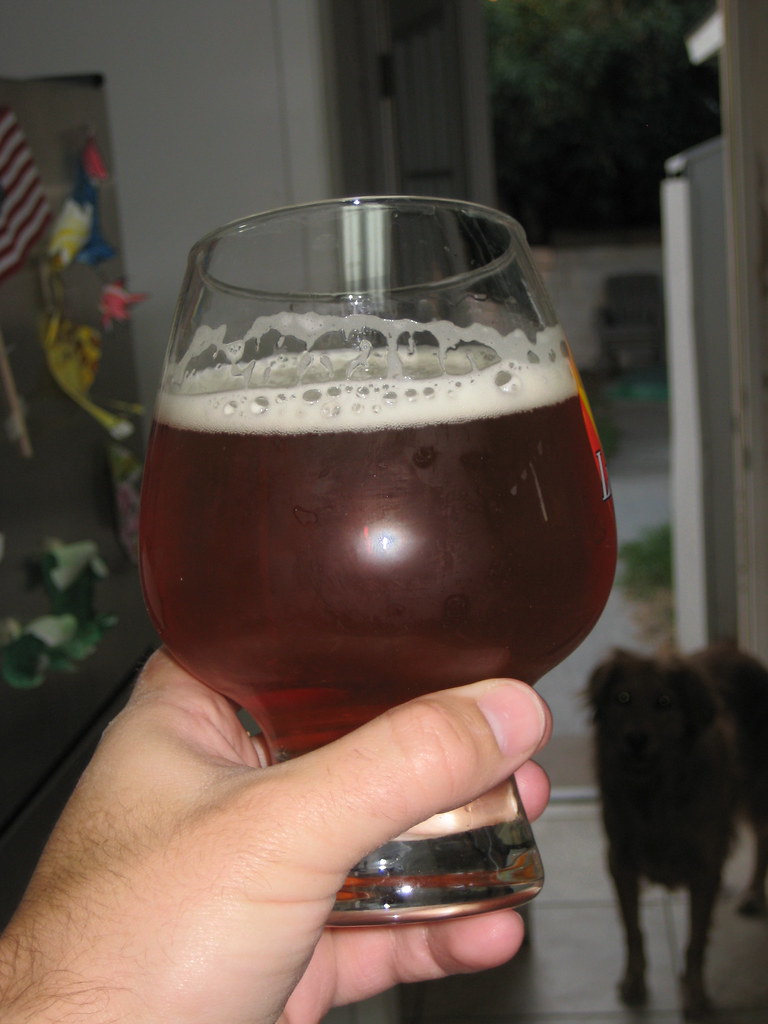
Appearance:  Pours a golden orange with a fluffy white head about an inch high which leaves behind great lacing.  Crystal clarity provides great reflective light on my hand. it reflects as a very warm orange. 

Aroma:  Citrus is the most prominent.  The smells really really good  I just want to bathe in it.  This should be a candle smell.  The citra hops are very prominent some pine but not overpowering the citrus very well balanced

Mouthfeel:  Really nice tight bubbles, medium to light bodied, semi-dry and very clean. Tt tingles my tongue as I let it linger in my mouth

Taste: Absolutely incredible, the citrus is really nice and prominent.  I get nice passion fruit on it.  the bitterness is there but it's not overpowering very soft.  This is one of my favorite wet hop beers. The clean bitterness allows you have multiple times without stripping your palate  I get some tangerine notes.

Overall:  When I was in Minnesota I had this every chance I got, that included 3 pints at Cafe Twenty Eight over my 2 visits and multiple cans that I enjoy fresh while at Ryan's house. This beer is an absolute treat.  I've only got a few cans left but I doubt it will last till the weekend.  I might try to collect 1 more 4 pack of the most recent run and then I will wish it well until next year.  I've had a chance to have for wet hop beers this season and only Town Hall's wet came anywhere close to Surly Wet. 

Friday, October 28, 2011

Darkness Day

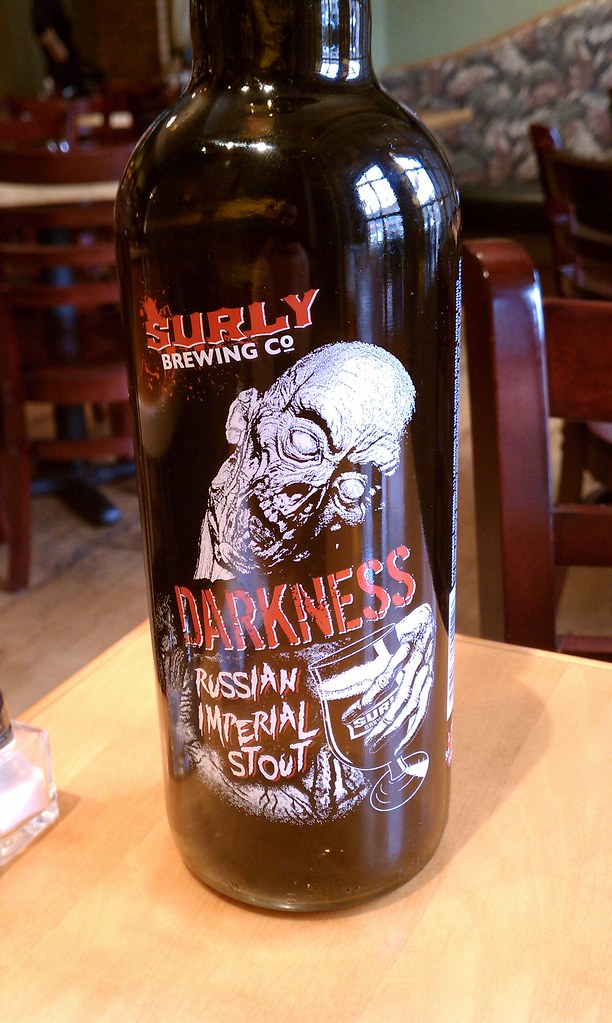
Front of the Bottle
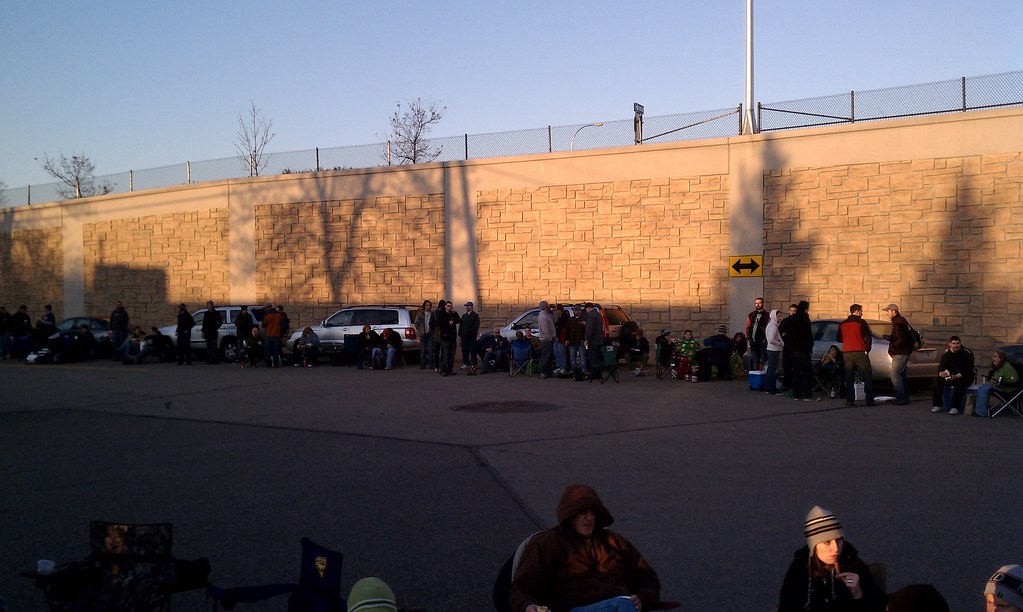
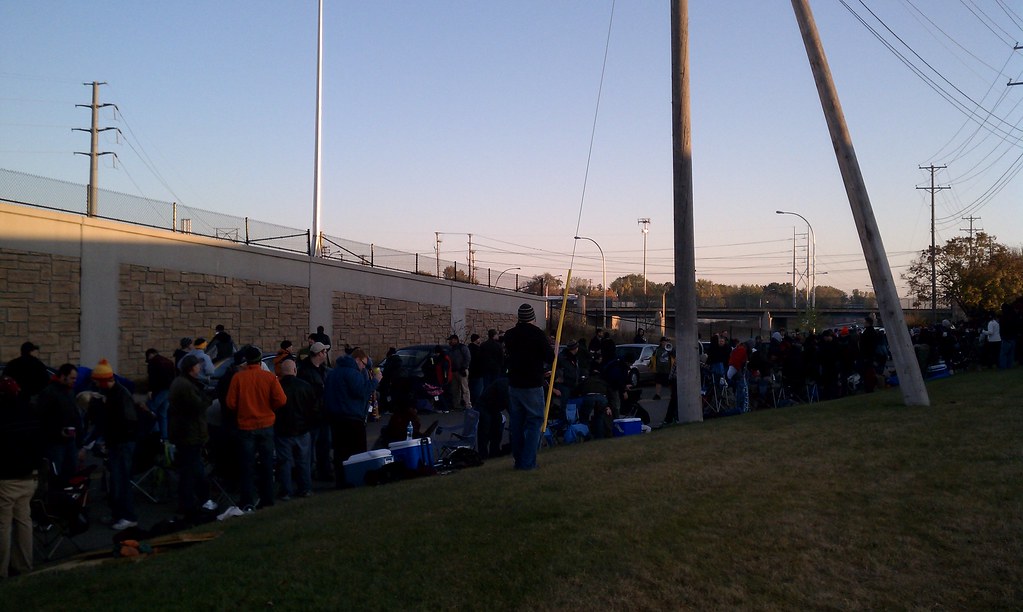
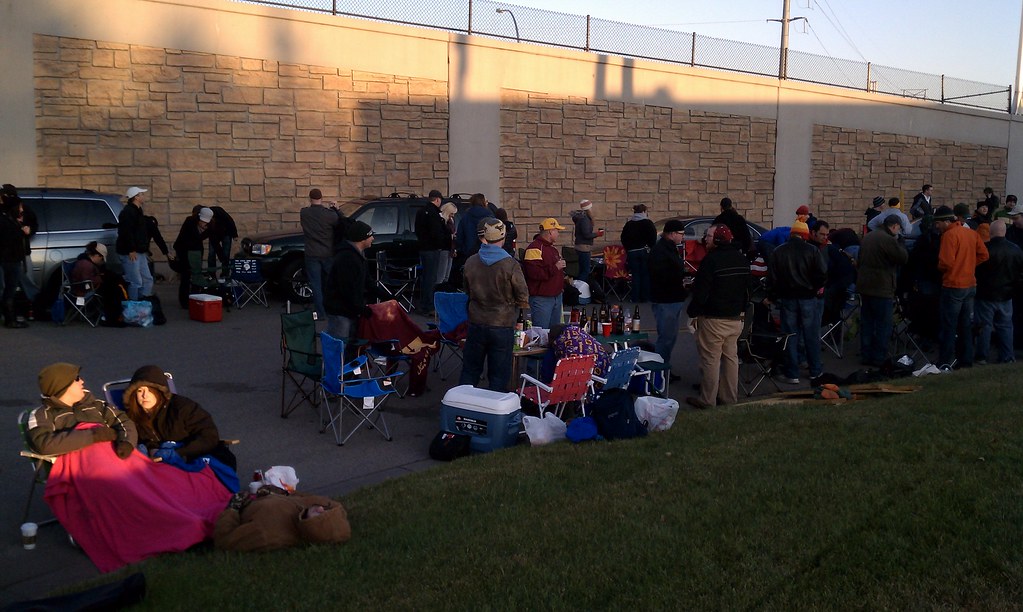
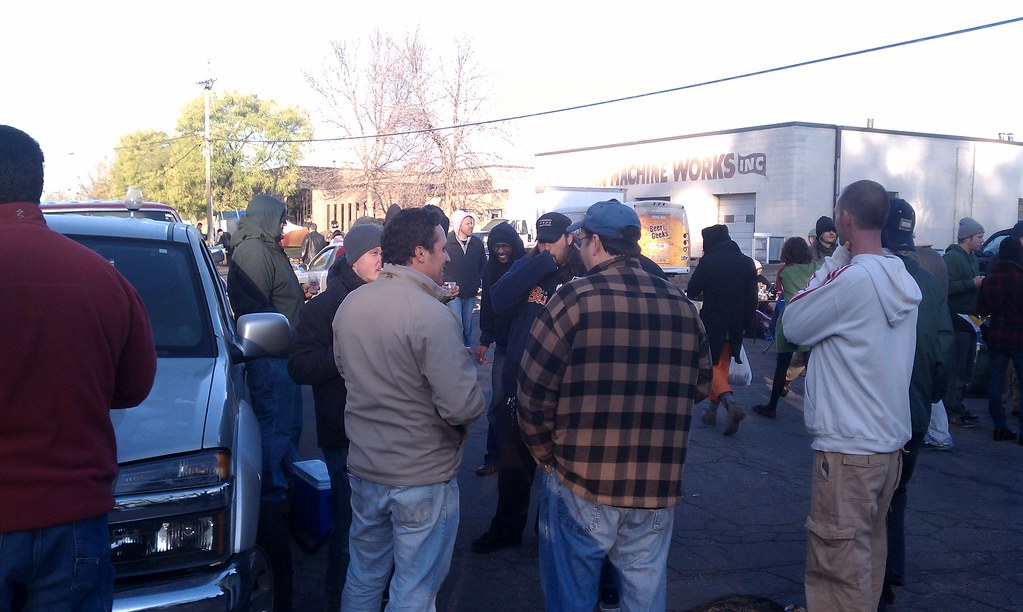
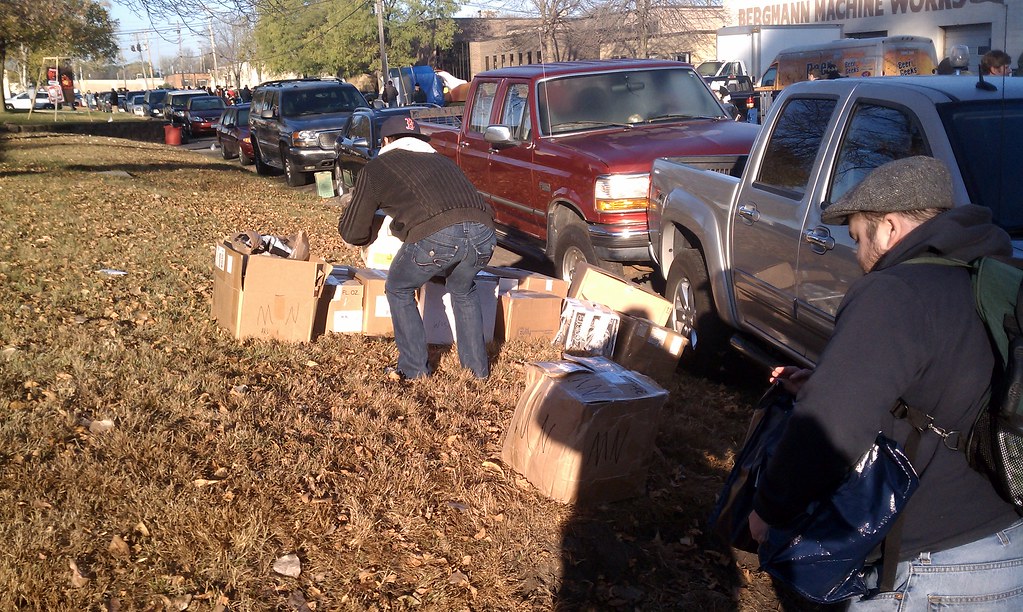
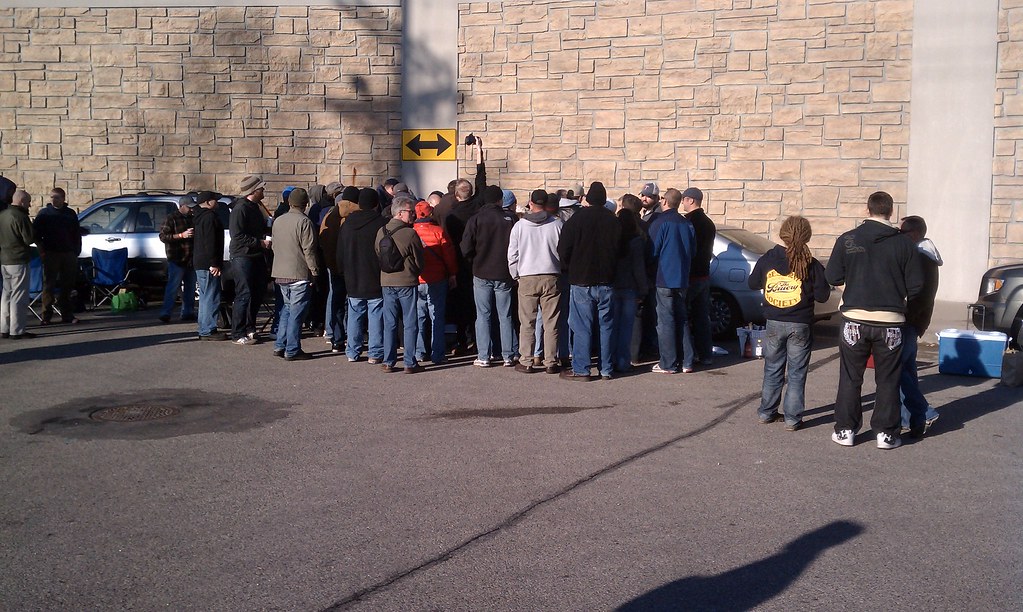
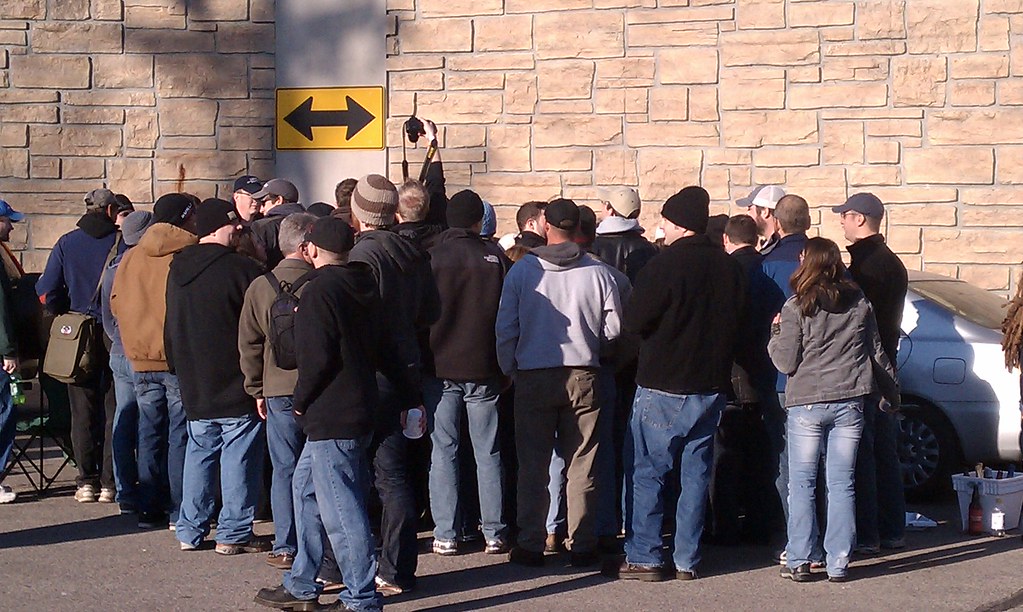
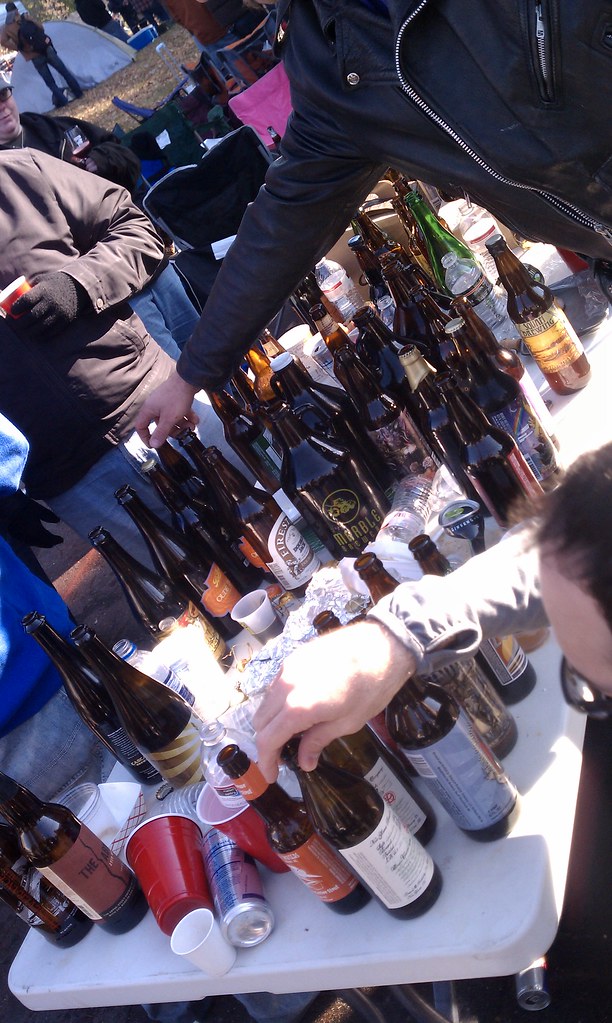
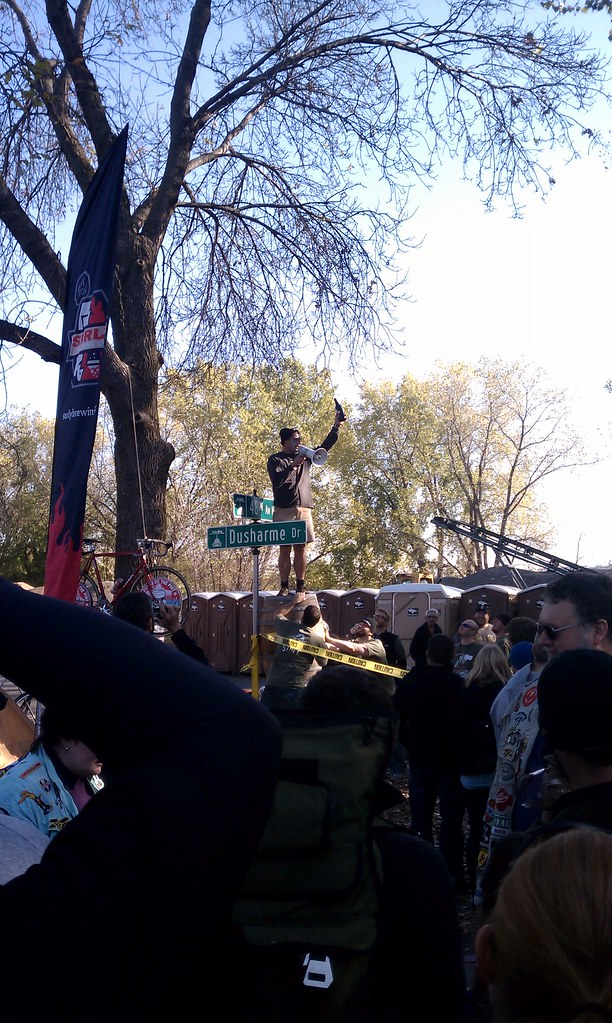
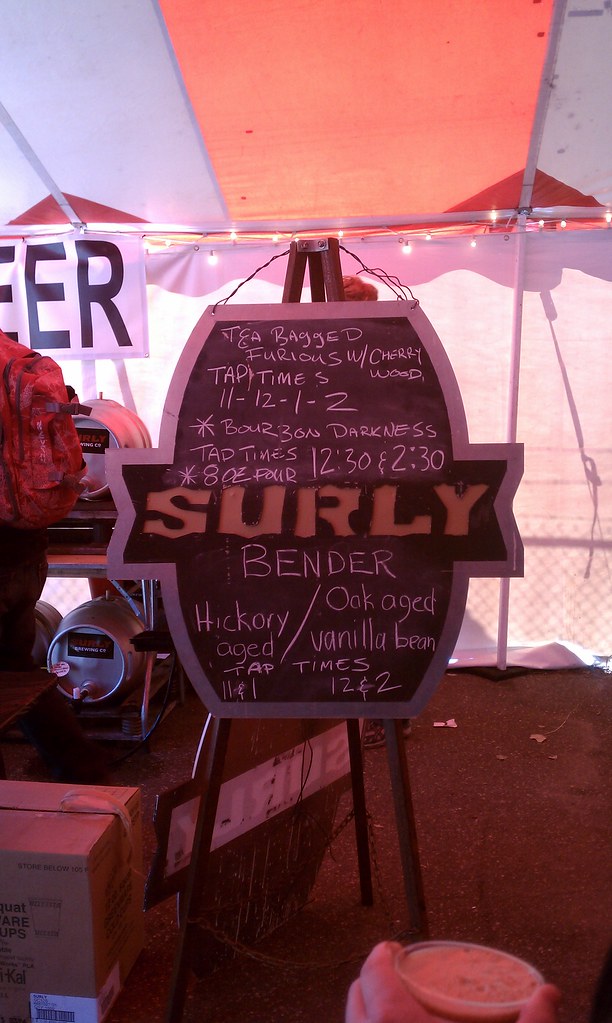
On a cold fall morning I recently found myself at Surly Brewing company to celebrate the release of their annual Russian Imperial Stout - Darkness.  I'd never been to a traditional beer release so only had a vague idea of what to expect.

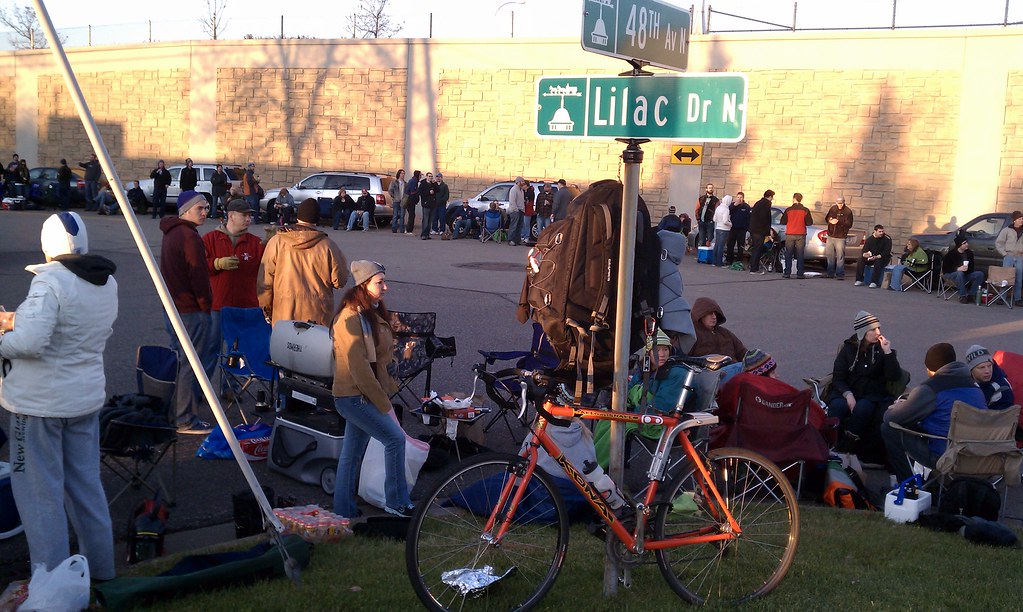
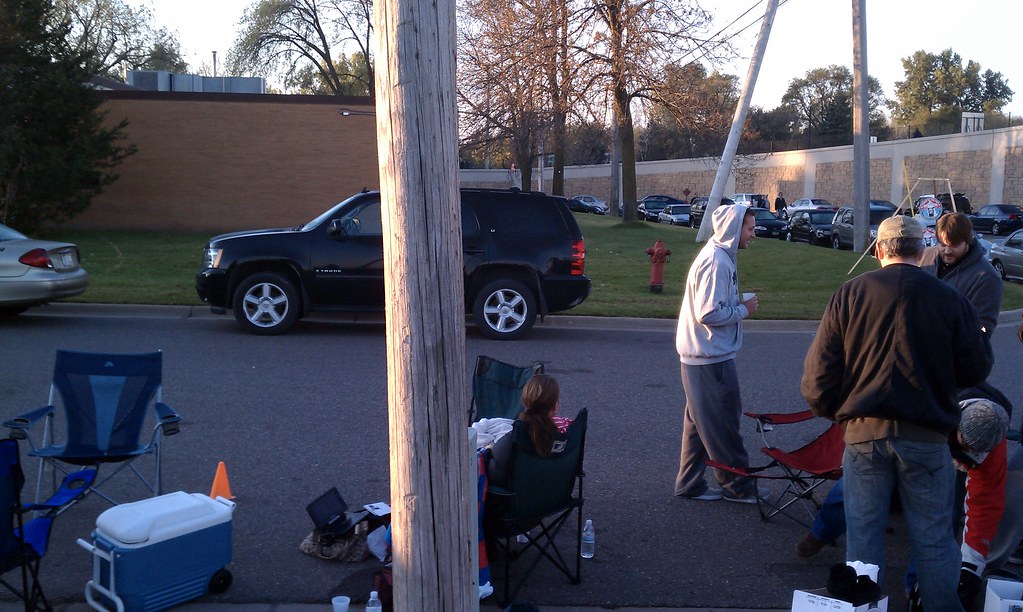
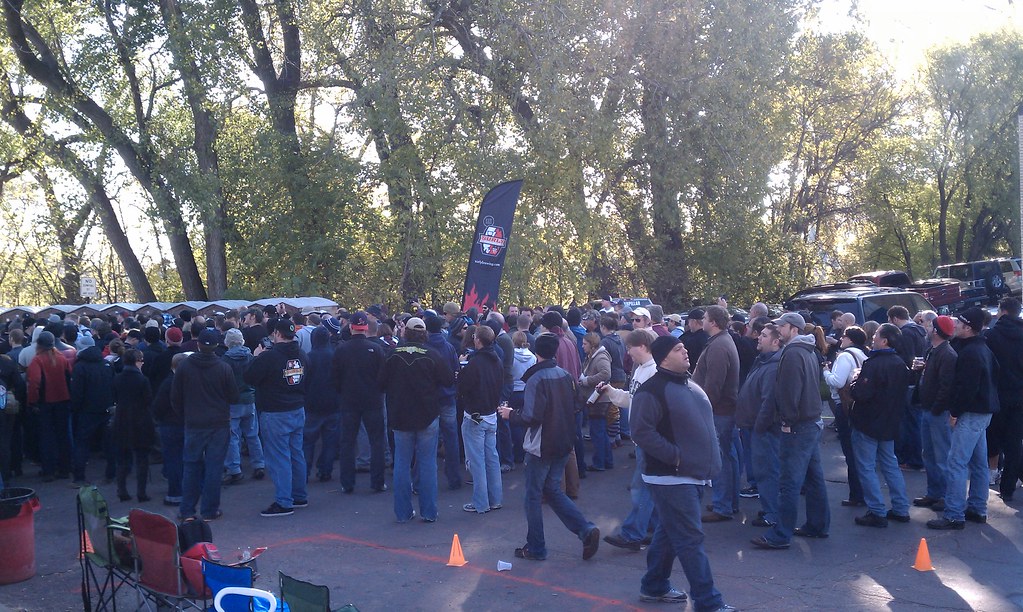
I decided to arrive around 5:00 AM, this put me surprisingly farther back then anyone would have expected.  I know this because I talk to several veterans of the event (many of whom camped out all night).  I ended up talking to the guy right behind me Dan (ungertaker) for most of the morning. 

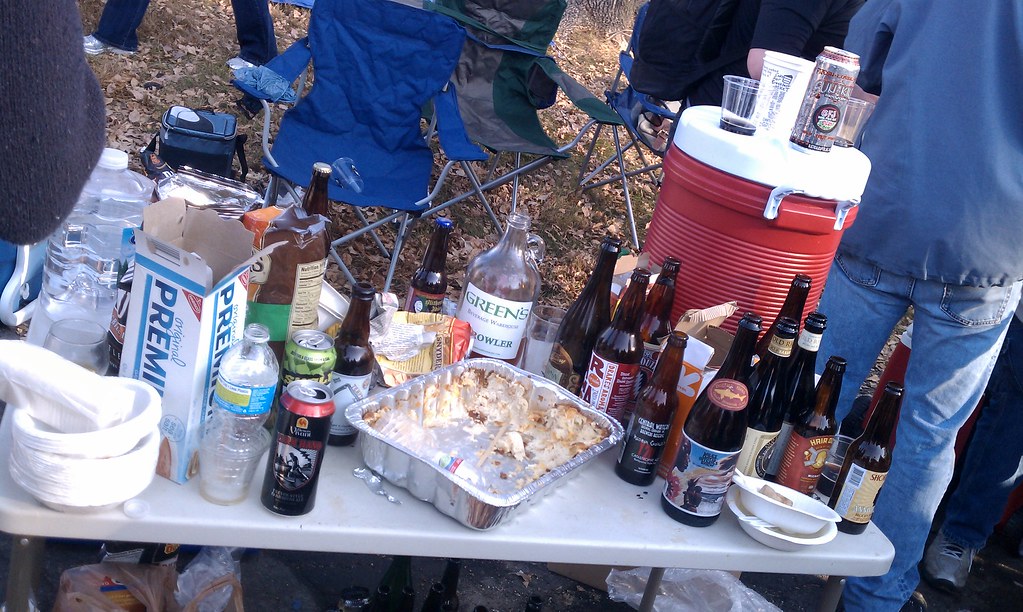
At the front of the line a large tasting table had been set up so with our spots saved, Dan and I ventured up.  It was filled at that time with mostly empty bottles but there were a few tasty treats left. It was still pretty dark, fortuniately my flashlight was able to light it up.  While there I was "fortunate"enough to try Voodoo Maple Doughnut from Rouge, it was as bad if not worse then I had heard.  I would be hard pressed to find a more divergent mismatch between smell (good) and taste (a smoker in a portapotty bad).

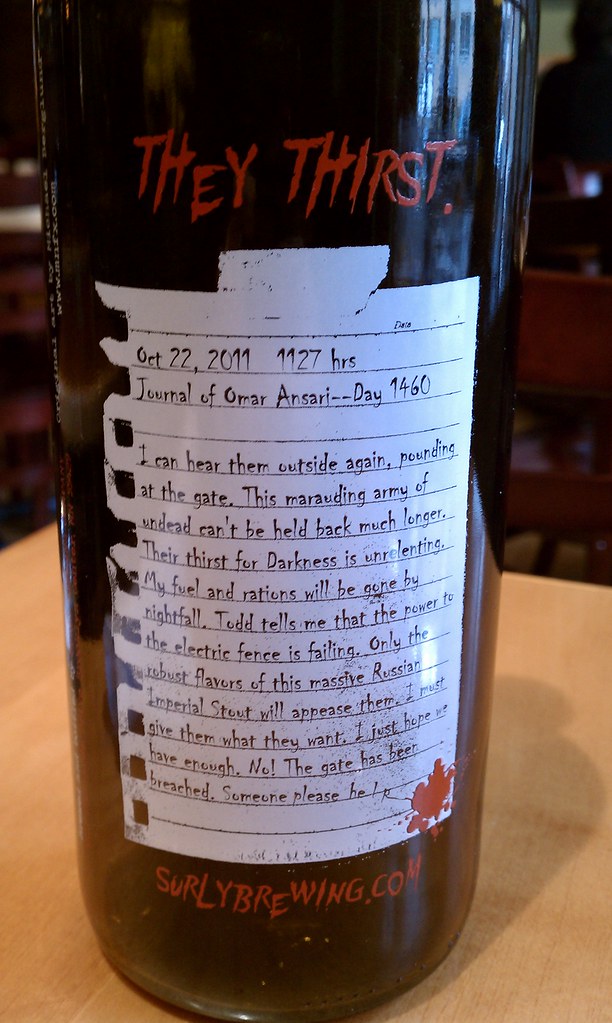
Back of the Bottle
After we got back to our spot I met up with a group of BAs and cracked open a Pharmhouse Ale from Namaste Brewing.  The people who understood beers with a small degree of funk seemed to enjoy it.

I went back to my spot to look for Dan to see if he wanted to try the Pharmhouse.  I notice a group trying to get my attention so i headed over.  Turns out it was a case of mistaken identity but noticed they were getting ready to open a Surly Five and a Cascade sour.  Not wanting to be a mouch but wanting to try both I asked if they wanted to open the bottle of Oude Tart I had with me and turn it into a mini sour tasting.  I have to say it was nice to have those beers back to back.

Around 7 Surly team started going around announcing that they would be starting to give out Darkness wristbands around 8. While we waited the group in front, back of us and us all started opening some additional beers.  I got a chance to try some more awesome beers but the highlight of that grouping had to be the Upland Kiwi Lambic.

Where 5 AM gets you
Once we got our wrist bands it was off to the front of the line to participate in a Blind In Person BIF set up by Brandon (biglobo8971).  It was while I was waiting that Omar fork-lifted out the first kegs of Moe's Bender that morning.  It was funny with the whole zombie theme going on to watch a group of beer geeks surround and a keg and drink it in 10-20 minutes.  I had the 5th pour of this keg and I was really expecting to be blown away more by it as I'd heard great things about Moe's Bender.  Moe's Bender is basically Bender with coffee (a la Coffee Bender), chocolate and vanilla.  The coffee really stood out while the chocolate was very minor and the vanilla was almost non existent.  I read later that the batch tasted off to a lot of people who'd had it before.

My Basecamp
Once the gates opened instead of getting in the pick up line I decided to go inside and try Damien, Omar had drop off a keg near where I was sitting earlier but mentioned that it was for the people who didn't get wrist bands so I decided I could wait.  Damien is a parti-gyle of Darkness. For those unfamilar with what a parti-gyle is, it's a technique in brewing that allows you to get two beer (one high gravity and one low gravity) with the same grains.  It was a great new edition to the line up and I would love to see it in cans one day.

Ryan arrived around this time and we hung out for the next few hours.  Overall I had a great time.  It was a beautiful day filled with tasty food (a traditional pasty), great beer, killer music and awesome people (I finally got to me my main trading partner Meagan (chixdighops))

Cheers
-SNB

Shots of the line at Sun rise
Just before 9 Omar dropping keg's of Moe's Bender
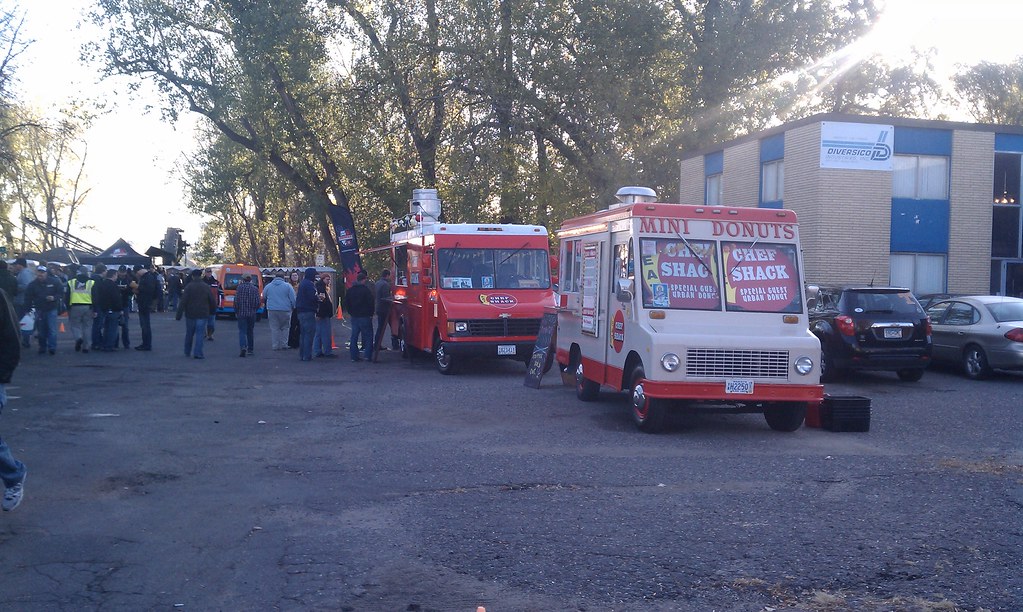
Chef Shack the morning crew
biglobo's BIF
Occupy Surly
Hoard of Darkness-less Zombies attacking a keg of Damien
Bottle share table
The hoard approaches the gates
Zombie Omar kicking off Darkness Day
The Casks section was my favorite

Tuesday, October 11, 2011

Brewdemo and Scott's Session Series 4: DG's Mild

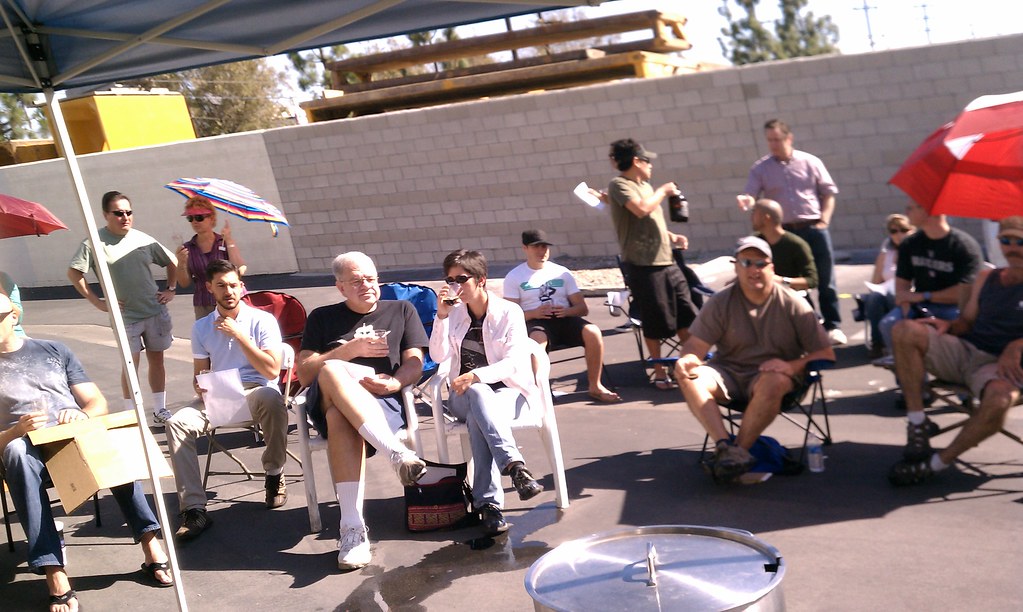
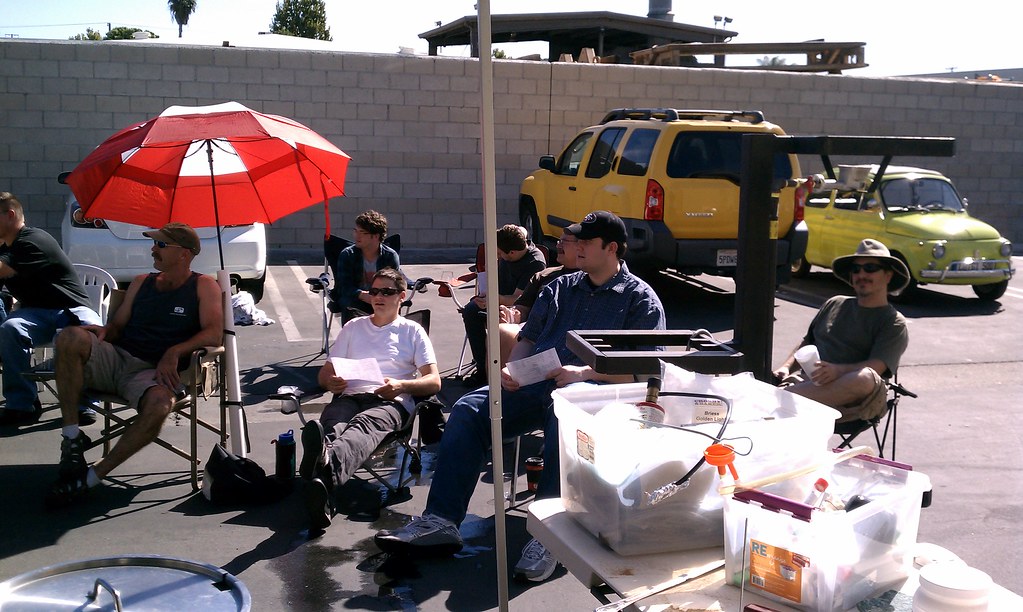
On Sunday I did a extracting brewing demo at Addison Homebrew Provisions.  I planned it with Eric several months before but it took me a long time to figure out what I wanted to brew.

I toyed around with a bunch of ideas and tried to get some feedback on them. They included:
A Flemish red
A sour session over peaches
A viking porter
A session wheat (maybe open fermented)
A California Common over fruit (probably peaches)
An Old Man Winter

The biggest theme ended up being my desire to have some more session ales on the Crate.  

While flipping through the Stone book The Craft of Stone Brewing Co.: Liquid Lore, Epic Recipes, and Unabashed Arrogance that I got off of Amazon I came across the recipe for Lee's Mild and decided to give it a go.

Besides converting the recipe to extract the only change I made was to sub the Northern Brewer bittering hops with Columbus (which is a Northern Brewer Sub) and add some Cascade hops for flavor and aroma.  I still keep the IBUs very low.

Here is the recipe I ended up with

Scott's Session Series 4: DG's Mild
Mild
Type: Extract Date: 10/9/2011
Batch Size (fermenter): 5.00 gal
Brewer: Scott Bennett
Boil Size: 7.37 gal Asst Brewer: 
Boil Time: 60 min
End of Boil Volume 6.24 gal
Final Bottling Volume: 5.00 gal

Beer Profile
Est Original Gravity: 1.038 SG
Est Final Gravity: 1.009 SG
Estimated Alcohol by Vol: 3.8 %
Bitterness: 29.2 IBUs
Est Color: 18.1 SRM

Ingredients

Extract and Steeping Grains
4 lbs 4.0 oz Light Dry Extract (8.0 SRM)
9.8 oz Brown Malt (65.0 SRM)
9.0 oz Caramel/Crystal Malt -150L (150.0 SRM)
3.2 oz Chocolate Malt (350.0 SRM)

Hops
0.50 oz Columbus (Tomahawk) [14.00 %] - Boil 60.0 min
0.25 oz Cascade [5.50 %] - Boil 20.0 min
1.00 oz Cascade [5.50 %] - Boil 0.0 min

Other
1.00 Items Whirlfloc Tablet (Boil 15.0 mins)
1.00 tsp Yeast Nutrient (Boil 15.0 mins)

Yeast
1.0 pkg Dry English Ale (White Labs #WLP007)

Steep grains in 1 gallon per pound of grain at 160 for 30 minutes


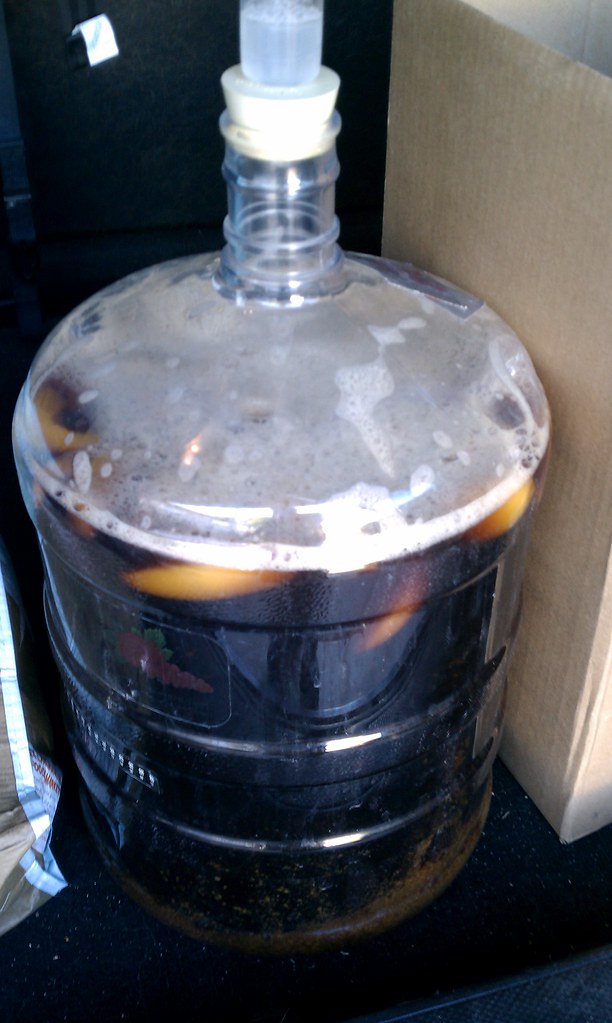
While finalizing some equipment I wanted to borrow from Eric he mentioned that his brew kettle was 15 gallons.  A light went off in my head and I decided to scale the recipe to 10 gallons to split batch. I love the concept behind split batch recipes and I wanted to do one on my own for a while. I choose to do 5 gallons to the recipe and for the other I would do a starter of my WLP670 strain and pour the fresh wort over some frozen peaches from whole foods that I would pasteurized and cool during the demo.

I overshot the temp on the steeping water which wasn't a problem as I showed the crowd hot to remove a gallon of the 180 water and replace with additional filtered tap water.

After the 30 minute steep we filled the kettle with 10 gallons of water and added the 8.5 lbs of DME which I had a volunteer stir until dissolved while I turned on the heat to start bringing the temp up.

At the start of the boil it looked like we were easily around 14 gallons wort ready to go.

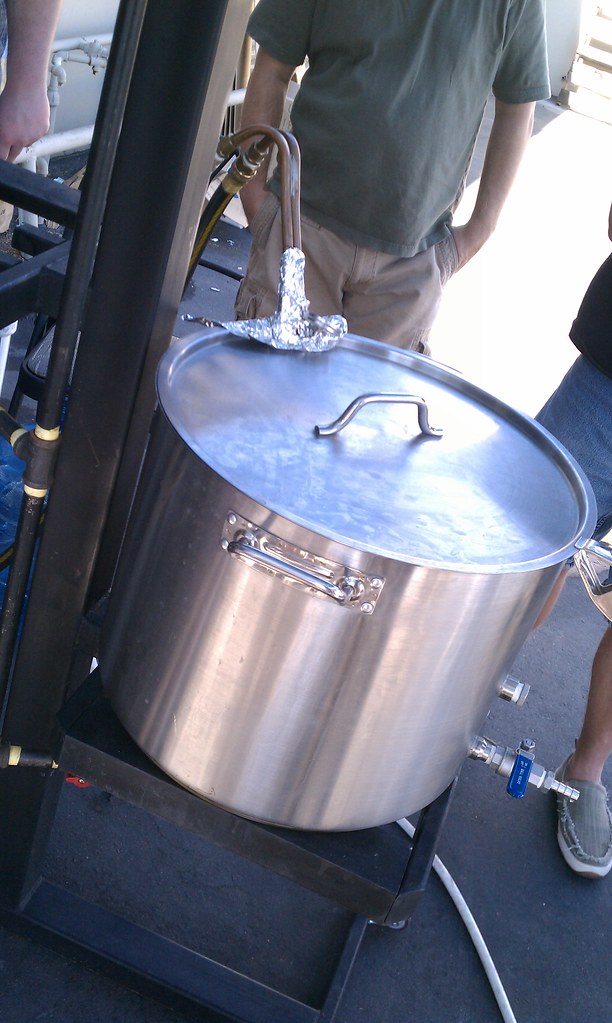
I then put 3 lbs of frozen peaches in a separate pot to pasteurize.  I needed the small burner for this so I simulated running out of propane mid brew and carefully with more audience participation moved the main pot onto Eric's brew stand.

In total we boiled a little over 60 minutes

The measured original gravity corrected for temperature ended up at 1.042 SG

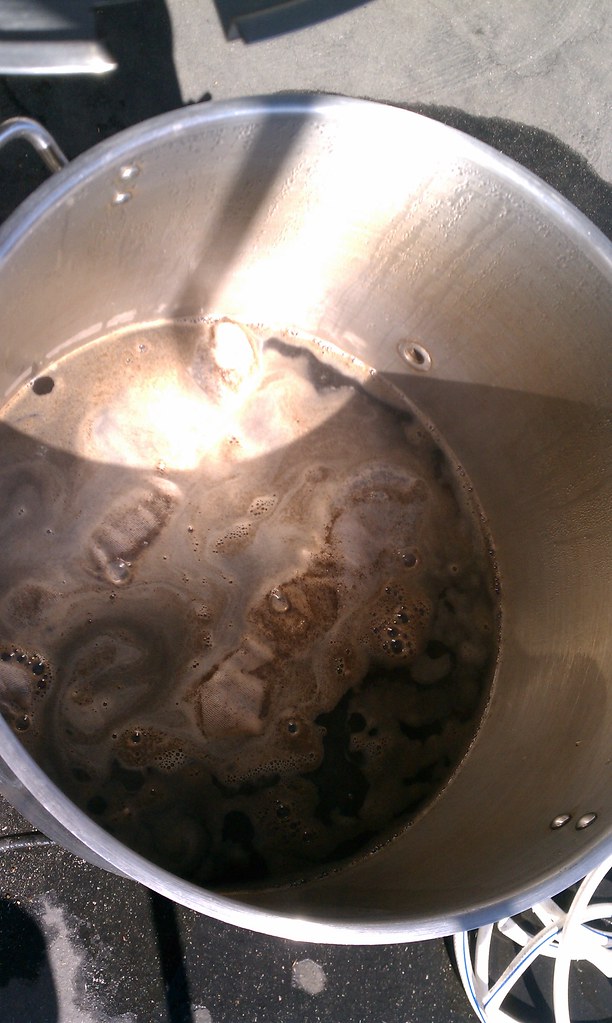
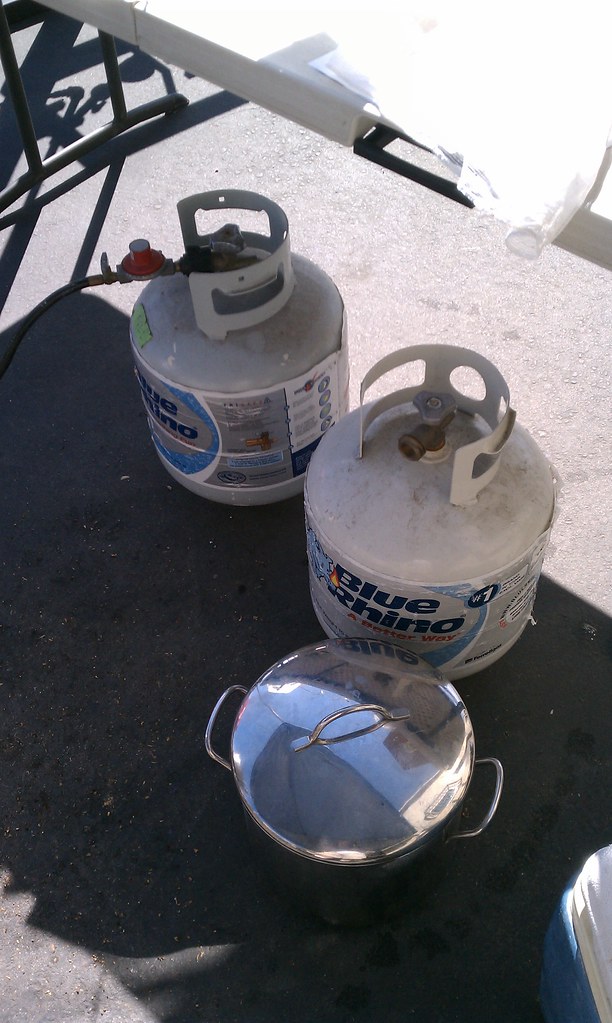
Here's the pics I took.

Crowd Shots
Two grain bags steeping in 2.5 gallons of water
Propane and my DME/Peach pot
Getting ready to boil, now that's a lot of wort
Hops
60 minute addition
Hops moved to the brew stand
Boiling away
Cooling down
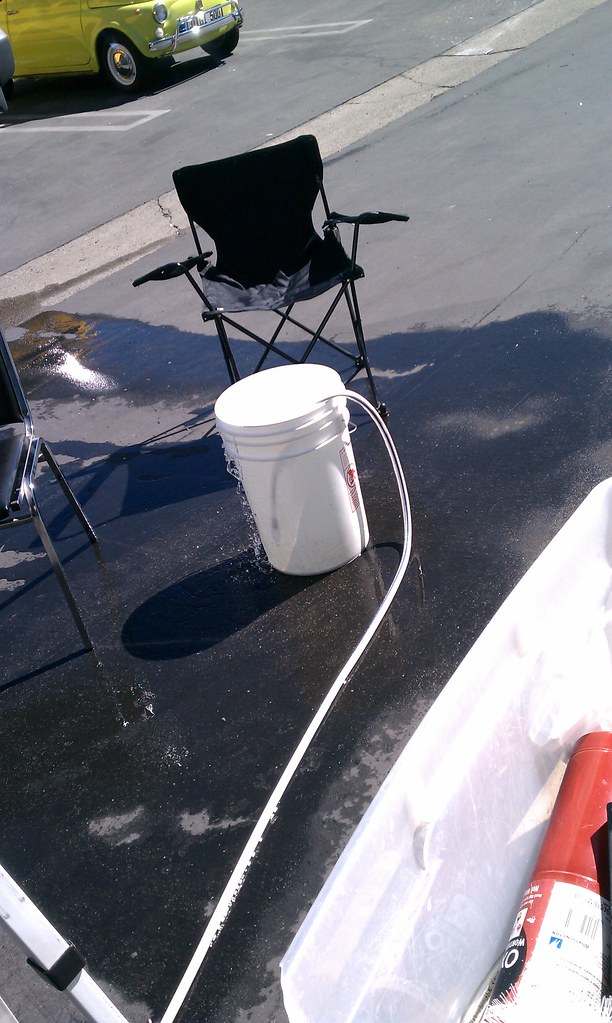
Collecting some of the hot run off to clean up with later
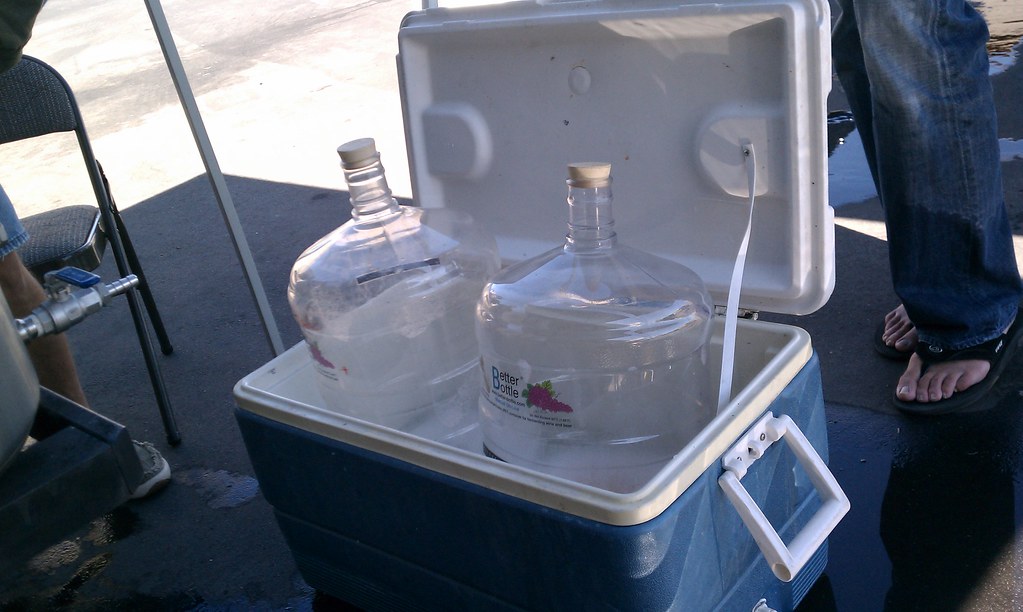
I used a cooler filled with Ice water to help get the beer cooled down the rest of the way
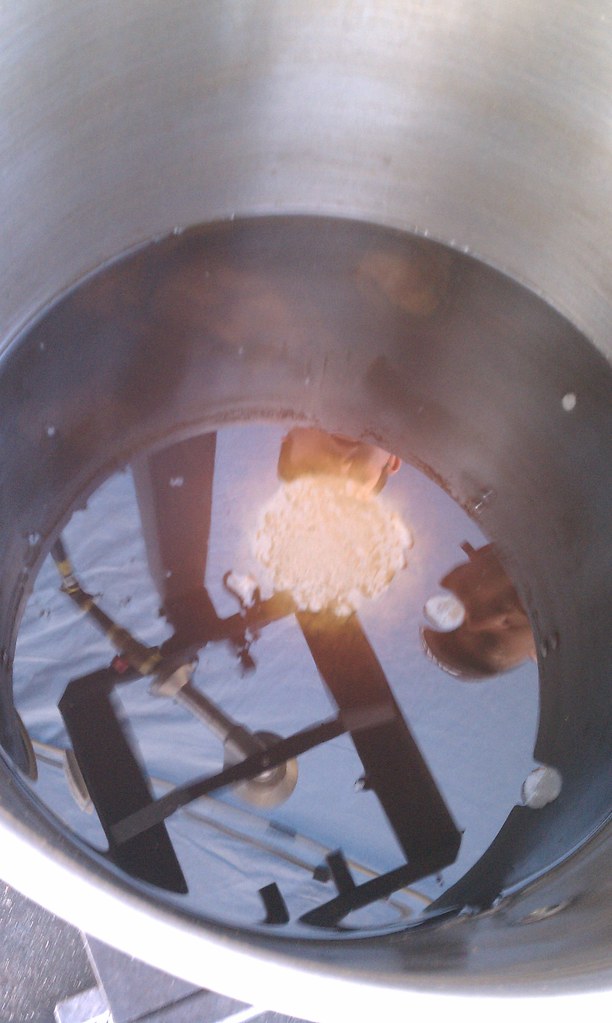
Trub Island after the whirlpool
The peach version with WLP670
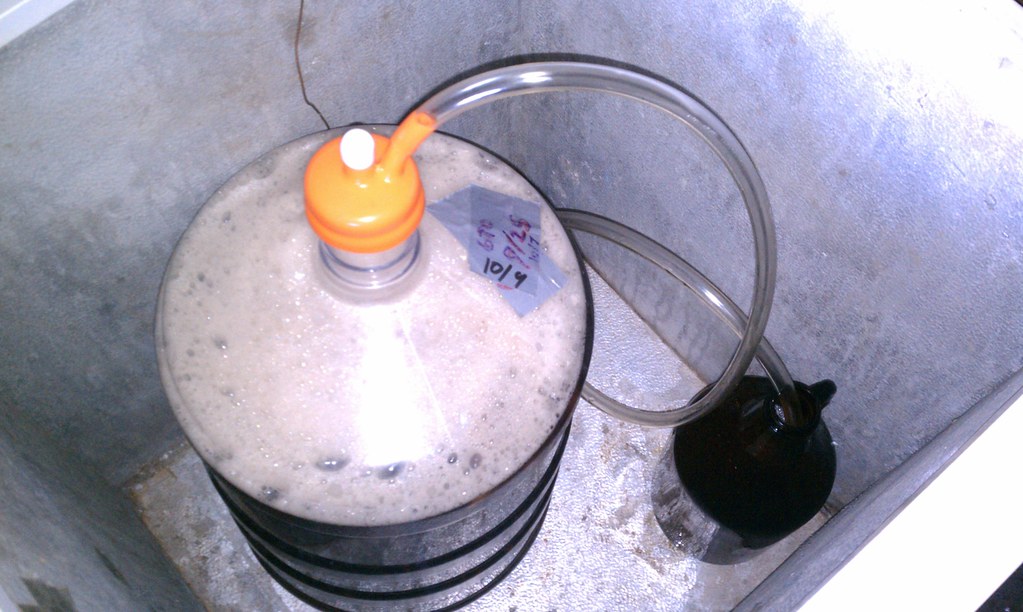
Inside the fermenting cube with a blow off
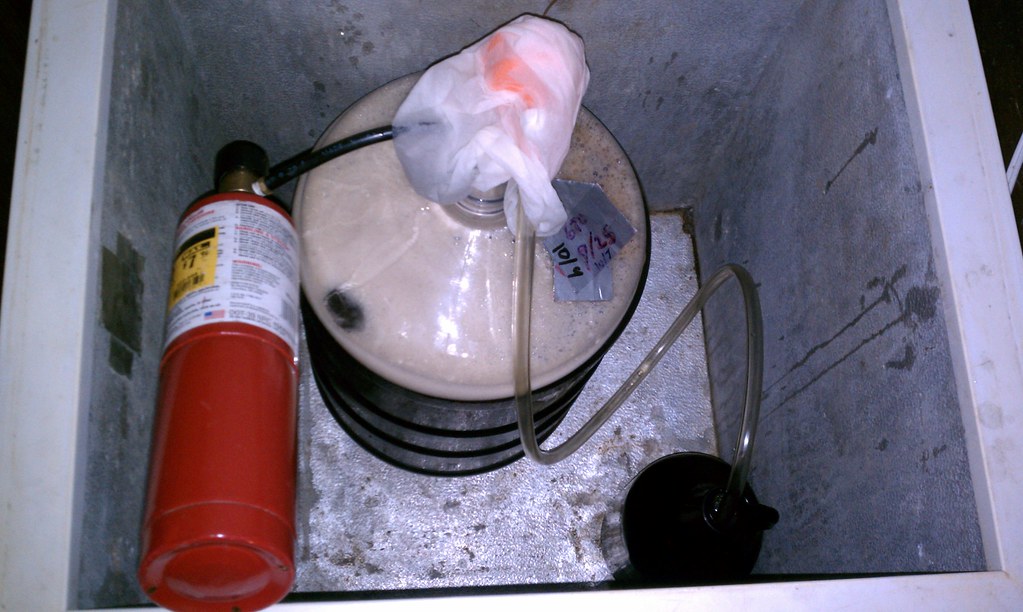
4 hours later another shot of O2
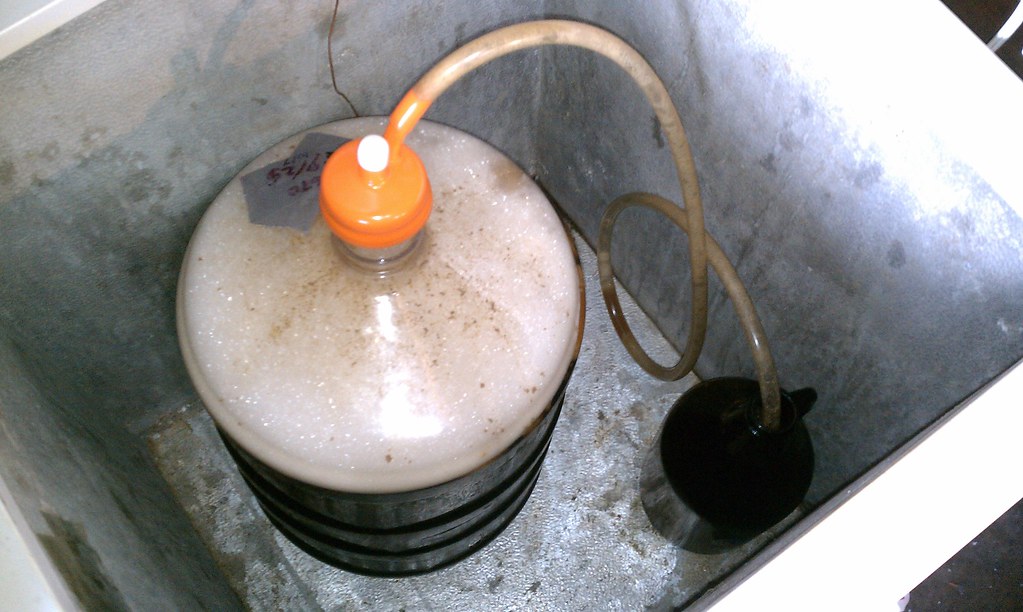
The next morning - that's why I use blow offs

Friday, October 7, 2011

Creating Labels and the Imperial Rhino Stout 2011 Label

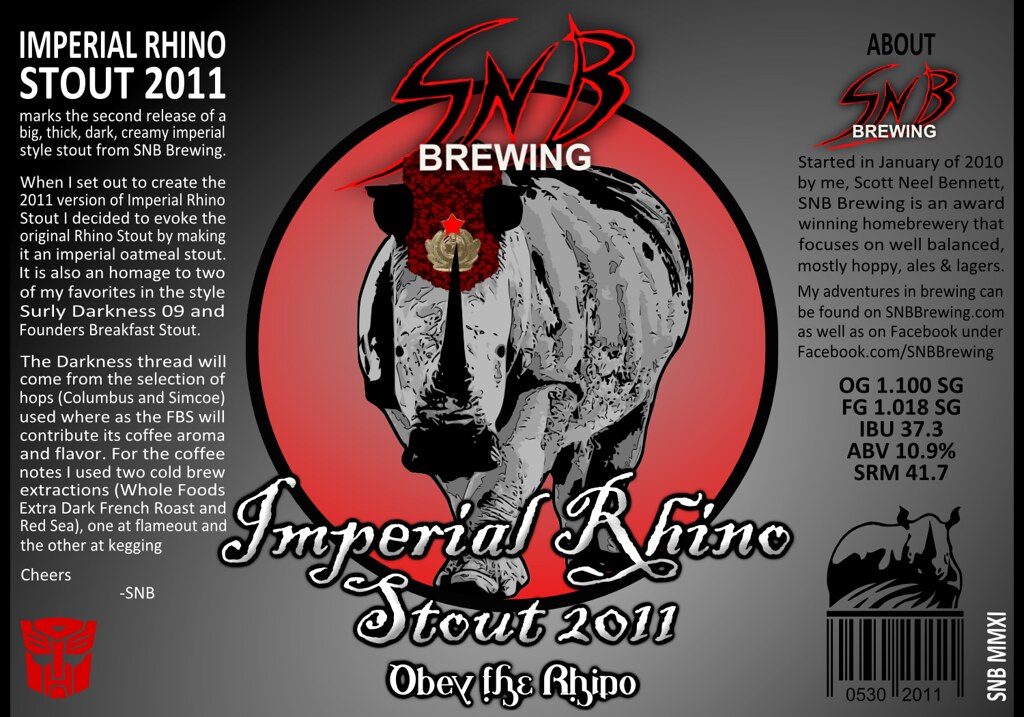
The 2011 Imperial Rhino Stout Label
I’ve gotten a few requests to take about the labels I’ve created for my beers and the process for which I create them.

This isn’t going to be a step by step guide to label creation but it will include some insight on how I put together my most recent label for Imperial Rhino Stout 2011.

To start off with let me give you a little background into how I got started creating unique labels for my beers.  Really it all comes down to Brew Bakers again.  As I was brewing up that first batch of I noticed all the custom labels suck to the walls. Essentially all you have to do is email them the image you want and they’ll print up some labels on Avery shipping labels.

For the first two labels I actually created them with MS Paint and MS PowerPoint (I’m a PowerPoint wizard at work) but after that I felt both programs weren’t letting me do what I wanted.  To make my labels today I use a combination of two open source image editors; Paint.NET which is an open source photoshop with lots of plug-ins and Inkscape which is an open source illustrator program.  Once I’m done I print on two sizes of Avery shipping labels 5168 and 5164.

Generally I break my labels down into 4 categories

  1. Custom to the Beer 4.0 x 3.33 or 3.33 x 4.0
  2. 5 Minute or Standard Label 4.0 x 3.3
  3. Big Beer Labels 5.0 x 3.5
  4. Story Labels 3.5 x 5.0

5 Minute or Standard Labels
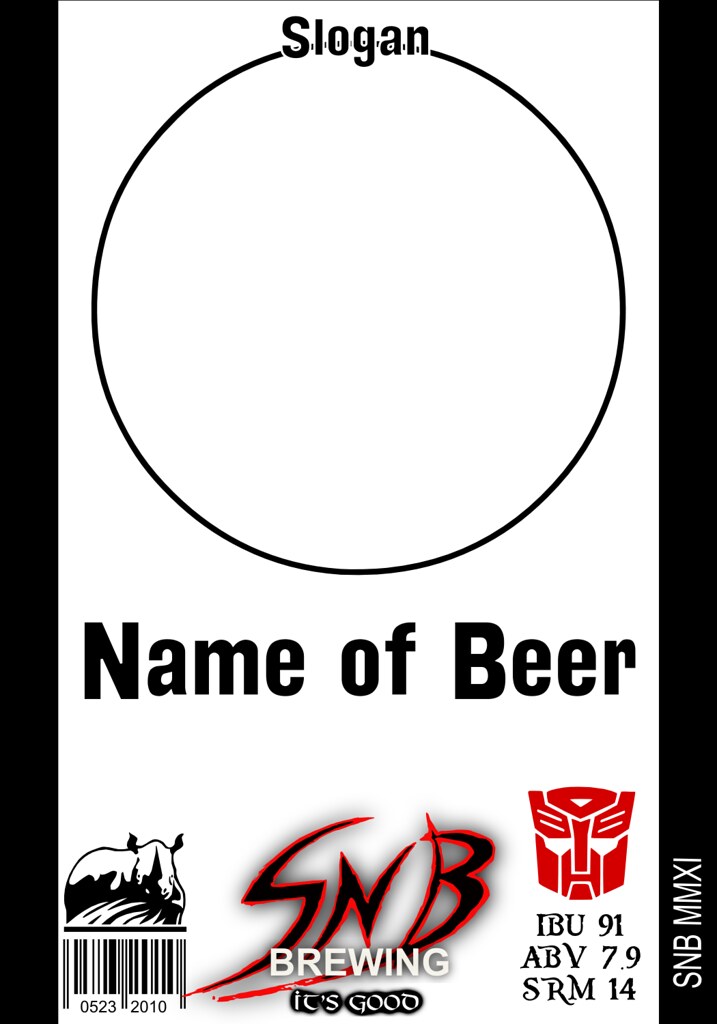
For awhile every label I did was different, the only thing they had in common where the SNB logo and a series of easter eggs hidden in all of my labels.  Sometimes I was less then inspired to create a new label nor did I always have the time needed to create a new label.  That’s when I got the idea to create a quick label that I would only need to name and change the background on.  I called it my 5 minute label as that’s all it took to do.  I have three versions of this; a dark beer, a light beer and one with a picture holder.


Big Beer Labels
It’s almost poetic that this post covers the current version of Imperial Rhino Stout label as the label I made last year for it can really be thought of as the prototype for what I refer to as my Big Beer label.  When I completed the label last year I sat back and was really pleased with it, it was clean, simple and looked pretty damn good.  I quickly decided that this would be the basis for all of my beers above 7% abv.

Story Labels
When I set out to create a label for my share of the Brewcommune club barrel brew I became inspired by the label for one of my favorite beers, Great Divide Yeti.   I decided a label like that could be the perfect fit for what I wanted to do, on one side of the main label I could talk about the background behind the beer and on the other I could give some brief info on SNB Brewing and Brewcommune.  The finished label came out great (and won an editor’s choice in the 2011 BYO Label Contest) and just like with the 2010 version of the Imperial Rhino Stout I knew this was a format to move forward with.  I like the ability to give a little info on how the beer came to be and it works great for collaborations.

 
Imperial Rhino Stout 2011

With the label background out of the way let’s dive into the label for Imperial Rhino Stout 2011.

With the beer sitting in a keg being carbonated I knew it was time to get the label taken care of.  I’ve really been enjoying the story labels I’ve been doing so I decided to use that format and adapt the old label to the new format.
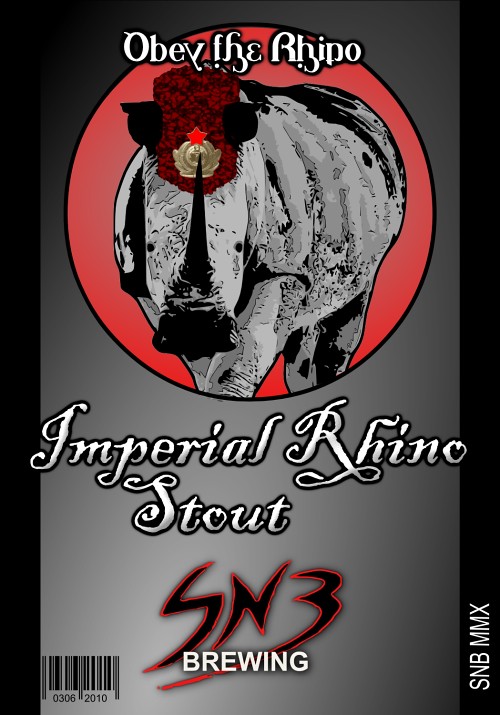
For Reference

The first thing I did was pulled up two files, last year’s label and the Strauss IPL label and merged them together so both labels were in the same file and saved.  After that I started deleting and merging certain elements from each of them.  From the IPL I used the the format, about SNB text and circle.  From IRS I grabbed the rhino (with hat) and color scheme. 

The hat that the rhino is wearing is the same hat the Stone Gargoyle wears only greatly manipulated to which I then added the crest I found on another image.  The way the hat fits on the rhino's head is actually a nice little trick done with layering.


Once I had a general mock up I started filling in other details like the brewstats, bar code (which is the brew date), the other rhino and my sig.

Initial Mock Up

Next came a quick text mock up.  I must have been channeling Greg Koch as it was way too long and in need of serious cutting.  Here is the original text –
Imperial Rhino Stout 2011 marks the second release of a big, thick, dark, creamy imperial style stout from SNB Brewing. 

Over the last few years I’ve grown a strong fondness for big dark imperial stouts.   I love a nice heavy mouthfeel that is incredible silky with the roast in bitterness in balance.

Back in 2010 I brewed my first “imperial stout” which happened to be the 6th beer I ever brewed (it was named after the 2nd one Rhino Stout which was an oatmeal stout). It took over 6 months to complete and I was pleasantly surprised by how it came out. I knew I had to do it again in 2011.

When I set out to create the 2011 version I decided to evoke the original Rhino Stout by making it an imperial oatmeal stout.  It is also an homage to two of my favorites in the style Surly Darkness 09 and Founders Breakfast Stout.

The Darkness thread will come from the selection of hops (Columbus and Simcoe) used where as the FBS will contribute its coffee aroma and flavor.   For the coffee notes I used two cold brew extracts (Whole Foods Extra Dark French Roast and Red Sea), one at flameout and the other at kegging.
I ended up cutting paragraph 2 and 3 while slightly changing the wording on what I kept.  The final wording is as follows –
Imperial Rhino Stout 2011 marks the second release of a big, thick, dark, creamy imperial style stout from SNB Brewing. 

When I set out to create the 2011 version of Imperial Rhino Stout I decided to evoke the original Rhino Stout by making it an imperial oatmeal stout.  It is also an homage to two of my favorites in the style Surly Darkness 09 and Founders Breakfast Stout.

The Darkness thread will come from the selection of hops (Columbus and Simcoe) used where as the FBS will contribute its coffee aroma and flavor. For the coffee notes I used two cold brew extractions (Whole Foods Extra Dark French Roast and Red Sea), one at flameout and the other at kegging.
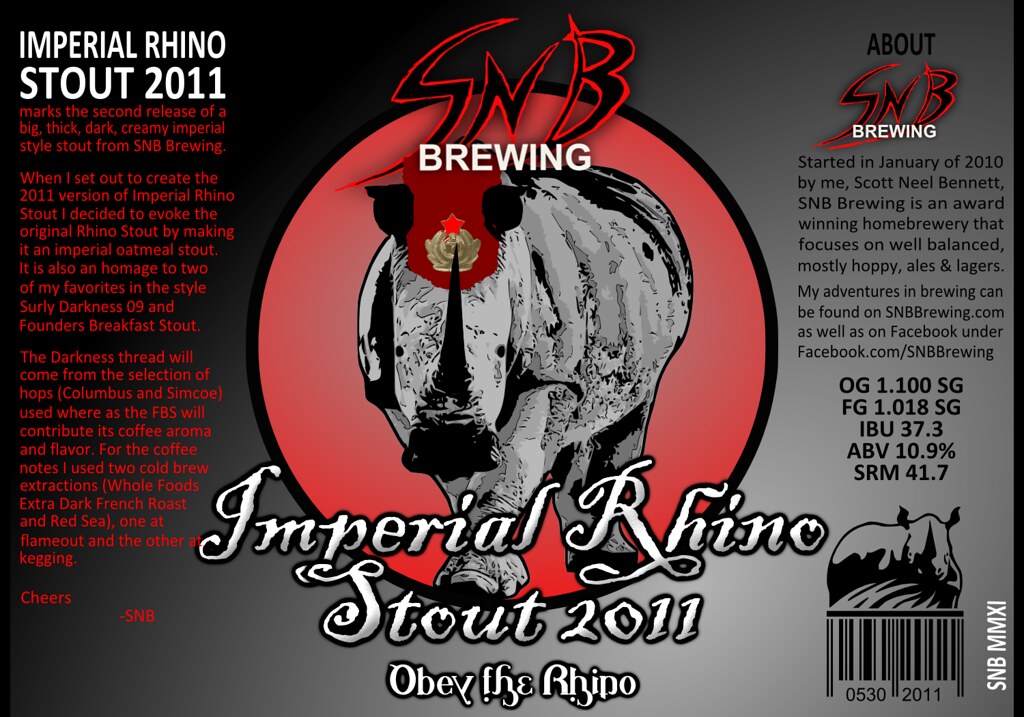
Final Mock Up
Next came the fun part, breaking up every line of text so that I could manipulate them individually.  I’m doing this because I can’t for the life of me figure out how to get the text to justify. I then I built some blocking boxes to adjust and center the logo. Finally finishing by texturing the hat.

Here is the finished label that will adorn the bottles once I BeerGun, label and wax them

The Old Final Label
Update 8-Dec-11: Since I did this post I've ditched the barcode and in it's place put a QR code (abbreviated from Quick Response code) with a link to the main recipe page on the site.  I generate the QR code using Google URL shorter then adding a .qr to the end of the created link (I.E goo.gl/aEmCZ becomes goo.gl/aEmCZ.qr)
 
The Current Final Label with QR code

Cheers

-SNB
Related Posts Plugin for WordPress, Blogger...